| Today |
| Workshops |
| Color/Tone |
| Enhance |
| Crop/Resize |
| Special Effects |
| Printing |
| Cases |
| Scanners |
| Video |
| Misc Gear |
| Other Photographers |
| Contact Us |
| RainyDayPhotography... |
||
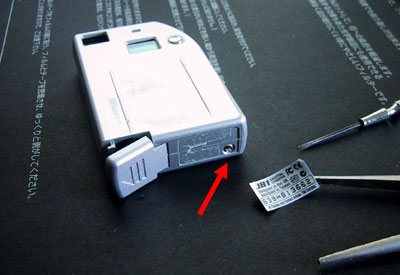
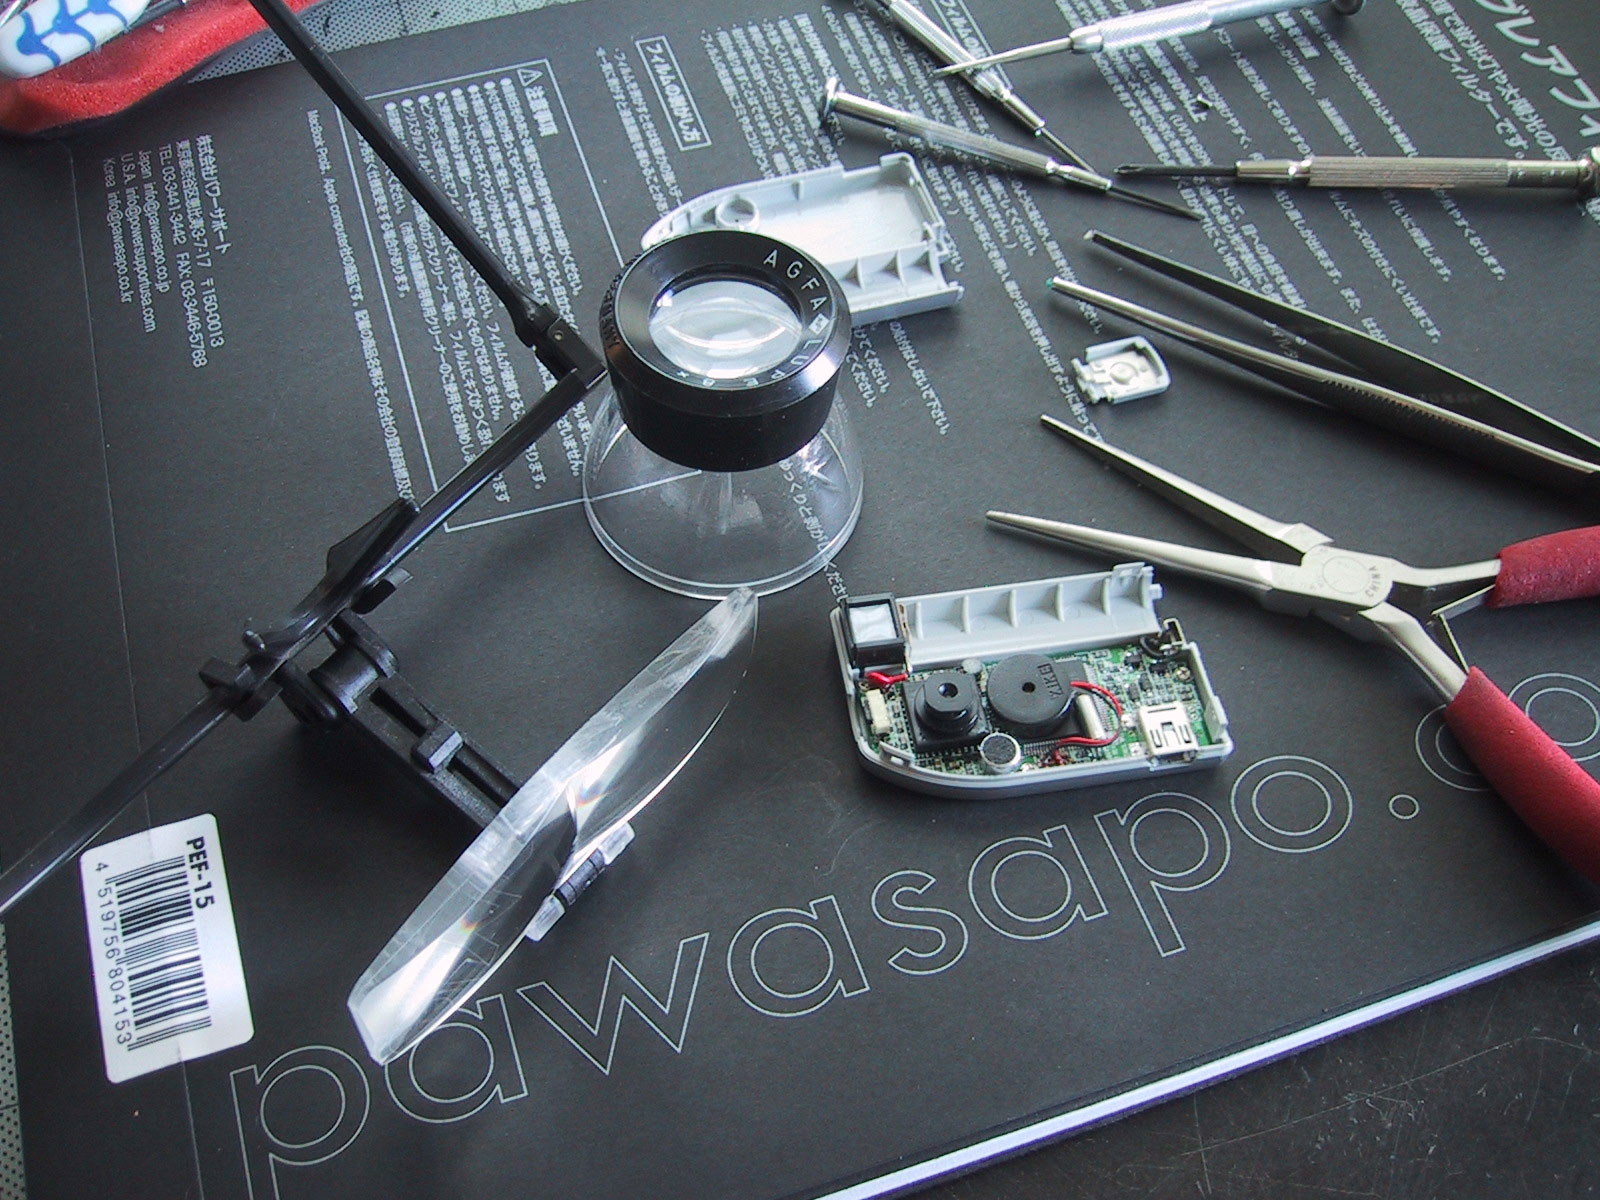
In order to remove the infrared filter, we had to figure out how to take apart the JB-1 camera. We were pretty sure the camera was not glued together as we could see the seams flex open when we gave it a little pry with the screw driver. After a little poking we discovered that the camera was held together by just one screw...underneath the label at the bottom.
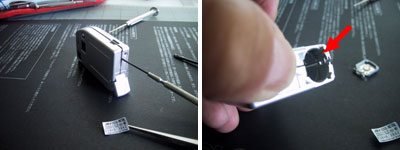
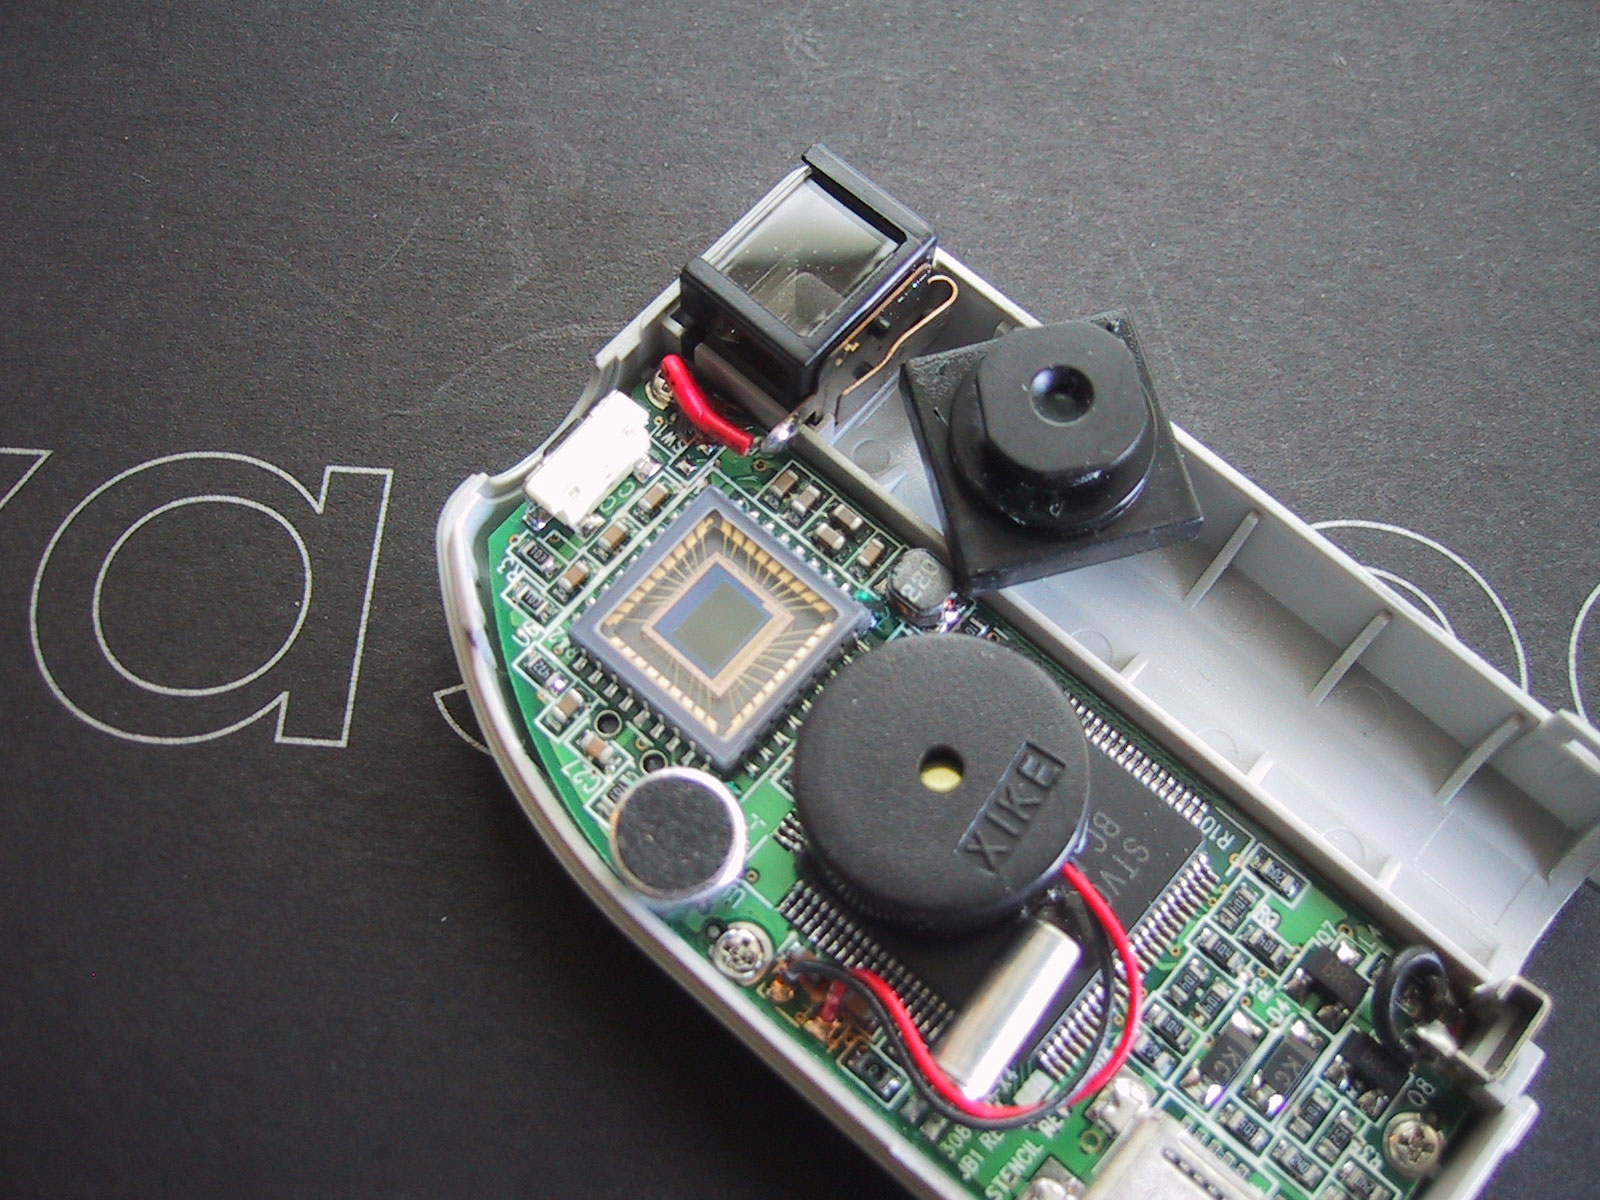
Once the screw was removed, the camera was easy to pry open. Some care had to be take to not break the tabs. Small flat head screwdrivers were very helpful in this effort. Once the cover was removed, it was easy to see what had to be done. The circuit board was mounted in such a way that the CCD and lens assembly was facing up. This meant it did not have to be removed from the housing for us to get at the lens.
Upon closer inspection, both the lens and the lens mount were glued into place (red arrows). The small dabs of glue will need to be removed before we can go any further.
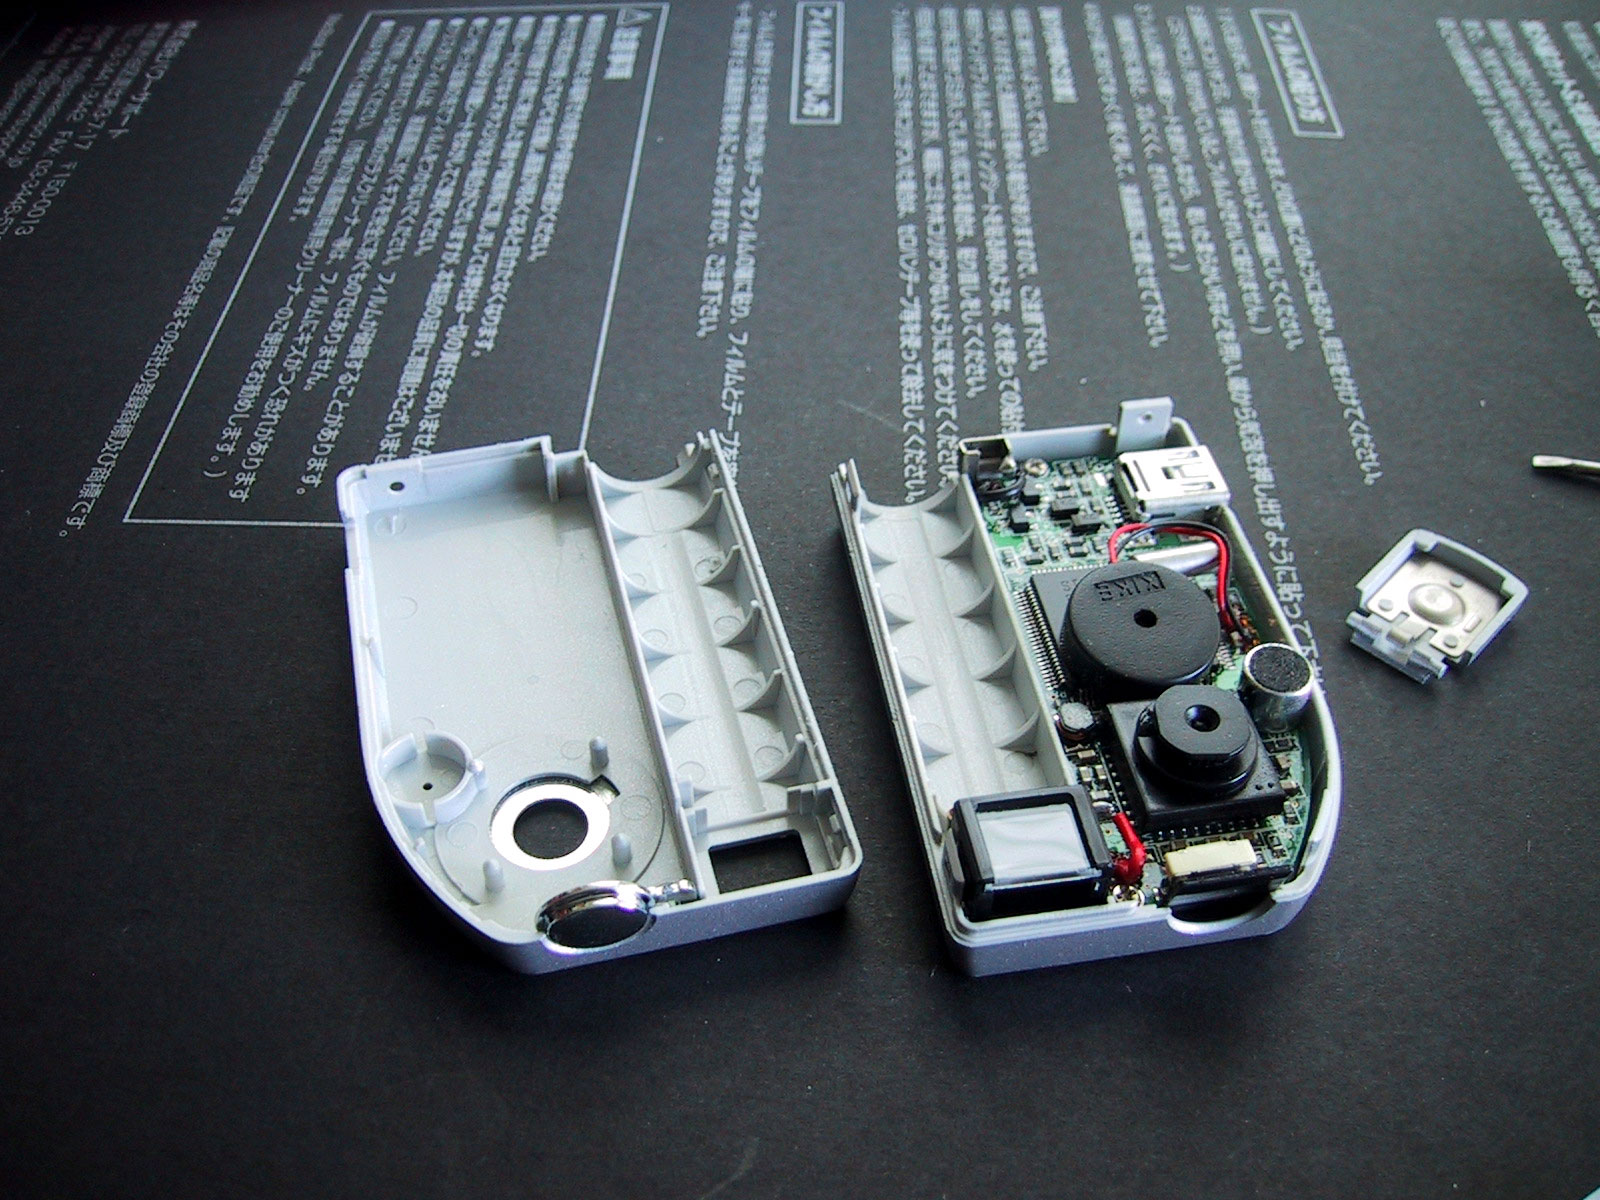
The glue was actually easier to pick off than we had anticipated. We used the tip of an x-acto blade to flick off the clumps. Once the glue was removed, the lens unit lifted off with no problem.
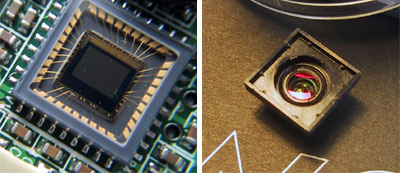
With the lens assembly removed, we could now see clearly the CCD sensor array...hmmm, where is the IR filter?
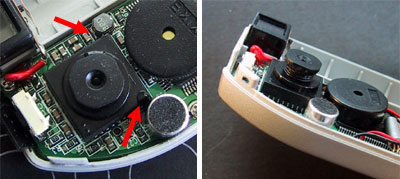
Unlike Zack's project, the JB-1 did not have a separate IR filter. The IR filtering was done by a coating which was on the lens itself. This meant we had to scrape the coating off. |
Digital Infrared Photography on A Budget |
|
We had known that CCDs were sensitive to infrared (remember the Sony camcorders that could shoot through clothing?) and that most have an IR filter to block the light. Recently we read an article on MAKE magazine about how to convert a cheap digital camera into an infrared digital camera by Zach Stern. Zach's beautiful photos inspired us to give the project a try.
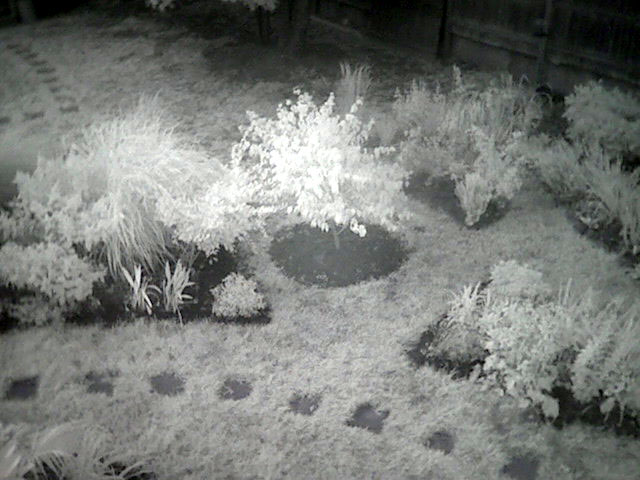
We decided to take our little JB1 stealth camera and see if we can turn it into an IR sensitive stealth camera, better to detect the body heat of that agent hiding in the foliage :-)
The results were surprisingly good for this little camera. We have attached larger images to most of the photos in this article. Just click on the ones of interest to see the big version. Project: 1. Dissassembly 2. Remove IR coating/Make filter Project Summary: Initial Impression- need to disassemble camera Usability- daylight shots only Durability- no moving parts Price- $10 Related Review: Related Project: 1. Wide angle lens on a budget
|
||