
| Today |
| 2013 |
| 2012 |
| 2011 |
| 2010 |
| 2009 |
| 2008 |
| 2007 |
| 2006 |
| 2005 |
| Reviews |
| Contact Us |
RainyDayMagazine's content can now be licensed for your print magazine or web site. Please contact us directly here. If you want to see something reviewed, then drop us a note with a link and we'll be happy to take a look. NOTE: Click here to read more about our approach to product reviews. |
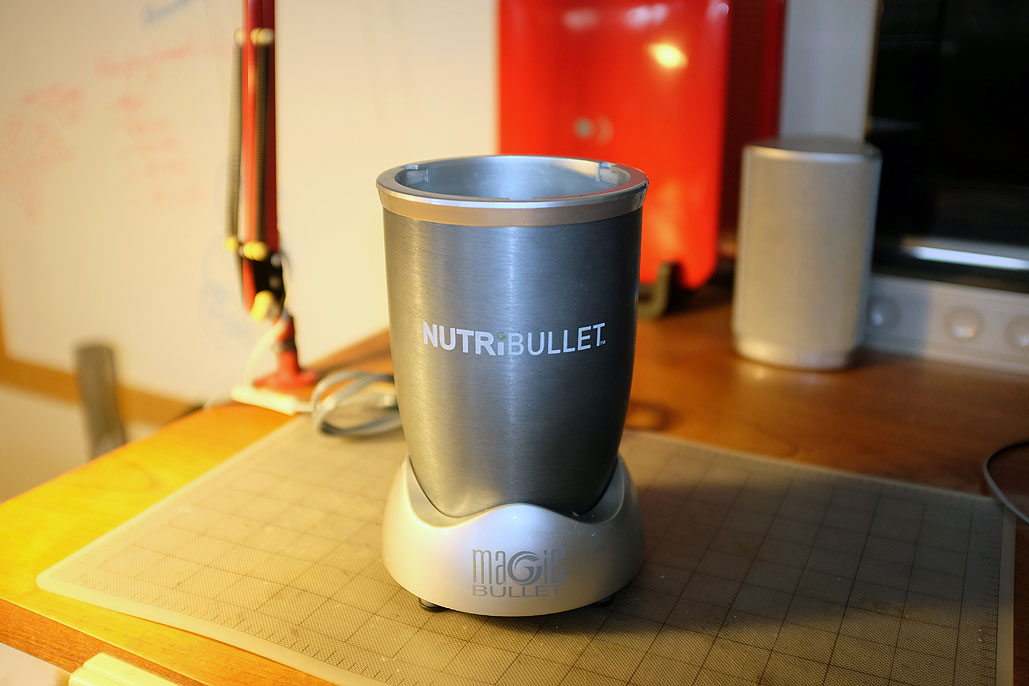
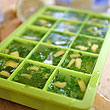
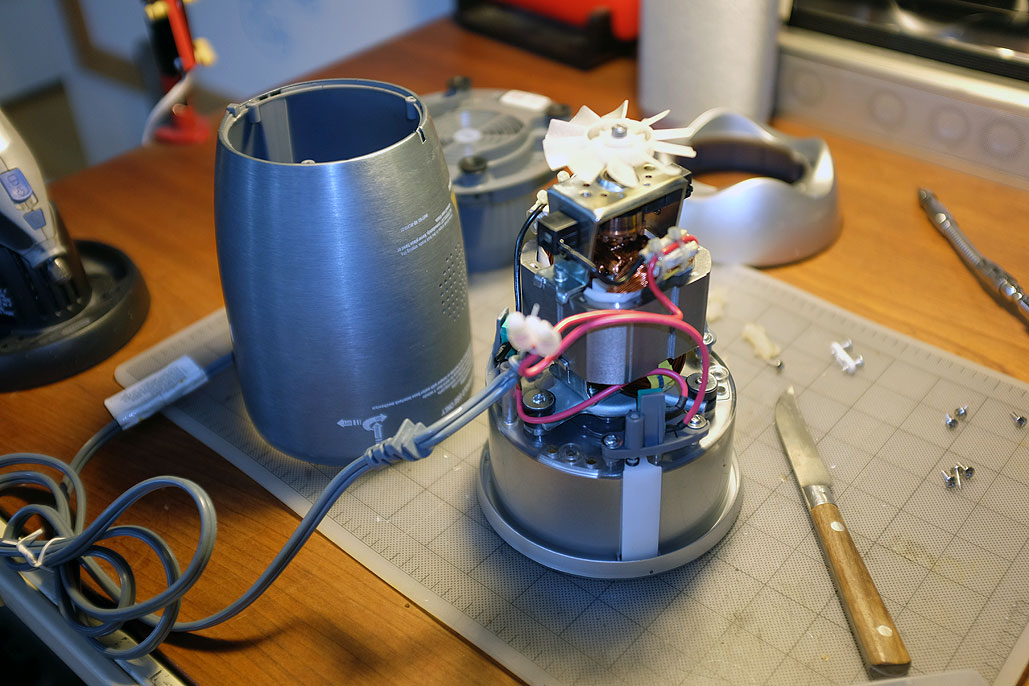
No, that is not the DOD's latest "smart ordinance" disassembled on the RainyDayProject workbench. What it is is the guts of the NutriBullet
The RainyDayProjects folks, on the other hand, were more level-headed and fairly certain that if they could find the problem, they could probably fix it. A blender is basically just a motor and a switch, and since heavy-duty motors (like that in the NutriBullet) rarely ever fail, the problem most likely was with the switch. Sure enough, once they had the NutriBullet guts exposed, the problem was obvious almost immediately. The fix was a little more involved, but still... [more] - NutriBullet Repair
|
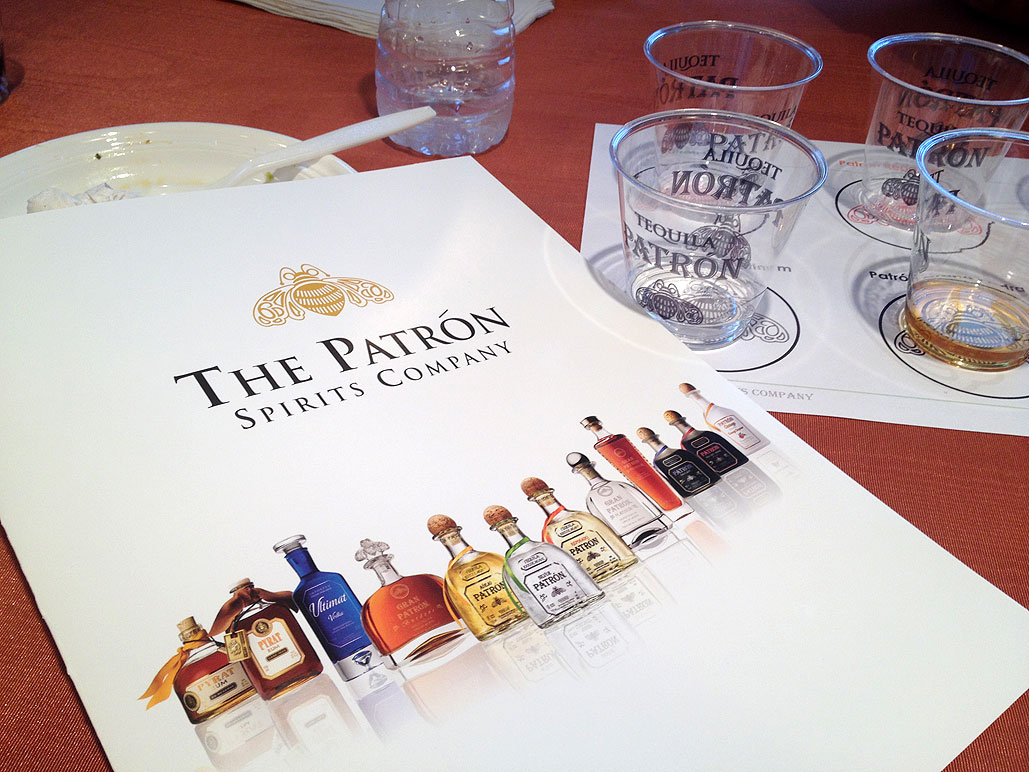
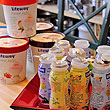
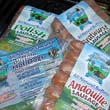
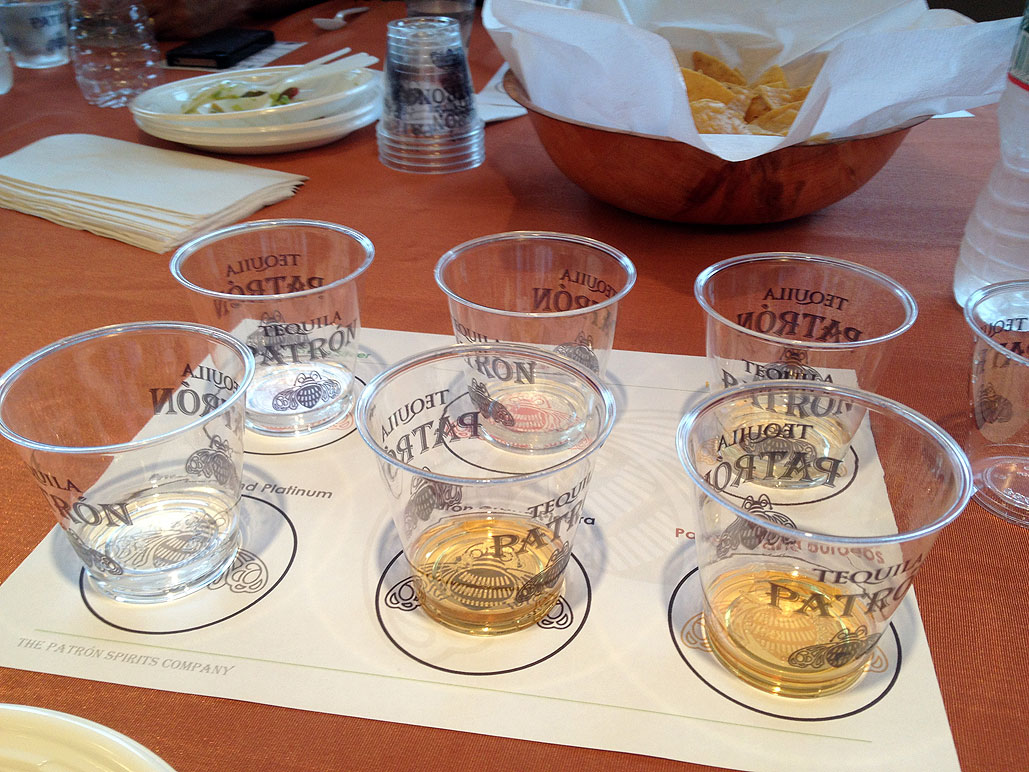
Some of us RainyDayKitchen folks were at a Patron tequila tasting event recently. We learned how Patrón makes their incredibly clean tasting tequila. They source their agave in Mexico from trusted growers. They use both roller mill and natural stone Tahona wheel for crushing the agave. Patrón distill their tequila in small batches using copper pot stills. When they increase production, Patrón add more stills instead of increasing the size of the still in order to retain their unique flavor, aroma, and taste! Patrón does this because to them, the tequila comes first. Here are some other "Patrón facts" we picked up at the event:
We also learned about, and more importantly sampled, the various kinds of tequila in the Patron line. Starting from the back (below) and going from left to right: Silver, Reposado, Anejo, Platinum, Gran Piedra ($400/bottle), Gran Burdeos ($600/bottle). Clearly we had a... [more] - Patrón Tequila Tasting Event
|
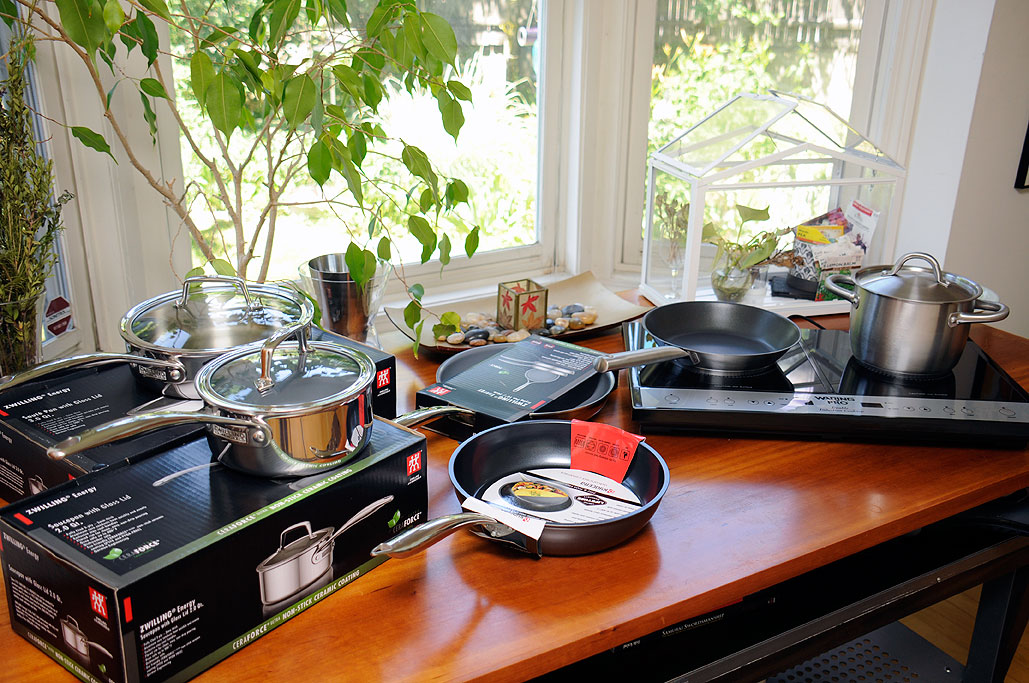
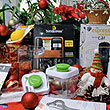
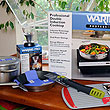
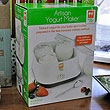
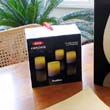
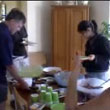
We have done a bit of research on induction cooking and know that it is cool. However, in order to test the cooktop we got last August, we had to be able to cook in something that was induction-ready. The stainless steel cookware set we have is not magnetic, which means none of the pots and pans will work with the cooktop. The RainyDayKitchen folks had been look for an excuse to get some new cookware, and this was it. But what to get??? Whatever we end up with, it will be an intersection of high-tech and the everyday. After all, that is what we are about at RainyDayMagazine!
The search languished for a while until one of the interns had an inspiration: ceramics. We love our ceramic knives and were aware that a few companies were making non-stick cookware from ceramic materials. Intrigued, we did more research. Turns out, the advantages of a ceramic non-stick coating over the more traditional... [more] - Ceramic Cookware FirstLook
|
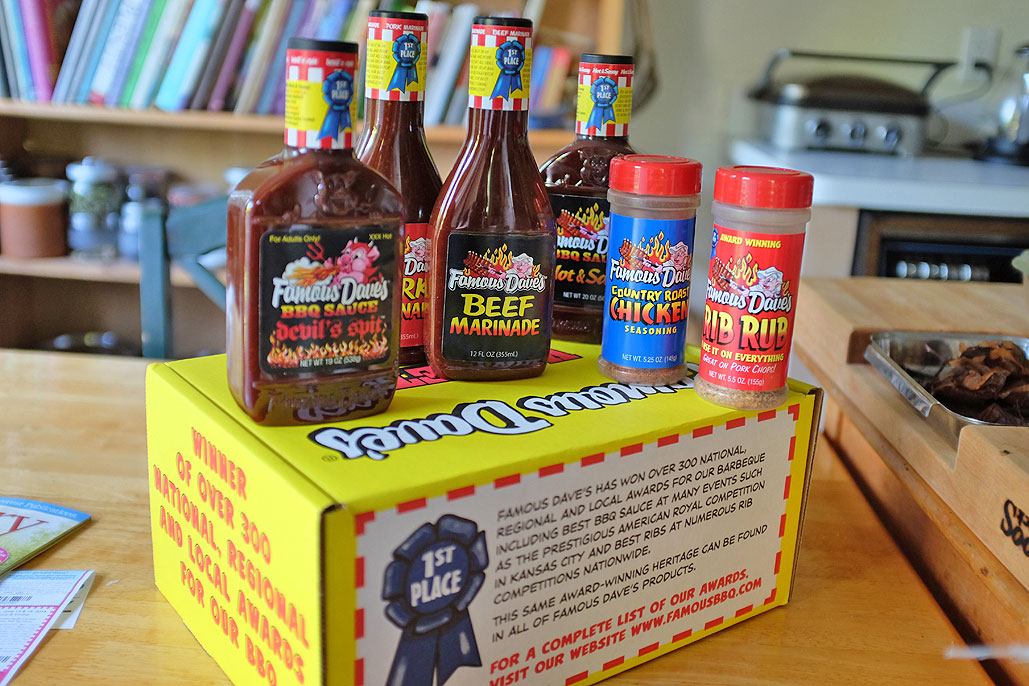
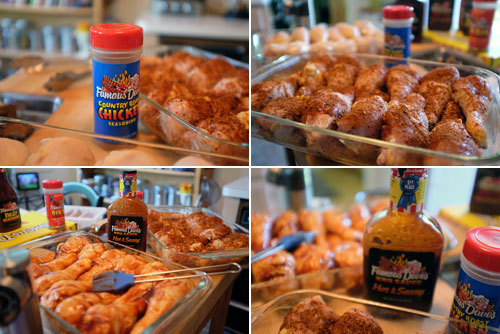
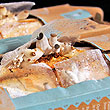
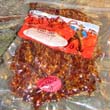
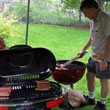
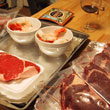
The RainyDayKitchen folks hosted the 2014 FirstGrill event last weekend. The weather was perfect, the four grills were running nonstop, and we ate way more food than we thought possible. A big reason for it maybe because we had marinated the meats with Famous Dave's marinates and rubs :-) Famous Dave's are known for their sauces and rubs. We went with the BBQ Variety HOT Pack as it contained a nice sampling of ones we most wanted to taste:
When we BBQ, we typically use sauces to flavor the meats, but we have recently got turned on to rubs. Of course, for FirstGrill, we did both. Still, we find that rubs work especially well on juicier parts such as... [more] - FirstGrill 2014 |
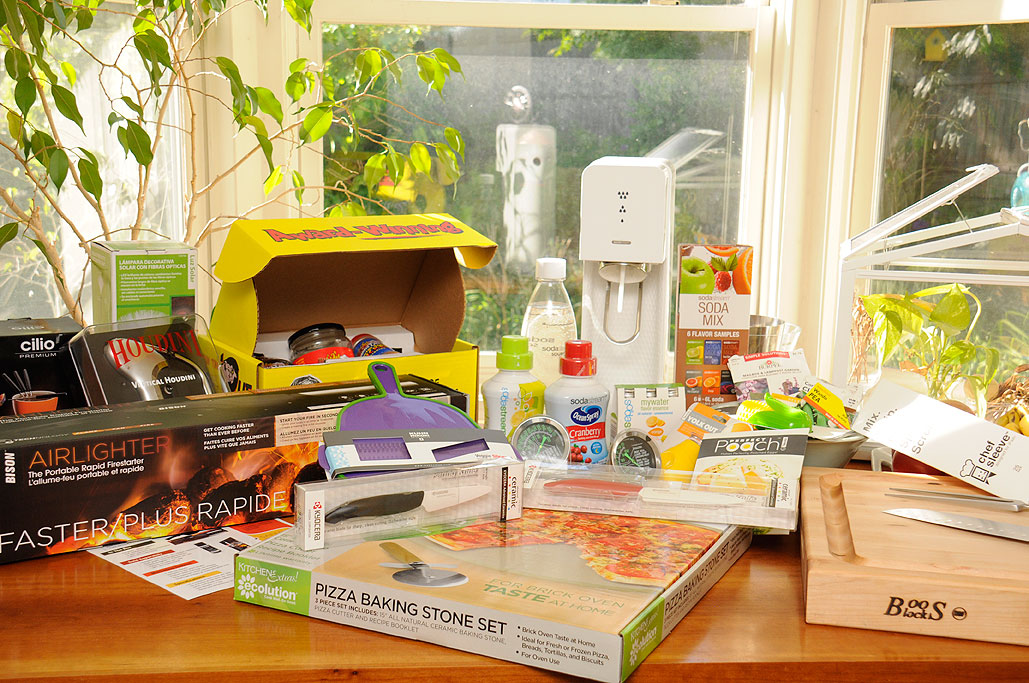
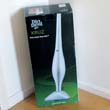
Our FirstLook of the items from our FirstGrill sponsors was posted yesterday. Today, we will take a closer look at the following sponsor items: Most backyard grillers are familiar with the myriad ways to light charcoal: lighter fluid, electric starter, chimney. While lighter fluid can make lighting a big pile of charcoal easy, it can create an (exceedingly) unpleasant chemical taste on the food. An electric starter requires that the grill be within range of an outdoor electric outlet. The best way (and our personal favorite) is a charcoal chimney and some newspaper. The chimney creates a column for the charcoal, concentrates the heat, and allows the rising hot air to pull fresh air in from the bottom to fuel the burning of the briquettes. But the chimney isn't good for starting piles larger than what it can hold.
The Bison Company took the principles from various fire-starting methods and created a portable, air-driven fire lighter they call the Airlighter. This device creates a jet of 4-inch flame that quickly ignites a pile of charcoal or wood. Once the fire has started, switch over to "blower" mods, which forces air into the unit to keep the fire burning and spreading the flames throughout the pile. Of course, the Airlighter is not just a great way to light BBQs, it should work well with... [more] - FirstGrill 2014: Sponsors CloserLook
|
The annual FirstGrill is coming up and RainyDayKitchen has been busy getting ready for the event. We will have four grills going (a Weber, a Coleman, a Thermos, and a TEC), a variety of interesting things to cook up, and a large collection of prizes to give away. In years past we ran contests so guests could win prizes from FirstGrill sponsors. However, we found that the contest took time away from the eating, so this year we are instead having a drawing for the FirstGrill sponsor items. Hopefully, this will give everyone more time for licking BBQ sauce from their fingers :-)
The FirstGrill sponsors this year are:
Many of these items will be available for guests to touch, try, and sample. Others will be given away as prizes in the drawing. Like other FirstGrill events, no one is allowed to leave until all the... [more] - FirstGrill 2014: Sponsors
|
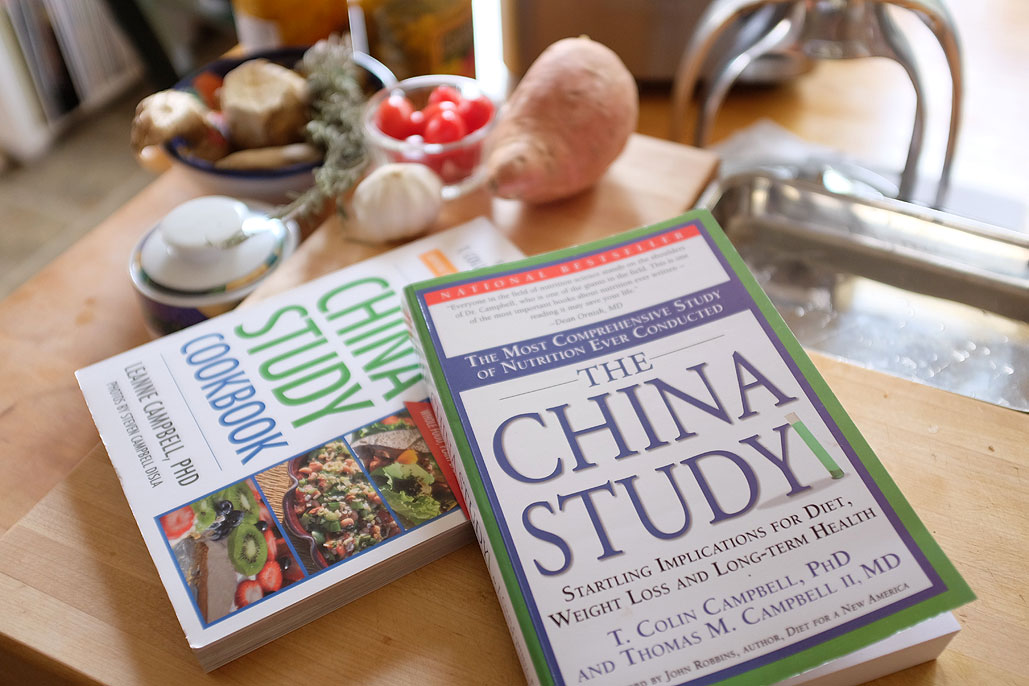
The RainyDayKitchen folks have enthusiastically feasted on all manners of meat and have loved every bite (except, of course, the vegetarian). However, a recent viewing of the documentary Forks Over Knives
What is The China Study? It started with the Cancer Atlas Survey. In the early 70s, China initiated a nationwide survey to collect information about cancer. The survey involved 2400 counties and 880 million (96%) of the population. To date, that was still the most ambitious biomedical research project ever attempted. The result was literally a set of maps detailing the presence and absence of certain types of cancer in China. It clearly illustrated geographically that some cancers were... [more]- Forks Over Knives
|
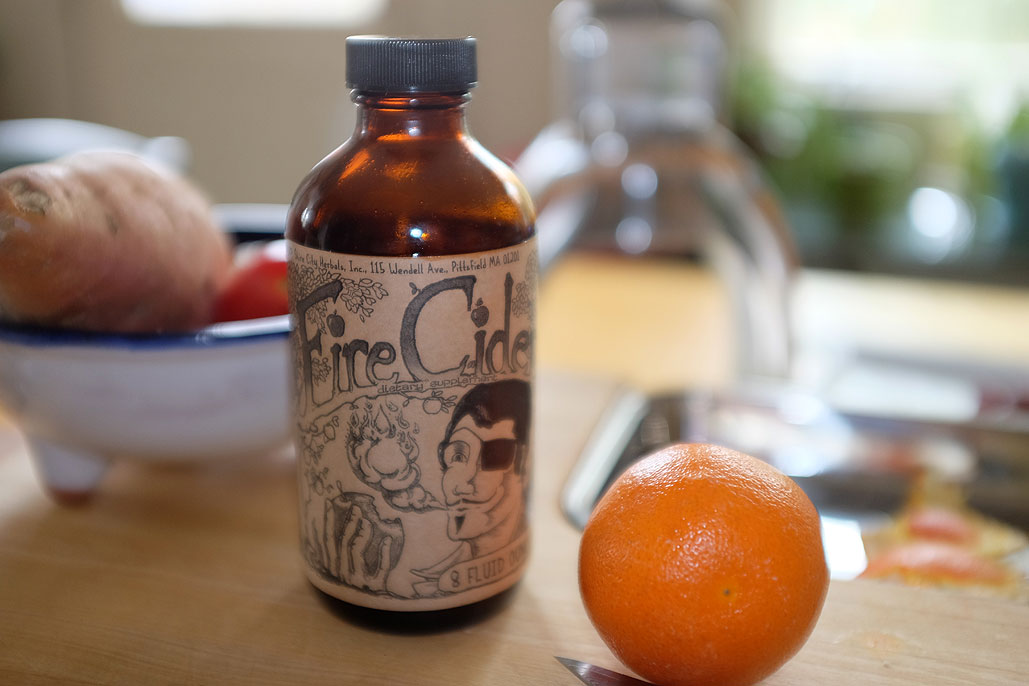
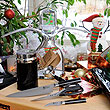
Those who know us know that we are not ones who are into home remedies (well, one of us is, the rest of us just let her talk). While we do not dismiss folk medicine as hokum (we do acknowledge that a number of today's pharmaceuticals have herbal roots), we do put more stock in understanding the mechanism of action more than just anecdotal evidence. However, we were intrigued by a bottle of Fire Cider one of our editors brought into the office. She was taking it to help with her cough. She was willing to share it with the few of us who were under the same affliction (she's nice that way).
The spicy apple cider vinegar concoction was rather tasty and surprisingly, did help in suppressing our coughs. Unfortunately, the small bottle did not last very long. Instead of "coughing" up $15 bucks for another bottle, we thought we would... [more]- Fire Cider
|
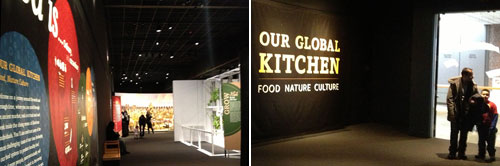
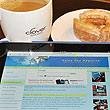
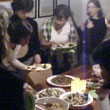
Food is the one thing that everyone on this planet relates to. It cuts across time, culture, and geographic/social/political boundaries. "Food" means different things to different people, but where the food we eat comes from is often nowhere near where we eat it. The Museum of Science's latest exhibit, Our Global Kitchen: Food, Nature, Culture, explores how a complex and intricate food system brings what we eat from the fields to our dinner tables.
Developed by the American Museum of Natural History, Our Global Kitchen is all about food: how it evolved, how it is grown, how it is consumed, etc. It is a fascinating exhibit, very well put together, with lot of interactive stuff for everyone to, well, interact with. The exhibit has sections exploring our relationships with food: growing, transporting, cooking, eating, celebrating. Trends are illustrated, issues are raised, questions are... [more]- MOS: Our Global Kitchen
|

- RainyDayKitchen 2013
- RainyDayKitchen 2012
- RainyDayKitchen 2011
- RainyDayKitchen 2010
- RainyDayKitchen 2009
- RainyDayKitchen 2008
- RainyDayKitchen 2007
- RainyDayKitchen 2006
- RainyDayKitchen 2005
| Kitchen GEAR* | ||
|
||
| RECENT 'fests * | ||
|
|
||

