| TODAY |
| Workshops |
| Perennials |
| Annuals |
| Tools |
| Misc |
| Other Gardens |
| Contact Us |

| RainyDayGarden... |
||
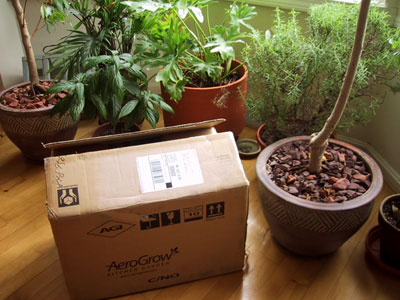
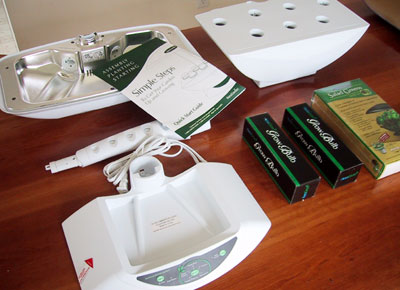
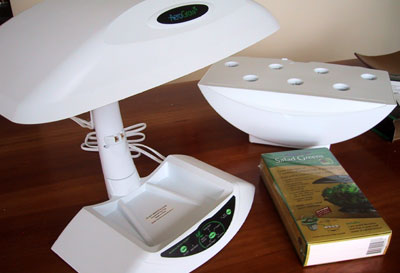
It was 35º outside today when we got the AeroGrow delivery. We were eager to get it up and running.
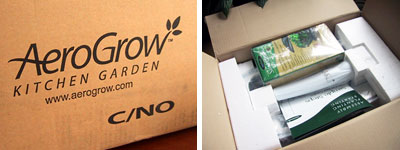
The AeroGrow Kitchen Garden came almost completely assembled. The assembly instructions, seed pack, and the lamp arm are loose on top.
The lamp hood and the main base unit lifts out as one unit. The total amount of time it took us to unpack and assemble the AeroGarden was about 10 minutes.
It is best to have a large table where things can be spreaded out while being unpacked, but it can be also be done in a much smaller area.
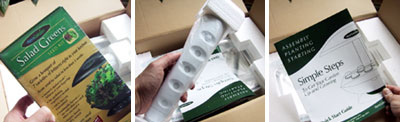
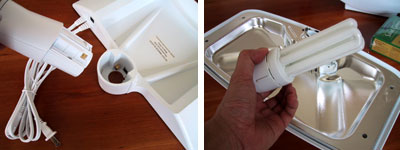
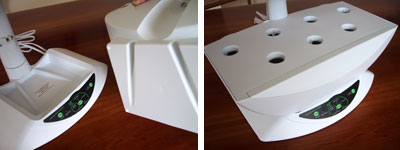
The instructions were clear and concise. There were just six steps to putting this whole thing together. The first step was to insert the lamp arm into the base. The socket is shaped such that there is only one way to put it in.
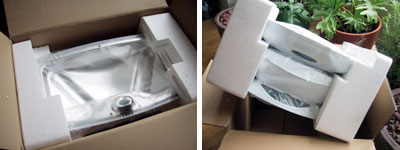
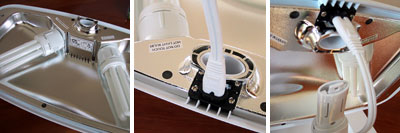
There are two bulbs for the lamp. They insert directly (do not twist) into the hood assembly. Plug the cord from the base into the hood, the lamp hood into the arm, and the assembly is complete.
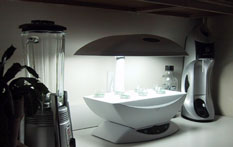
The fully assembled grow lamp is stable and small enough to fit comfortably on most counter or desk.
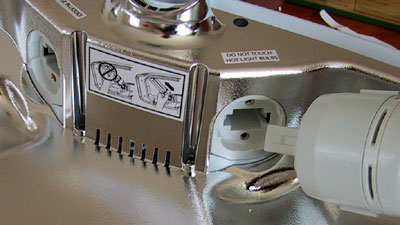
The growth bowl sits freely on top of the control base. Check to make sure the contacts in the lamp arm is touching the bowl. This is how power gets to the pump in the bowl.
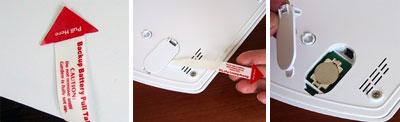
One last thing to do before planting is to pull the tab which activates the backup battery :-)
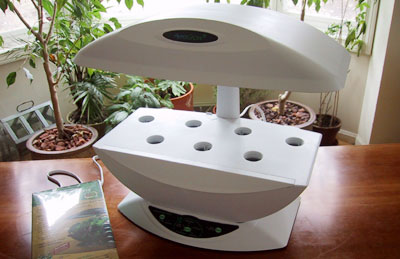
The AeroGarden is now ready for planting. The next step is to find a place for the garden somewhere in the RainyDayKitchen. The best thing is it doesn't have to be near a window... just an AC outlet. We are eager to see just how well this AeroGarden works! Check back each week to see the update! |
||
Hydroponic gardening has been around for a long time. Techniques and systems for growing plants in soil-less environments have been successfully created by amateur and professionals alike. While the concepts and equipment necessary for a hydroponic garden is pretty simple to set up, it often quite industrial looking and definitely not something one would want in the kitchen. AeroGrow has created a system that is both simple and attractive.
The AeroGarden was quick to assemble, easy to plant, and looks great anywhere in the house. We will track the progress of the growth of the garden from planting (March 2th) to harvest. We'll post the updates and photos every Saturday. Reviews: 1. Assembly 2. Planting 3. Updates Week 1: March 25 - March 31 Week 2: April 1 - April 7 Week 3: April 8 - April 16 4. Cleanup Assembly Summary: 1. Difficulty - easy 2. Time - 10 minutes 3. Tools - none 4. Cost - $150
|
||