| Today |
| Carolyn's World |
| Gear & Gadgets |
| Garage |
| Garden |
| Kitchen |
| Unaccompanied Minors |
| Workshops |
| Contact Us |
| Index |

| RainyDayProjects... |
||
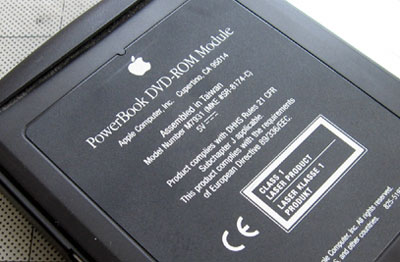
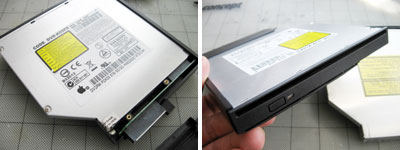
The PowerBook DVD-ROM Module is made of three pieces: the DVD drive, the carrier, and the connector. Before the new DVD burner can be used in the PowerBook, the old drive must be removed from the new one installed. There are six screws holding everything in place. Their locations are obvious, but we point them out here for completeness. A good magnetic tip Philips screwdriver would be very handy for the removal task.
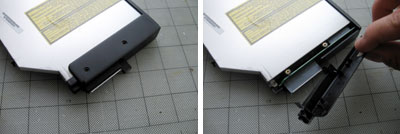
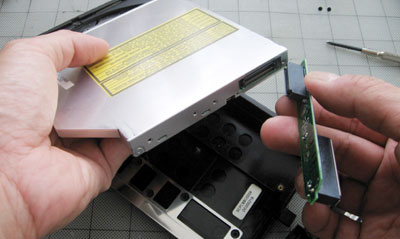
Once the screws have been removed, we were able to take off the small lid, and lift the drive out. The connector disconnected easily, is required for the new drive, and should be installed before being reattached to the carrier.
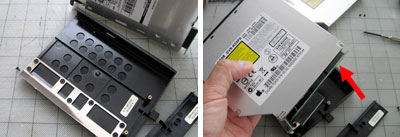
The tray is made mostly of plastic, but does have some metal pieces. We noted the locations of all the screw holes before lifting out the old drive. We weren't sure how difficult it would be to realign everything.
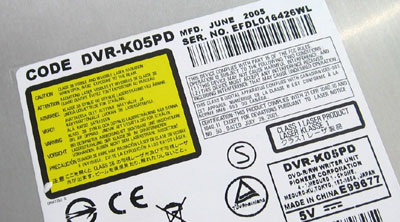
We got the Pioneer DVD drive (DVR-K05) from Centrix International. Note that Centrix has two order numbers for these drives (DVR-K05, and DVR-K05PD). You can't tell by looking at the drive...since they both will have the same part code. The DVR-K05 is the one with the bezel and the one for this project. These drives were specially made for Apple. We are not sure if generic slot-loading drives will work, but for the price that Centrix is asking ($80), why even worry about it? Save yourself the hassle, get it from Centrix, and be done with it.
The new drive was a perfect fit for the carrier, all the screw holes aligned exactly, and everything reassembled without problems. Mounting the new drive was a lot easier than we had anticipated.
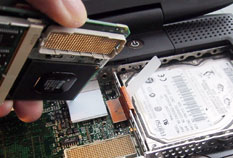
The photo above shows the drive inserted into the G3 PowerBook. The only cosmetic issue is since the drive was created for a G4 laptop, it does not have the curved bottom to exactly match the contours of the G3. We'll have to remedy that in a future project.
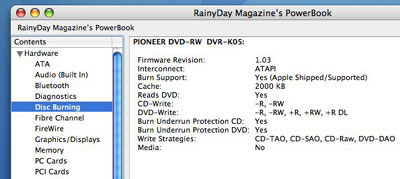
With the drive installed and the G3 rebooted, we checked on the status of our upgrade. Looks like we are ready to burn some DVDs! Our next step is to see if we can install iDVD on the G3 :-) |
Apple G3 Upgrade DVD Burner Install |
|
Why do we here at RainyDay Magazine keep trying to make our old discontinued gear work with the new technologies? Well, we can think of plenty of reasons (too much time on our hands, not enough money, too cheap to upgrade, etc...) However, sometimes we do it just for the fun of it :-) Take the G3. Because upgradability was part of the G3's design, user access to it was engineered in. In this series we'll walk through the steps on how to do some upgrades (memory, hard drive, G4 processor) to an old Apple G3 laptop so it can run OS-X, edit iMovies, and god knows what else :-)
In this article, we'll take a look at the G3 laptop, its removable pieces, and how to upgrade the tray-loading DVD-ROM to a full slot-loading DVD burner. Accessing the inside : Drive Upgrade : Seagate Drive Specs: 1. General Info Software Upgrade : 12 GB External Drive: Memory Upgrade: 1. RamJet 512 MB module install G4 Processor Upgrade:
|
||