The last time we replaced the front rotors was six years and 50K miles ago. While most of those were highway miles and the rotor thickness was still within spec, it will probably fall below the minimum thickness after another few thousand miles. As we were in a rotor-replacing state of mind, we decided to replace the front ones now instead of next Spring.
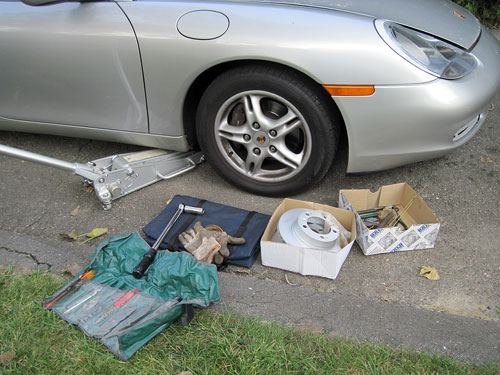
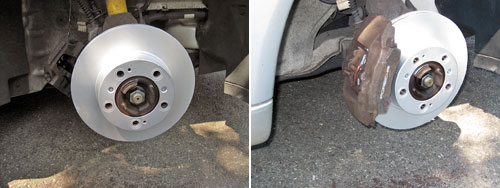
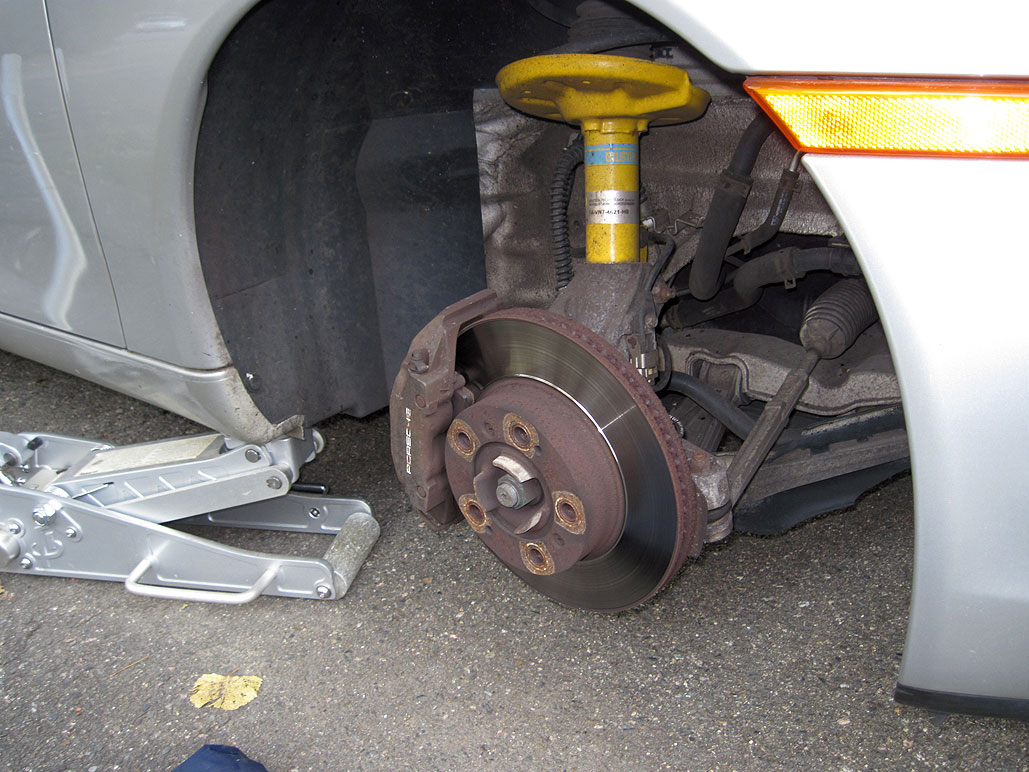
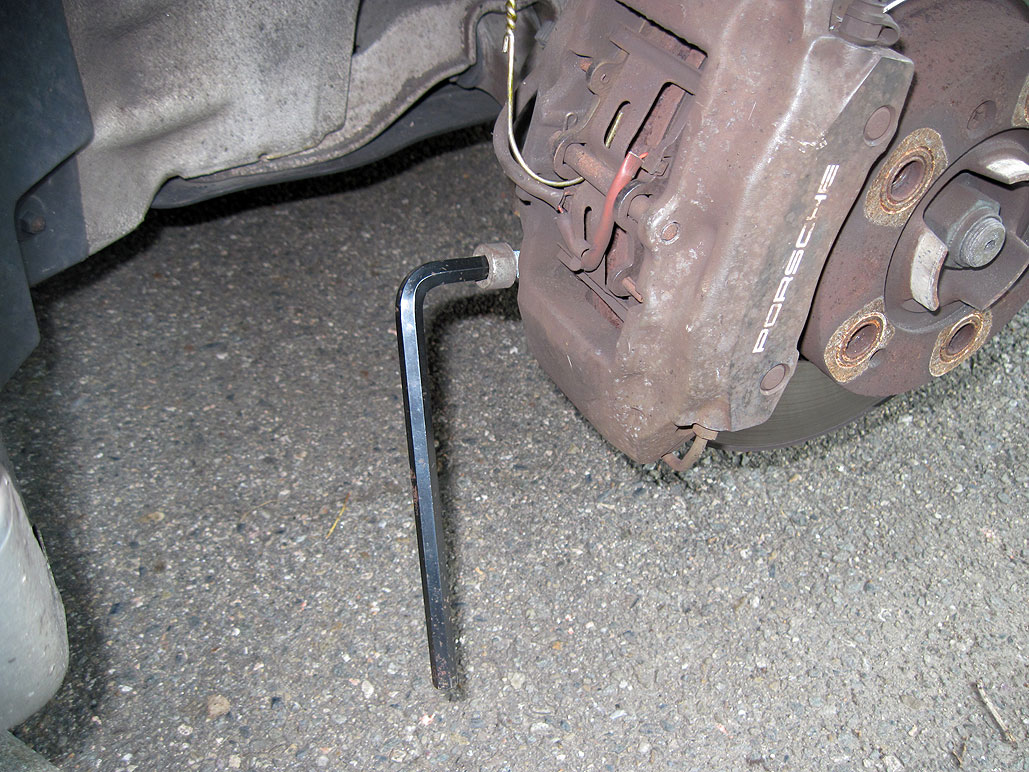
With our recent experience replacing the rear rotors, we expected the front replacement to take no more than a hour or so. Unfortunately, things did not go exactly as planned. As with the rear rotor replacement, we removed the wheel and hooked the caliper onto the spring using the hanger in preparation for freeing it from the rotor. The first problem we encountered was difficulty in removing the caliper bolts. It took a LOT MORE effort than with the ones on the rear.
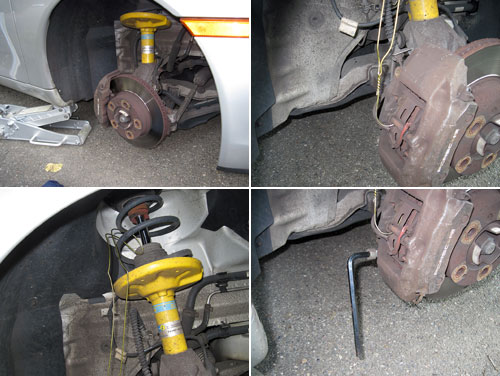
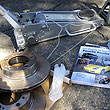
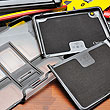
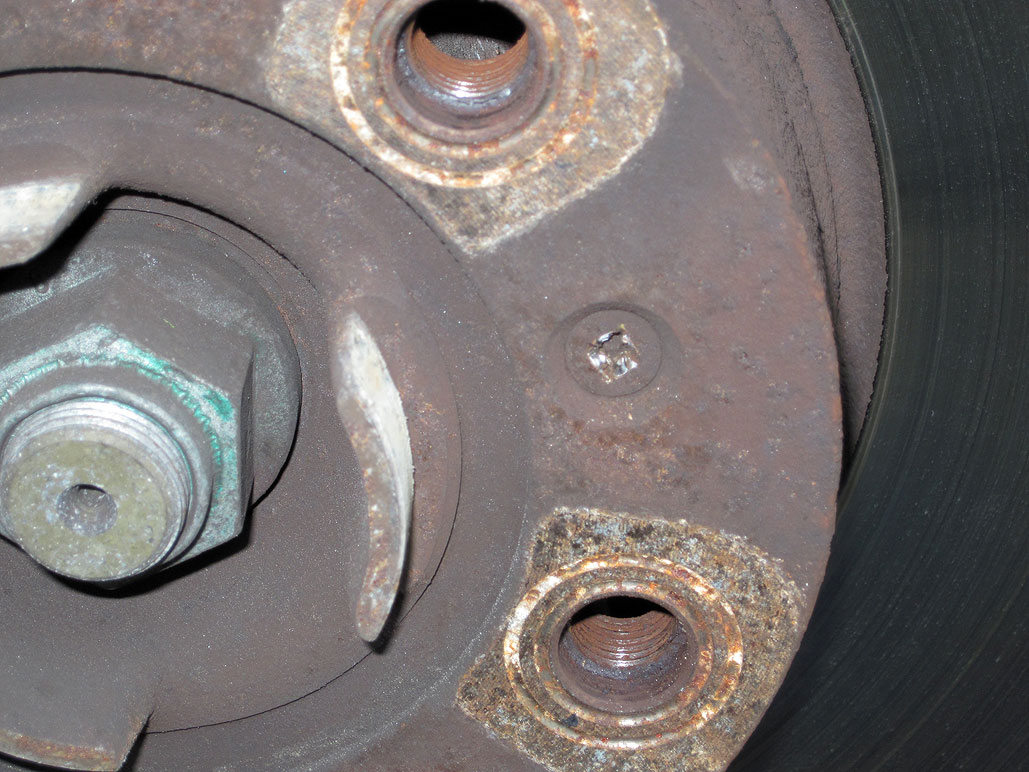
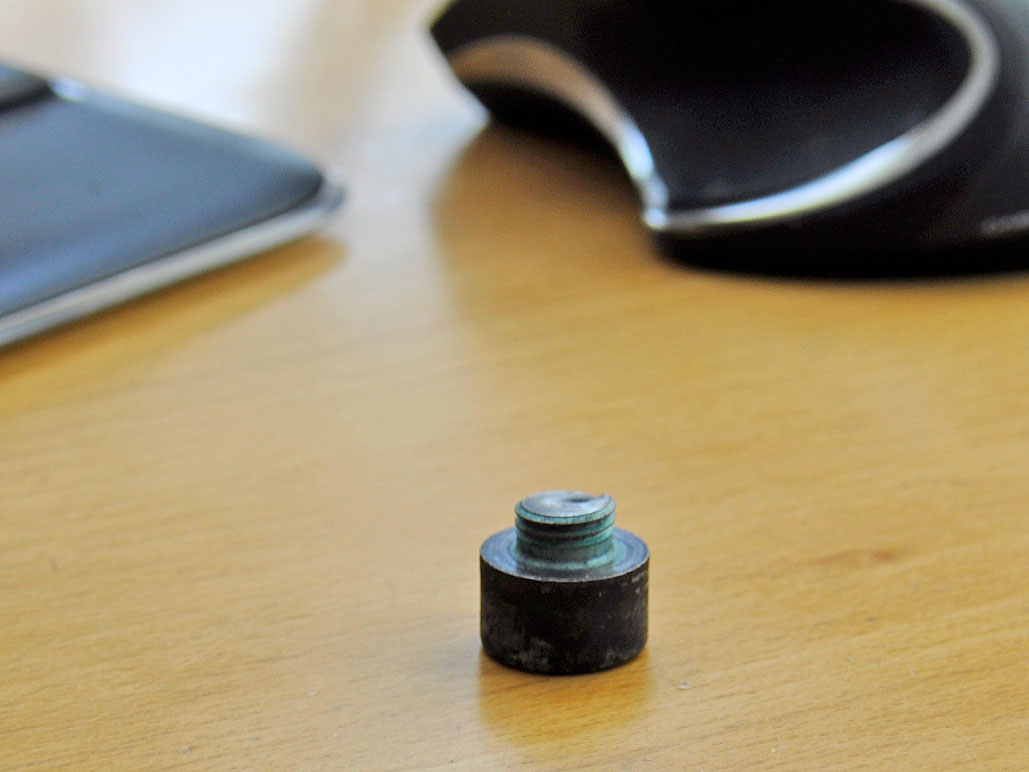
The front rotors are exposed to more of the slop and slosh from the road. So it was not surprising that the caliper bolt was stuck and the rotor mounting screws were rusted onto the rotor. While getting the bolt out was tough, getting the screw out was impossible. We ended up stripping the head of the screw, but made no progress in removing it.
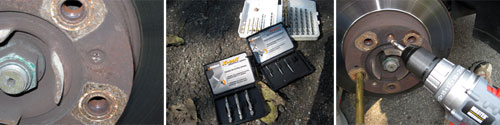
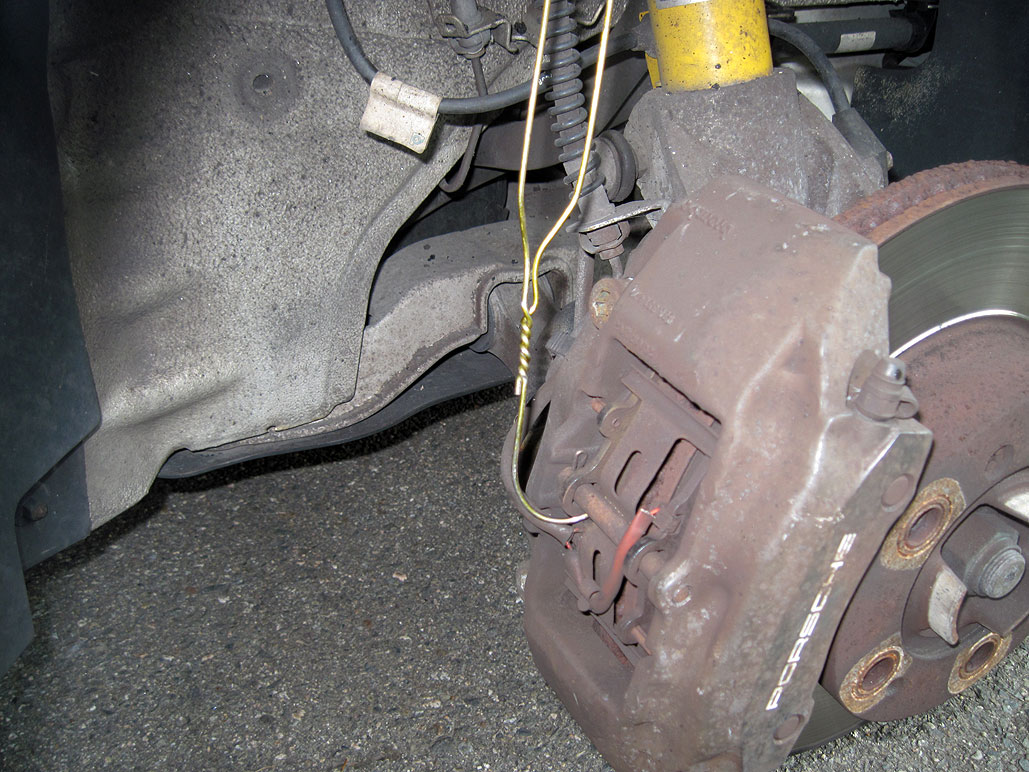
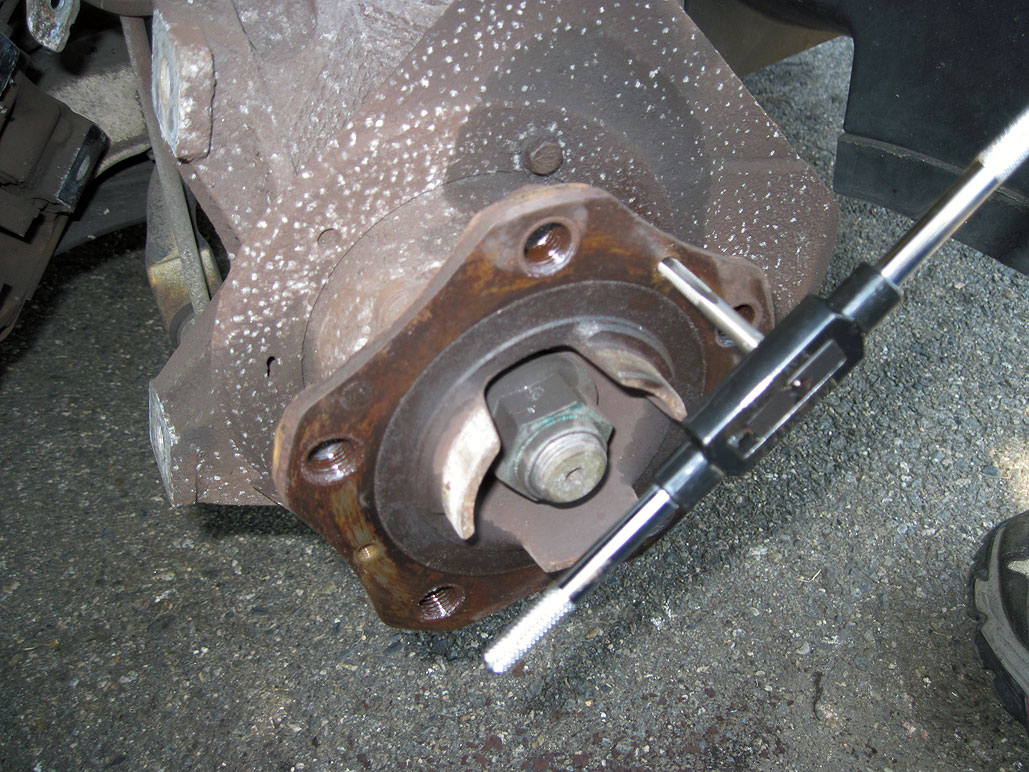
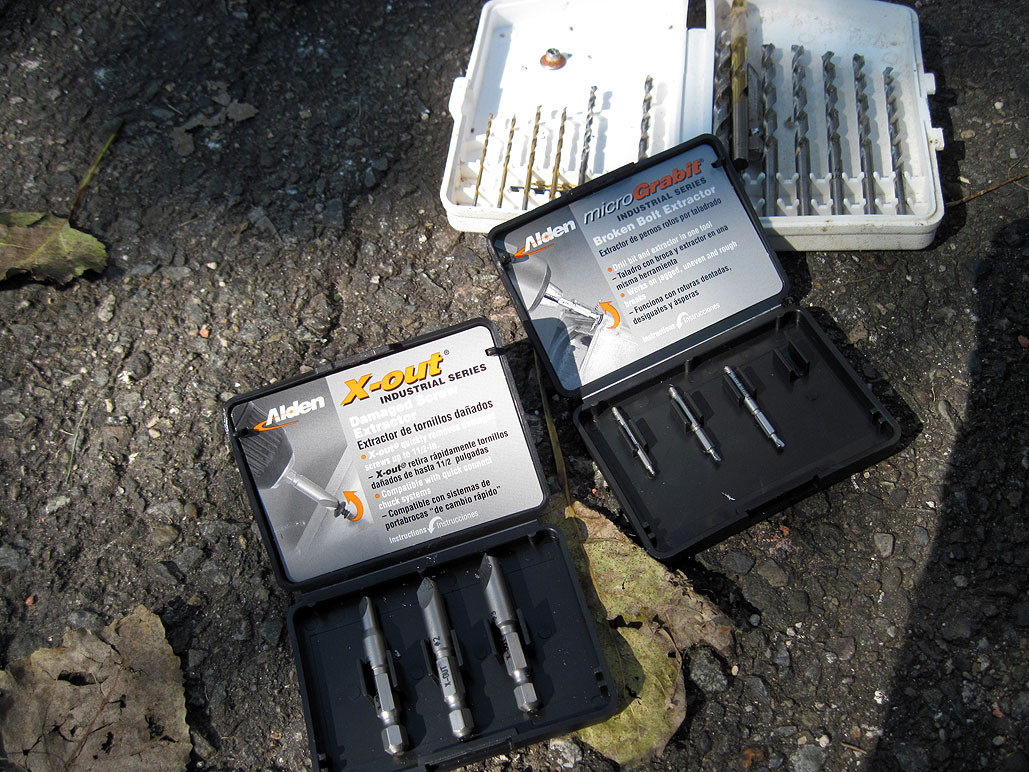
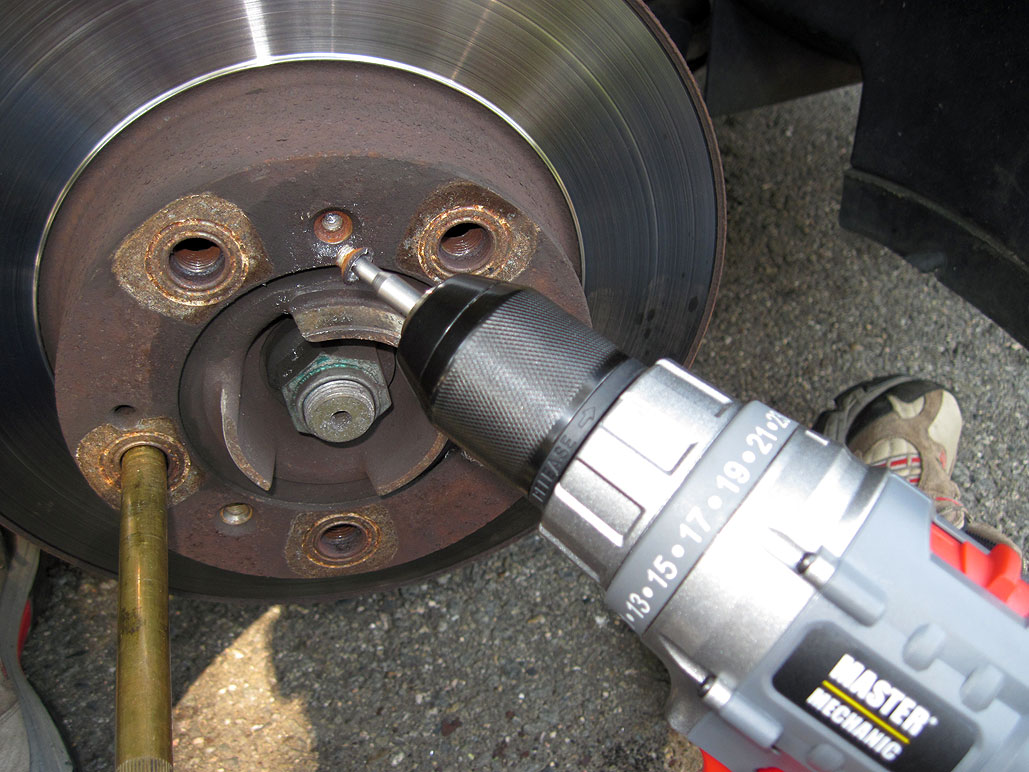
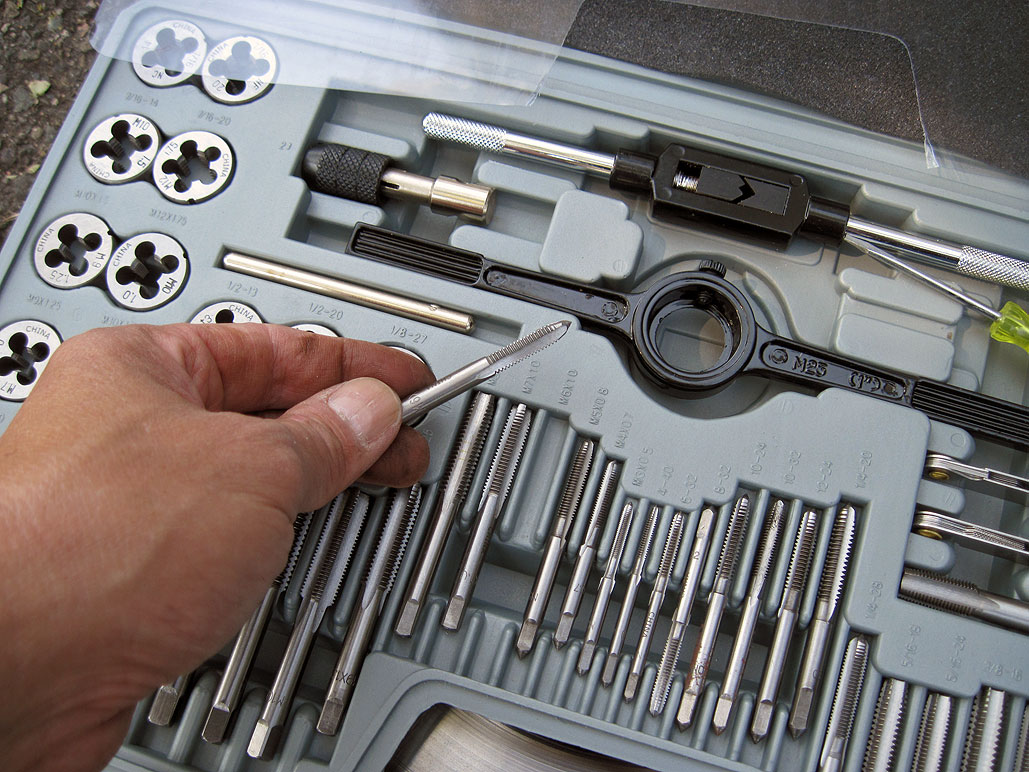
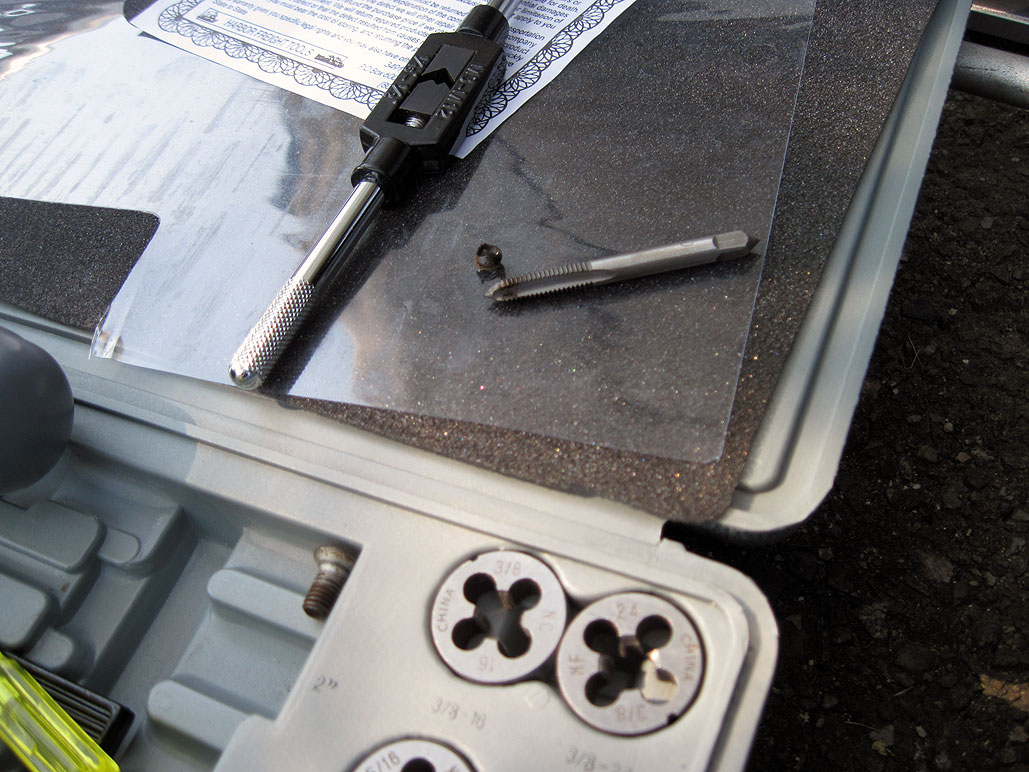
The only solution was to extract it by drilling it out and retapping the hole. The Alden bolt extractor did its thing, but left pieces of the stem in the hole. When retapping the hole, we didn't make it bigger, we used the same size tap and pushed out the remainder of the stem left inside. The action also had the benefit of cleaning the threads.
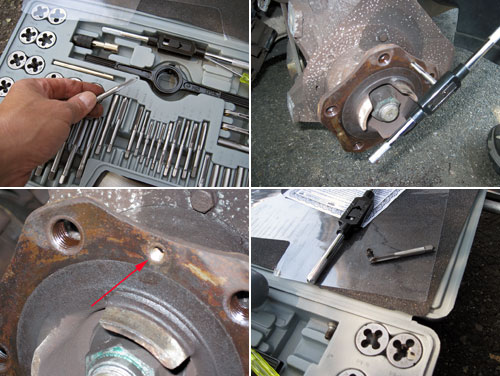
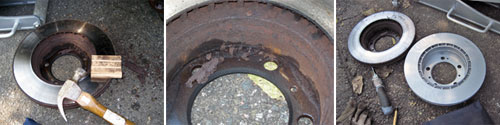
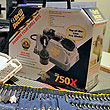
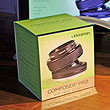
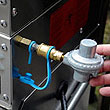
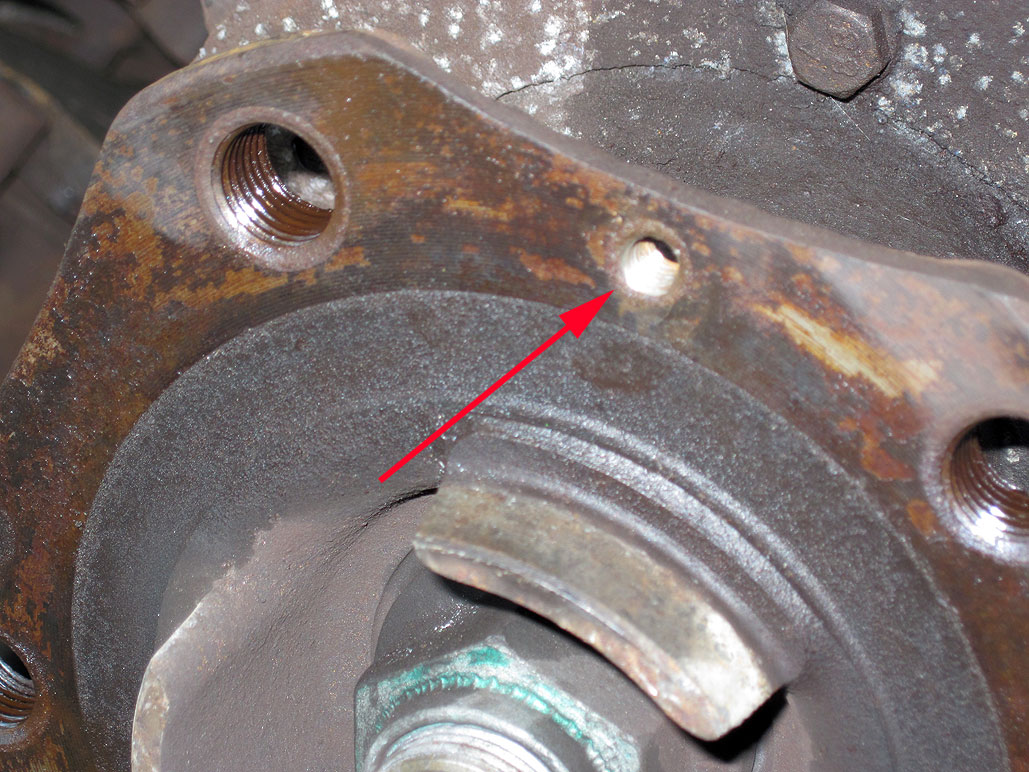
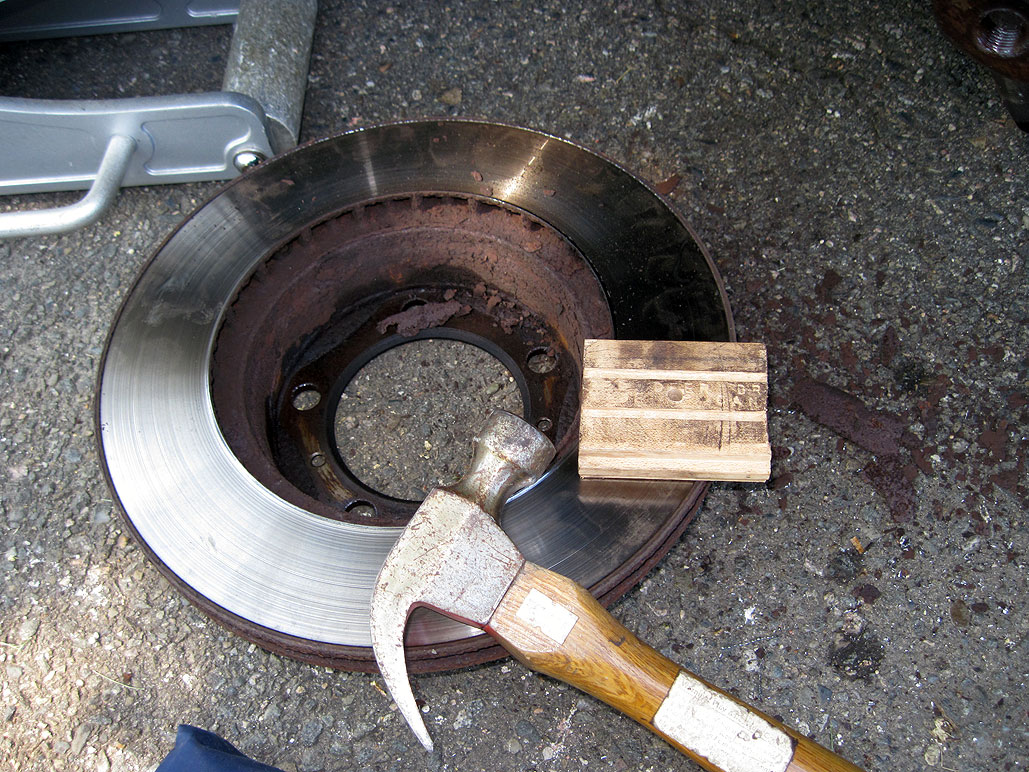
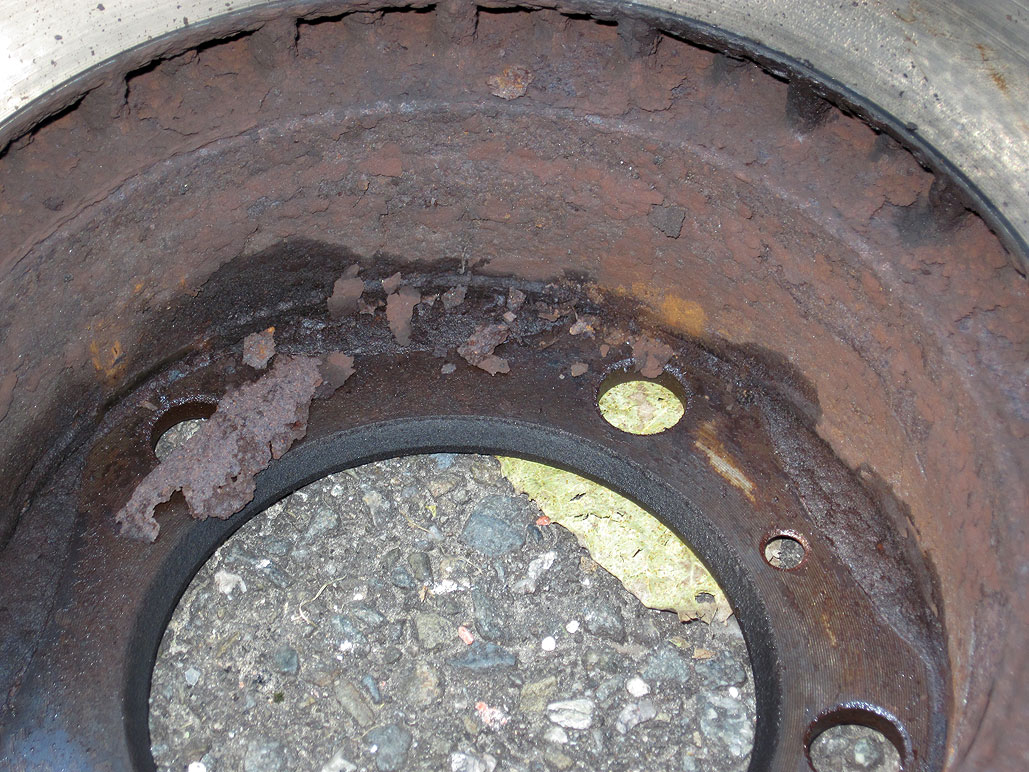
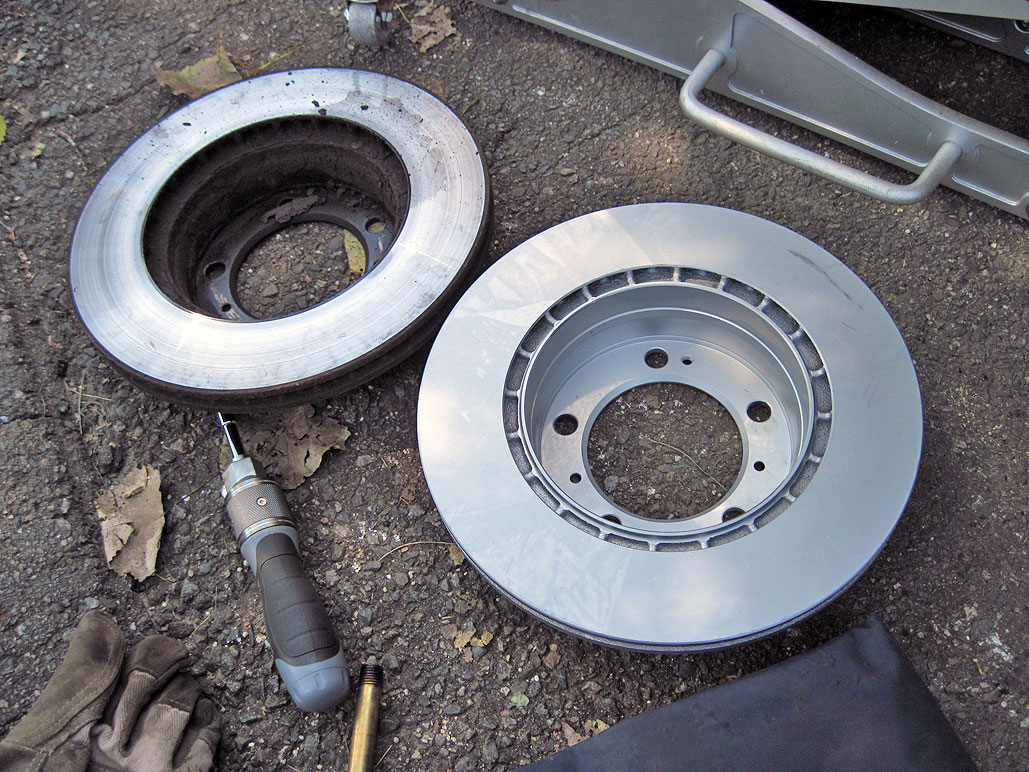
We got smart with the second screw and used our Rockwell 3RILL impact drill to loosen it. The 3RILL removed it without stripping the head. When we use the right tool for the job, we not only save time, we save ourselves a lot of headaches :-) Of course, getting the screws out was just the first hurdle. Getting the front rotor off was a lot more difficult than the rear ones. After working it for about ten minutes, we decided it was time to whack it with a hammer. After a few sharp thwacks, it loosened up and we were able to work it off. Looking inside, it was clear why it gave us so much trouble. Hopefully, the new rotor, with rust-inhibitor coating, will be easier to remove the next time around.
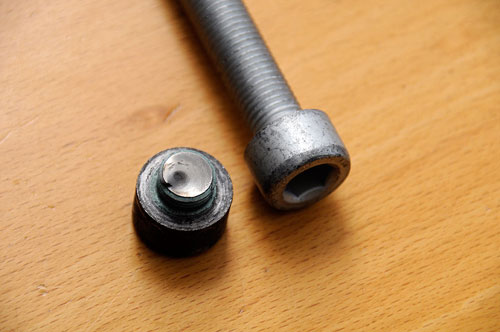
Of course, the DIY story does not end with this rotor. When working on the final rotor, we snapped off the head of the caliper bolt. We could have tried extracting it ourselves, but the other bolt was also stuck. We didn't want to chance breaking both bolts, so we decided to drive to the dealer and let them flx the problem for us.
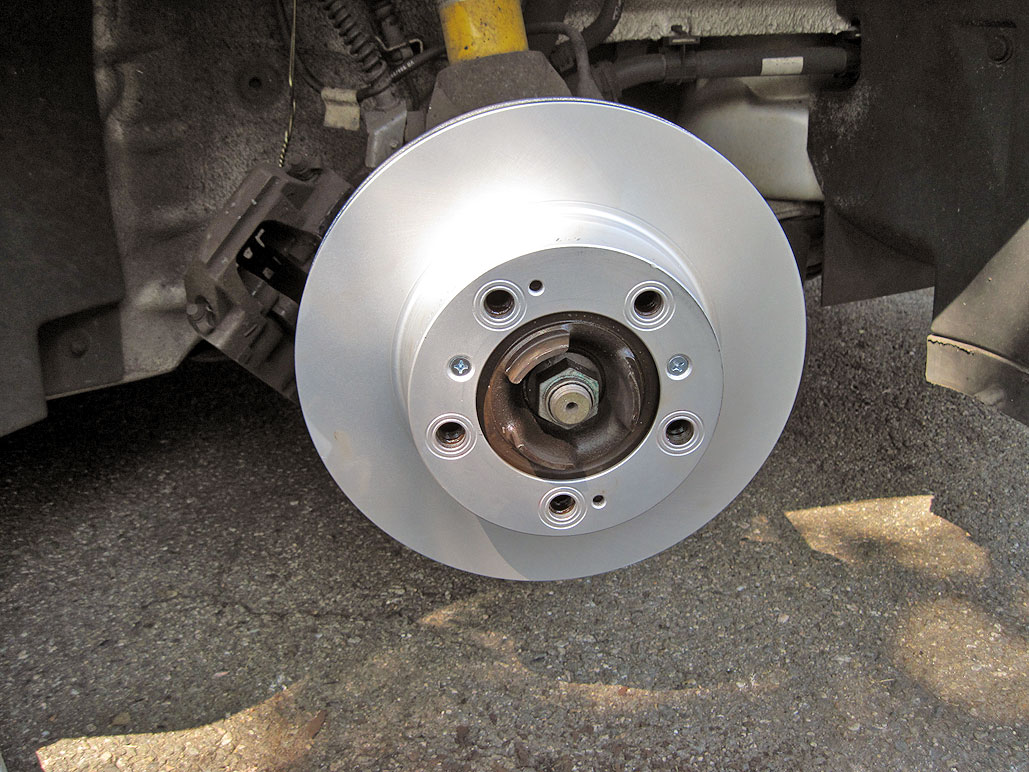
With what the dealer charged us for removing the broken bolt, we did not save any money on this DIY project. Still, we did learn a lot and would do it again. Fortunately, now that all the rotors have been replaced, it will be another few years before we have to think about it :-) [Permalink] -Front Rotor Replacement
|


