
| TODAY |
| 2013 |
| 2012 |
| 2011 |
| 2010 |
| 2009 |
| 2008 |
| 2007 |
| 2006 |
| 2005 |
|
| Contact Us |


RainyDayMagazine's content can now be licensed for your print magazine or web site. Please contact us directly here. If you want to see something reviewed, then drop us a note with a link and we'll be happy to take a look. NOTE: Click here to read more about our approach to product reviews. |
|
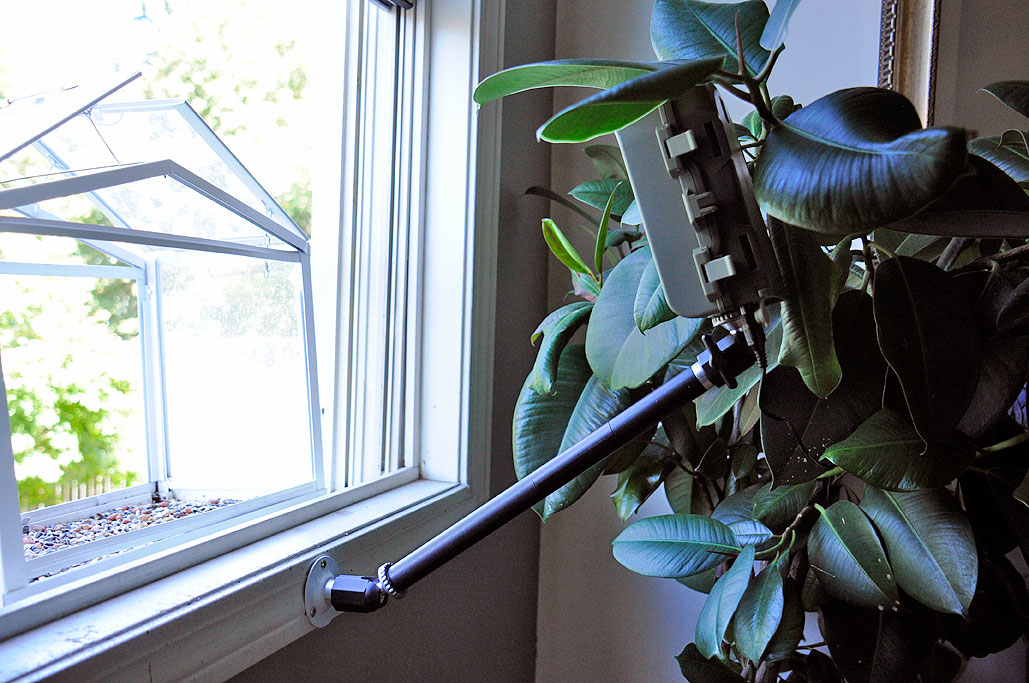
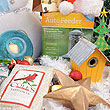
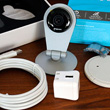
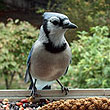
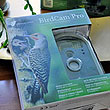
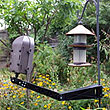
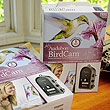
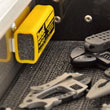
The BirdCam and BirdCam Pros from Wingscapes are weather-proof wildlife cameras/videocams. Both cameras have been set up in various sections of the RainyDayGarden for almost a year. Some readers have asked how these wildlife cams have fared and what we managed to capture with them.
Of all the BirdCams setups, the one which yielded the most interesting shots was at the 2nd-story window feeder. This is because we could vary the bird feed we put out (and thus change who visited it) and easily make adjustments to the BirdCam (because it was inside). Also with this particular setup, we can hear the birds at the feeder and so have an idea when "interesting" things might have been captured :-) The one requirement with the 2nd-story installation is... [more] - BirdCam and BirdCam Pro InTheWild
|
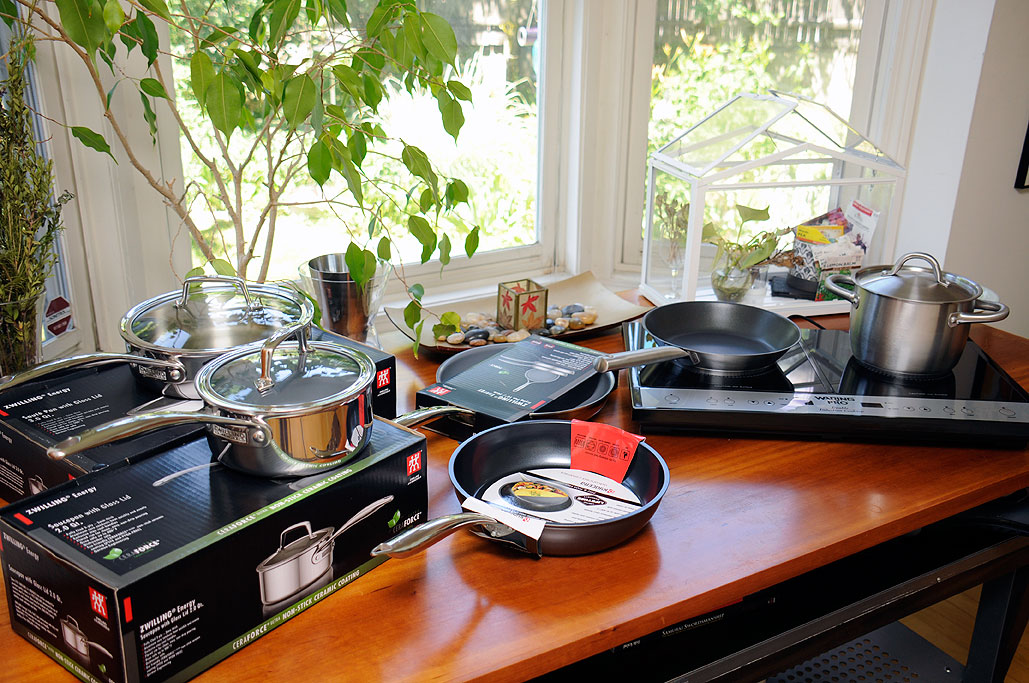
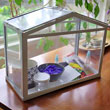
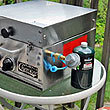
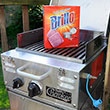
We have done a bit of research on induction cooking and know that it is cool. However, in order to test the cooktop we got last August, we had to be able to cook in something that was induction-ready. The stainless steel cookware set we have is not magnetic, which means none of the pots and pans will work with the cooktop. The RainyDayKitchen folks had been look for an excuse to get some new cookware, and this was it. But what to get??? Whatever we end up with, it will be an intersection of high-tech and the everyday. After all, that is what we are about at RainyDayMagazine!
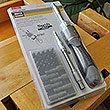
The search languished for a while until one of the interns had an inspiration: ceramics. We love our ceramic knives and were aware that a few companies were making non-stick cookware from ceramic materials. Intrigued, we did more research. Turns out, the advantages of a ceramic non-stick coating over the more traditional... [more] - Ceramic Cookware FirstLook
|
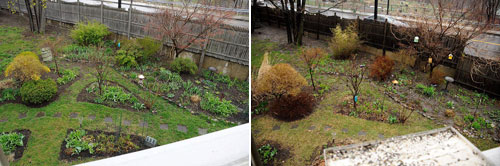
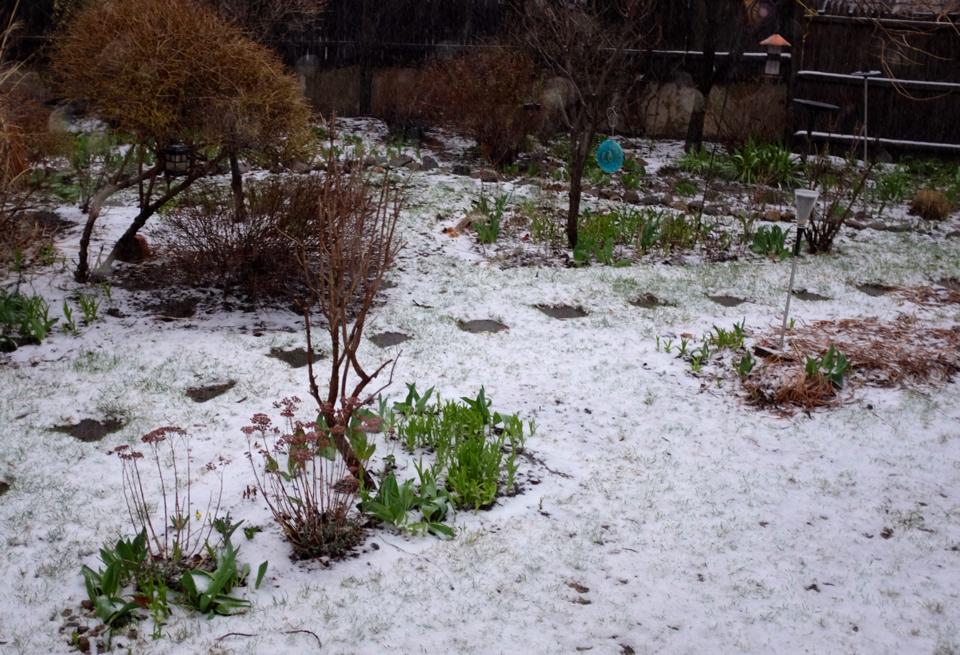
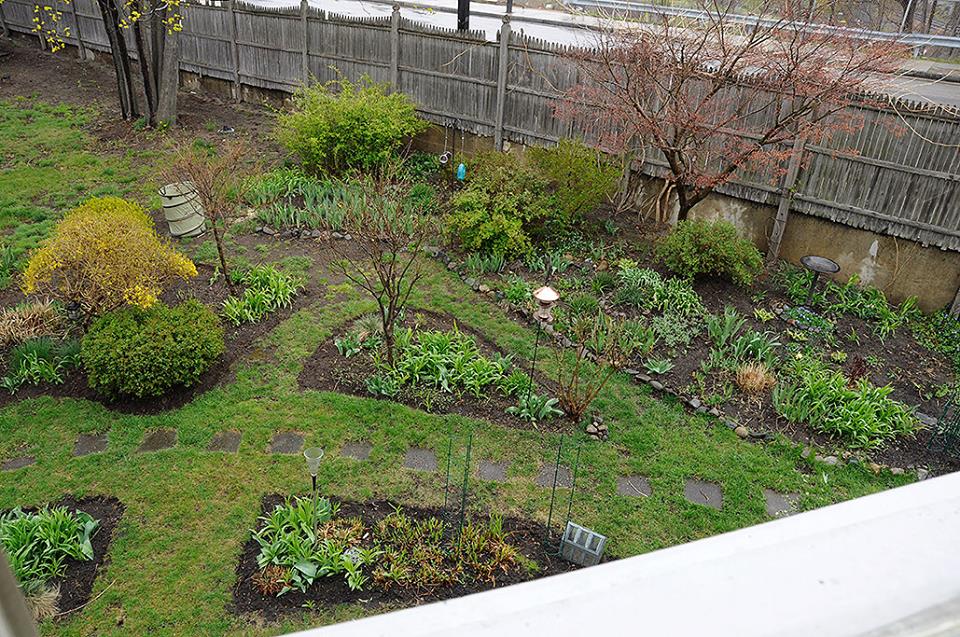
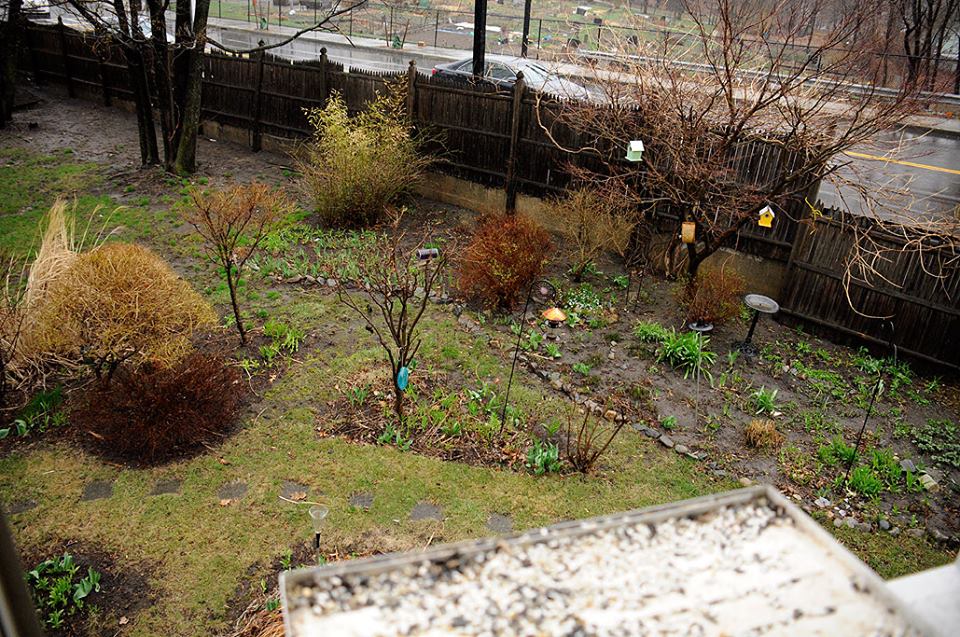
Now that Summer has officially started, we want to do a quick look back at how Spring went in the RainyDayGarden. April: Because of the long Winter, the plants got going a bit later this year, and we have photographic proof. The photo on the left taken on April 12th of last year. The on the right was taken on April 15 of this year. Side-by-side, it is easy to see that things this year were a few weeks behind last year. Oh yeah, it also snowed on the 16th :-)
When the April plants finally got going, their blooms were a welcome sight. We are not sure if it was because of the delay, but the plants all seemed to bloom at the same time. We also noticed fewer... [more] - RDG Spring Summary
|
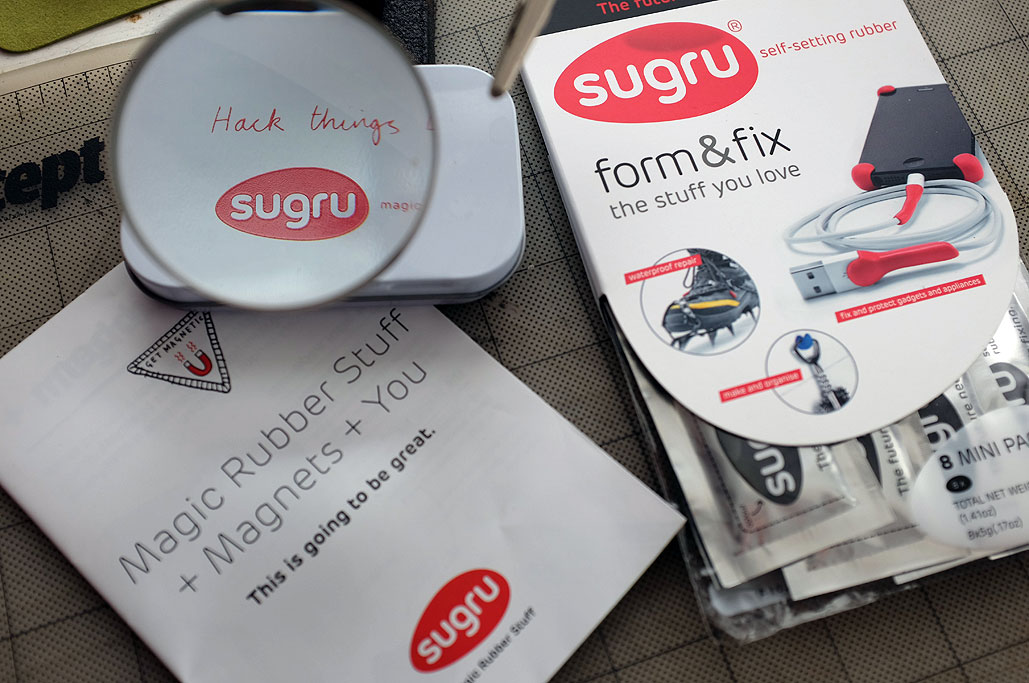
Fixing things is one of the many uses for the magical material that is Sugru; making things better or more useful are the others. We were clued into the stuff a few years ago by readers who had played with it and thought it would be a good fit for RainyDayProjects.
Since that time, we have fixed a LOT of stuff with Sugru. Some of it have stayed fixed, some of it not. Along the way we have learned what works and what does not. We also have been compiling a "wouldn't it be great" list of things we wanted to be able to do with Sugru. One idea was to... [more]- Sugru Update
|
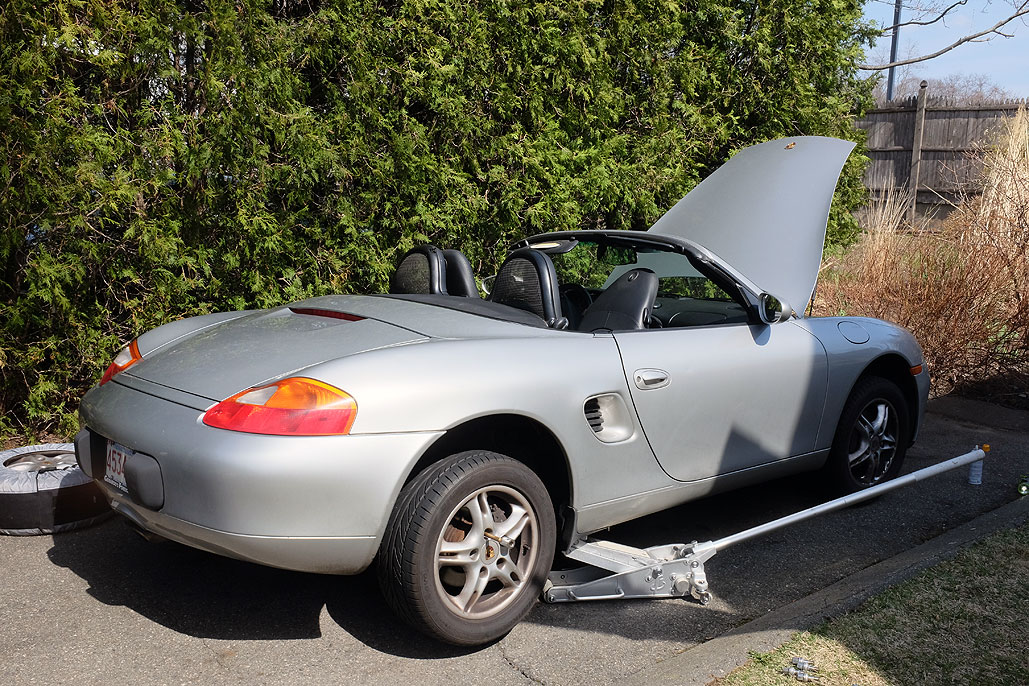
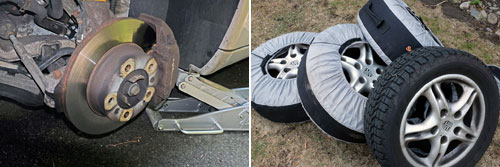
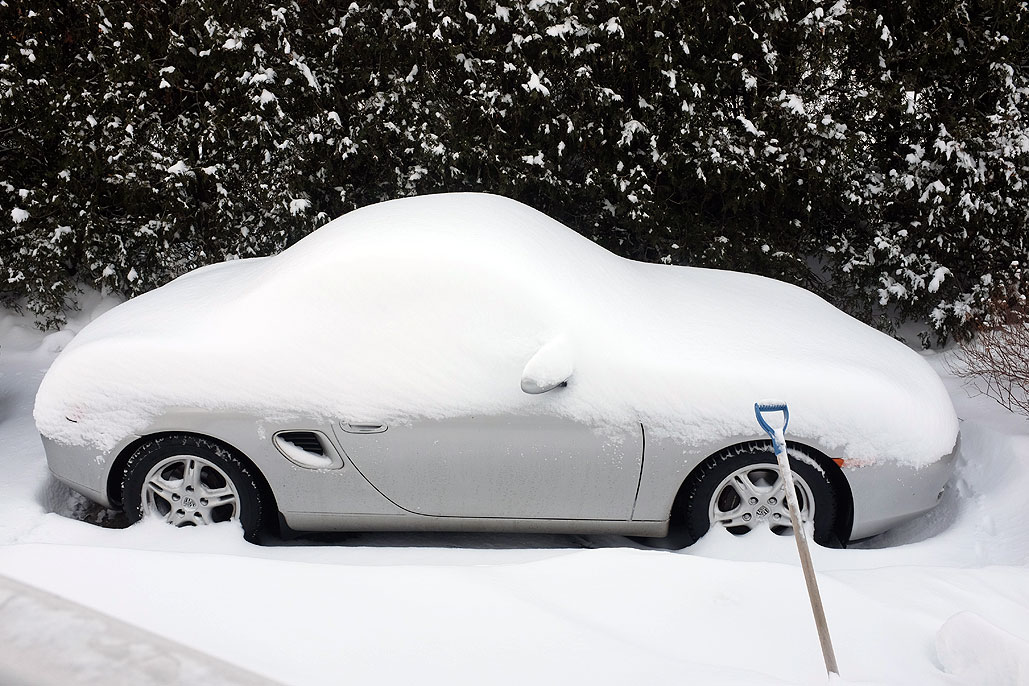
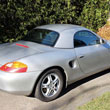
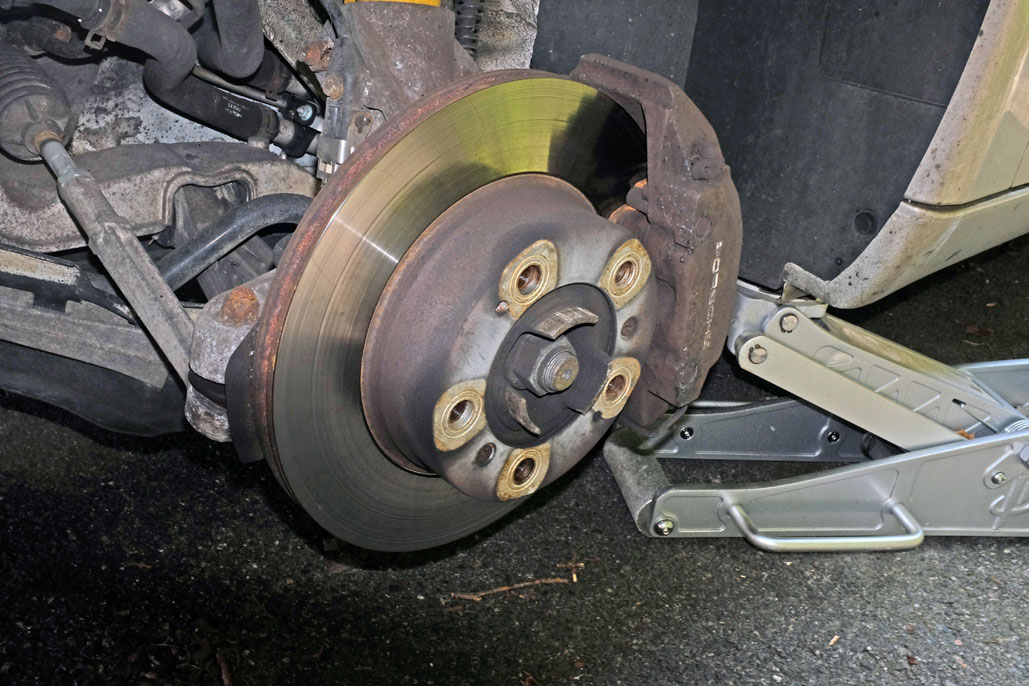
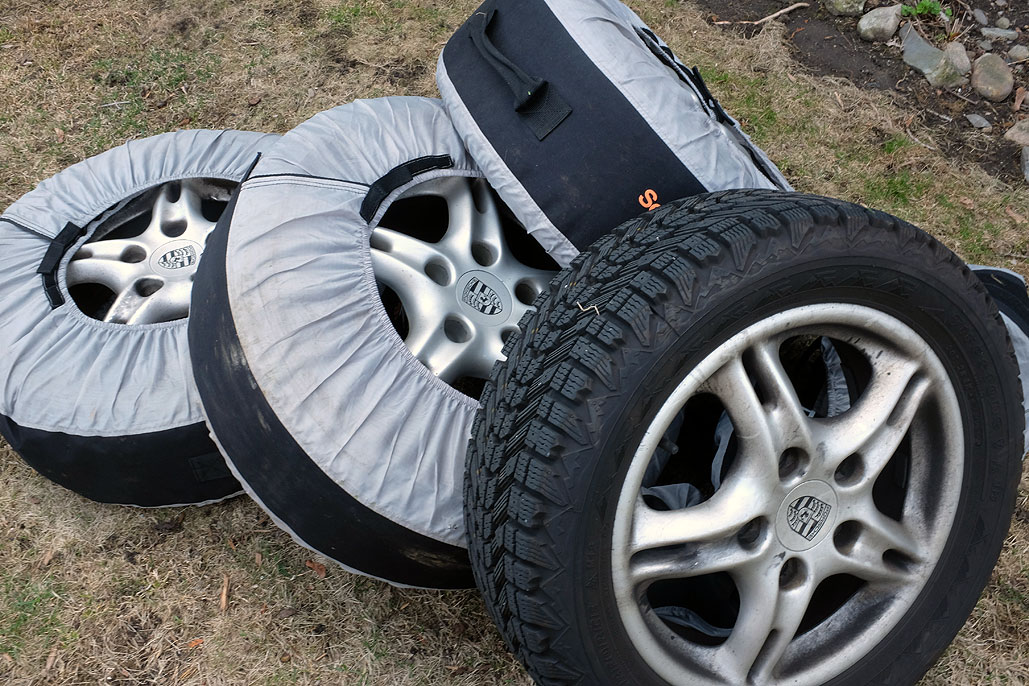
We usually wait until May to take off the hardtop and the snow tires. However, when the temperature hit 70º a few weeks ago, we decided it was pretty safe to get the car ready for Spring. Spring Prep consisted of: a quick check of the pads and rotors; some lithium grease for the joints on the front end; and a vacuum of the interior. This was the second season on these WinterForce snow tires. The alignment done last season really made a difference as the tire wear was very even.
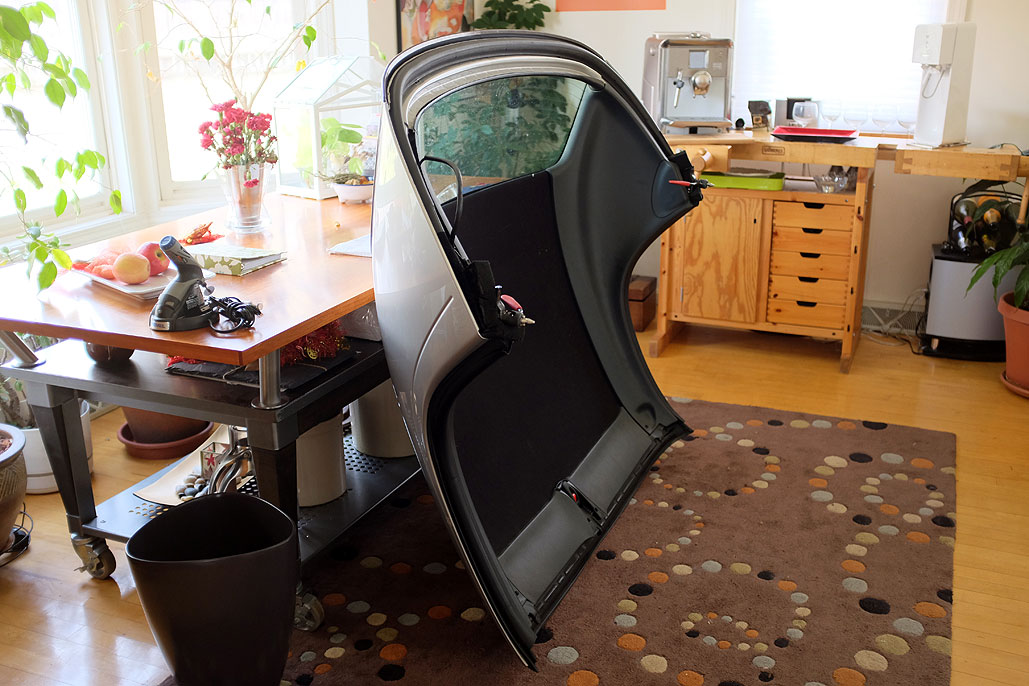
When removing the hardtop from Boxster, we ran into a slight problem: the release lever on the driver's side moved, but the hardtop didn't release. What we discovered was that the tech who last serviced the car had snapped the cotter pin (which connects the lever to the shaft) when he replaced the hardtop. We briefly considered making them fix it, but we didn't want them to mess it up even further trying to get the top off. It took us a while to remove the top, but once we did, we were left wondering, how should we fix the lever?
The normal solution would be to replace the cotter pin. The issue was we were unable to insert the pin...conceptually easy, but... [more]- Boxster Hardtop Fix
|
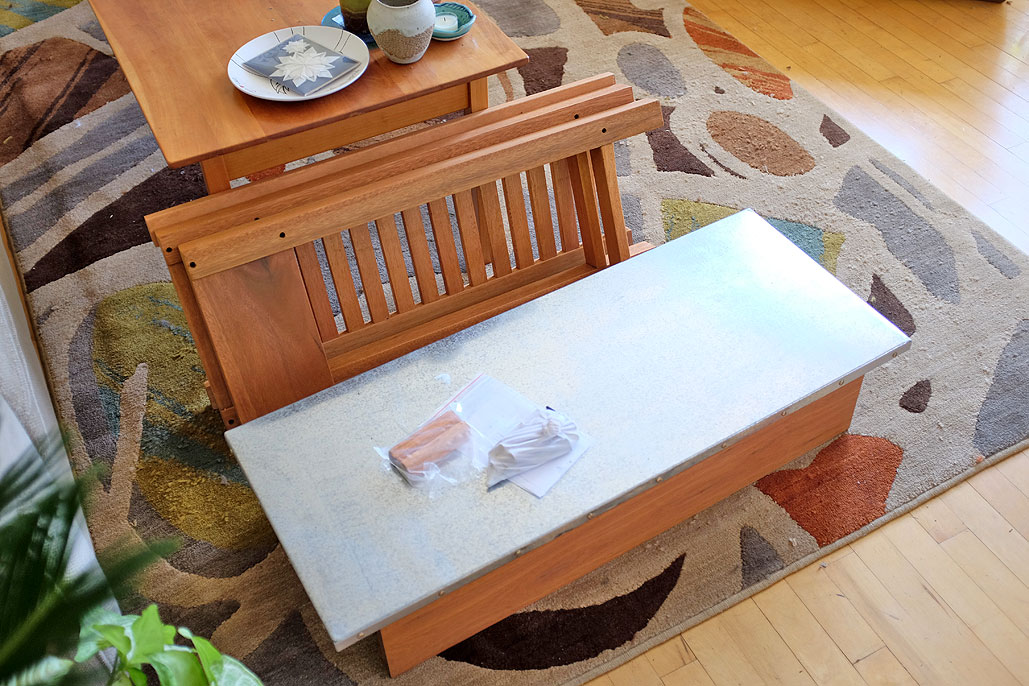
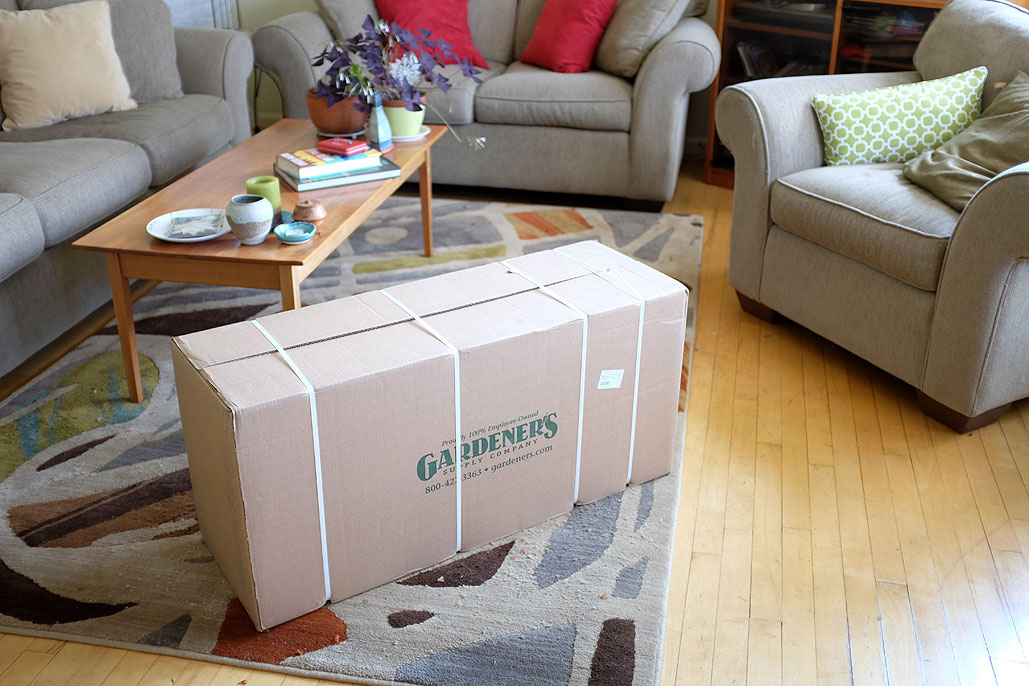
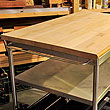
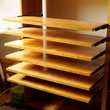
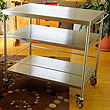
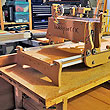
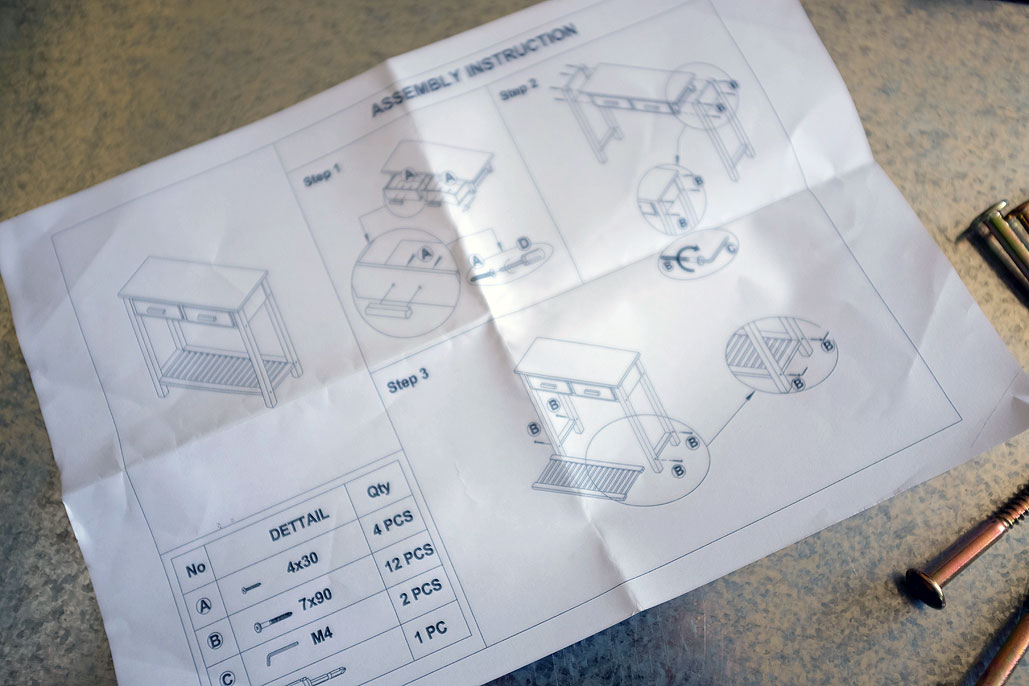
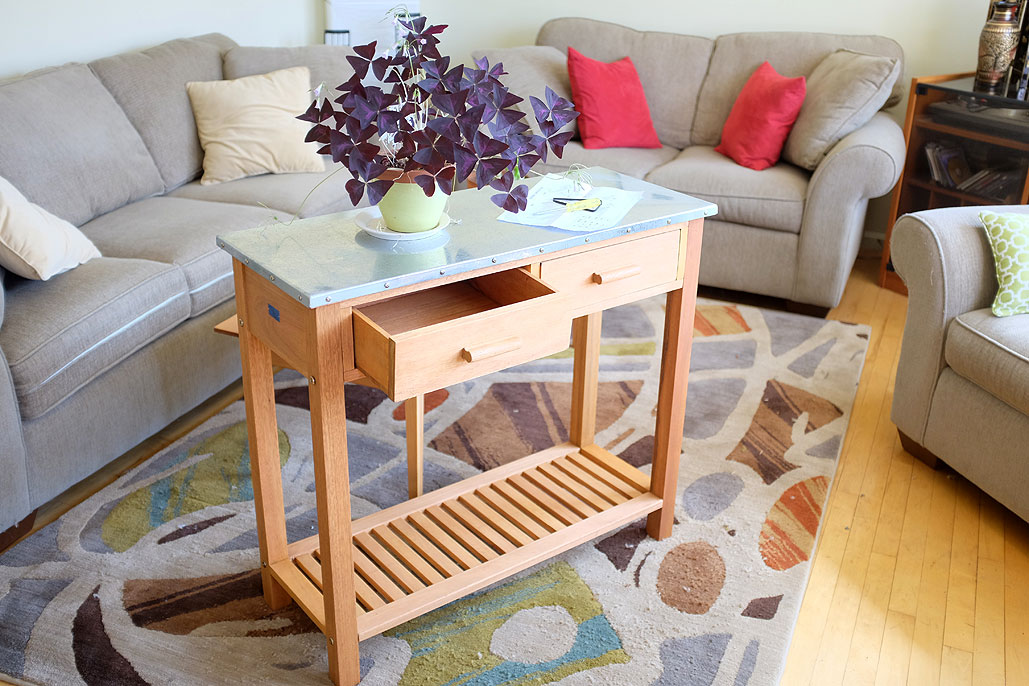
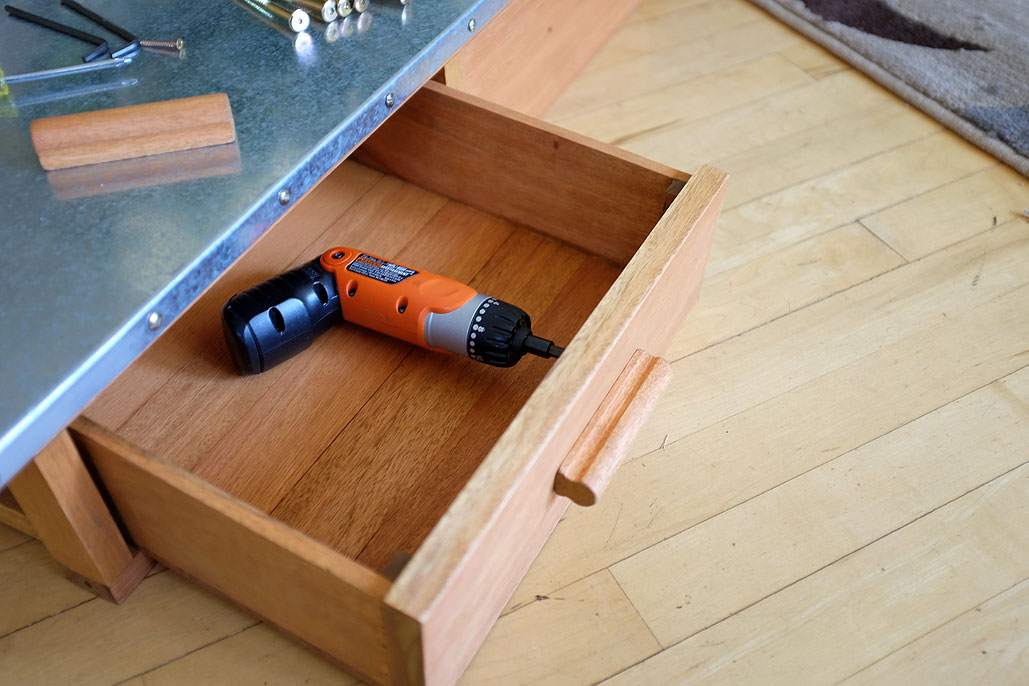
With the Nor'easter over and Spring on its way, the RainyDayGarden folks thought they would celebrate by putting together the Gardener's Supply Company potting bench that had been in pieces in the front office. The assembly directions looked simple enough:
Most folks should have no problems putting this table together, but as we did put one together, we thought we would pass along some tips to make the process as foolproof as possible.
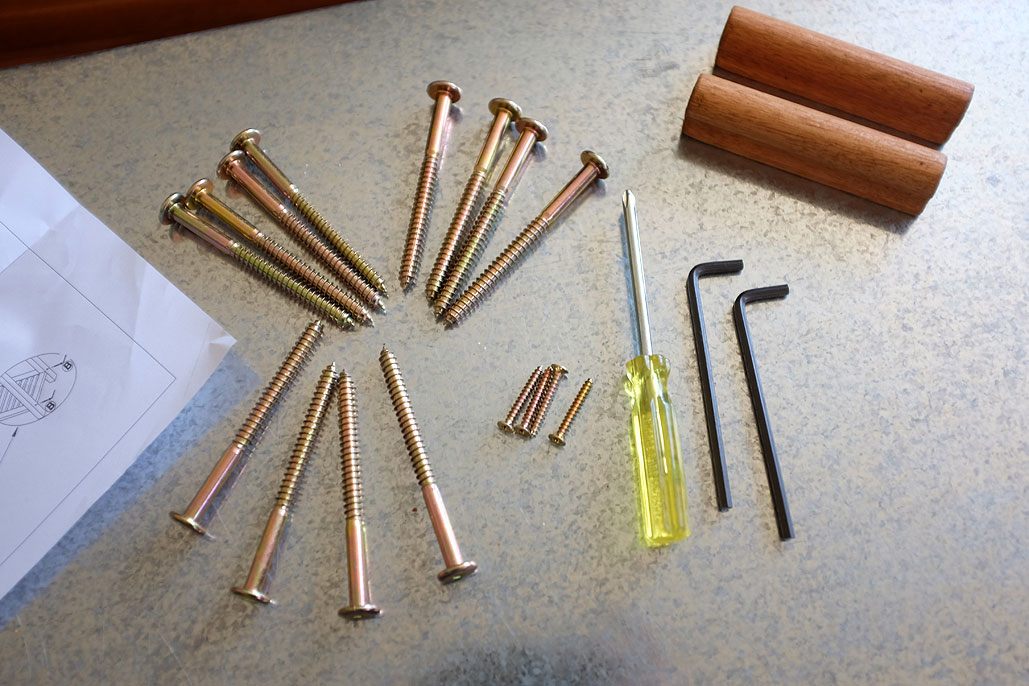
There are a few things to check before starting: make sure all the screws (12 long ones, 4 short ones) are accounted for; and gather the needed tools. In the bag which held the screws, we found two hex keys (same size) and a small phillips head screwdriver. The hex key is for the long screws and the phillips head driver is for the short screws. If you have an electric screwdriver, we would recommend using it for the short screws as... [more]- Potting Bench Assembly
|
Yesterday was the Spring Equinox, so it was only fitting that we opened the big box from Gardener's Supply Company which has been sitting in the front office. We are always eager to get the RainyDayGarden going every Spring. This year's winter felt especially long. We were not sure if it was because of the long stretches of below-freezing days or the above average amount of snow. Either way, we decided that the best way to get us out of our Winter funk was to thing up some DIY projects for the RainyDayGarden.
One project we had been ruminating on was building a potting bench to use outside. We wanted something functional, low maintenance, and that would last for years. In looking around for ideas we happened upon this bench on the Gardener's site. The size and style were exactly what we were looking for. After some deliberation we decided that instead of building a copy of the... [more]- Potting Bench FirstLook
|
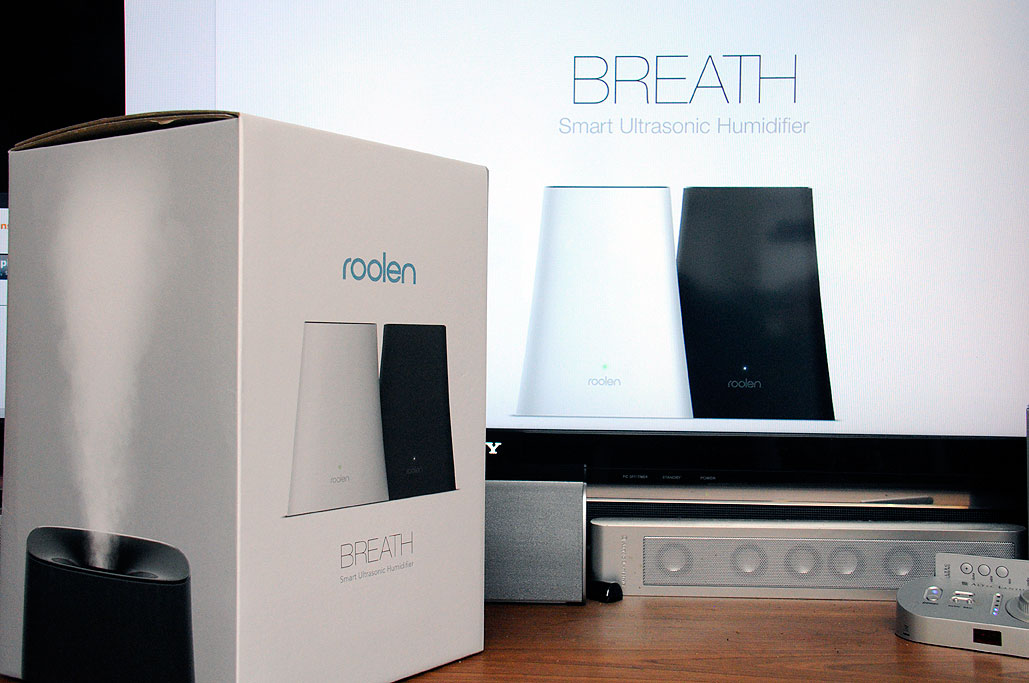
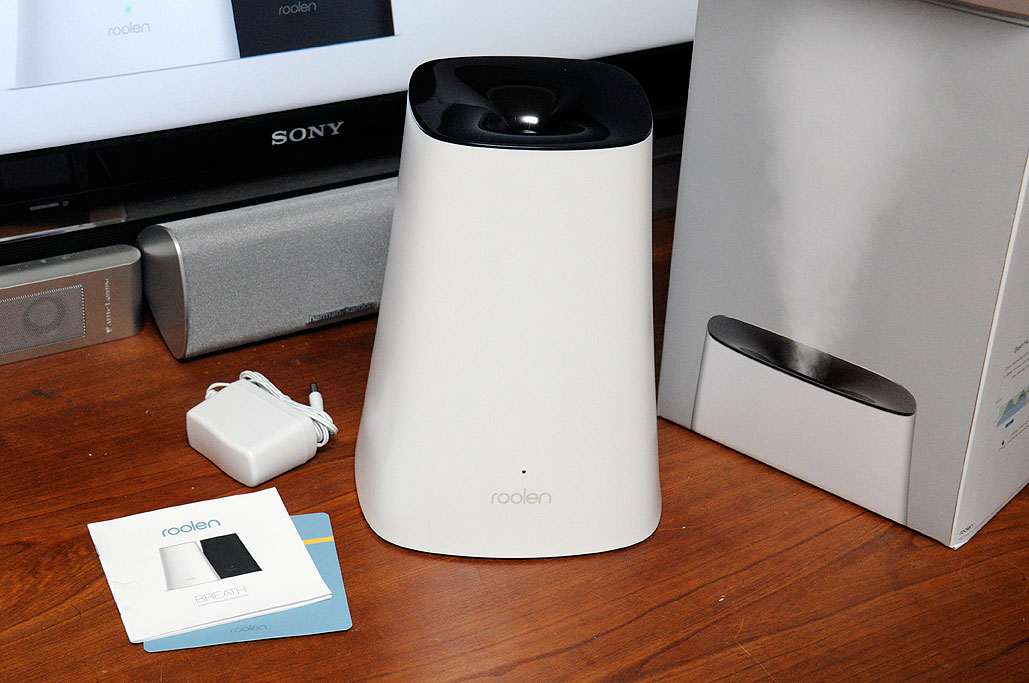
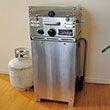
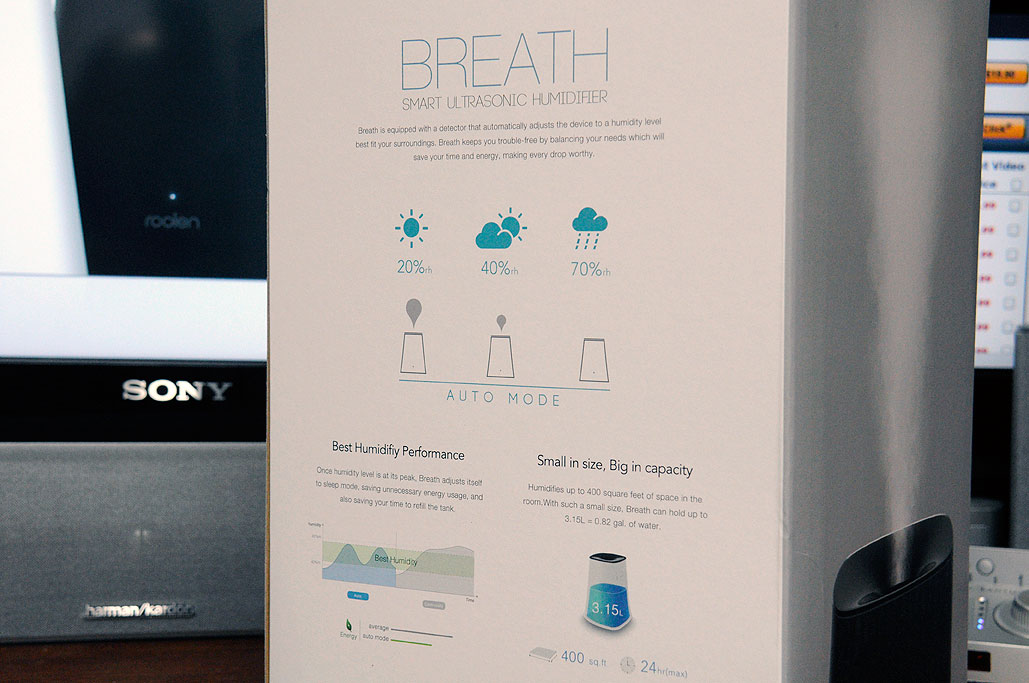
Humidifiers are great for adding moisture to dry Winter air. We run our humidifier from November until April. The added moisture makes the room feel warmer, breathing easier, and virtually eliminates the static shocks so common to this time of the year. Unfortunately, humidifiers are...not the most attractive of devices. We put up with them because we value the function over the form. However, we secretly wished for a unit which was attractive, quiet, and simple to operate. With the Roolen BREATH, it appears that our wish has been granted.
The Roolen BREATH is a "smart ultrasonic humidifier." It has the following specs:
The Roolen BREATH humidifier is about as simple to operate as a light switch. There is one button and... [more]- Roolen BREATH Humidifier FirstLook |
We live in the city. and like most city-dwellers, we do not have a garage. While we don't have to park it on the street, our car is exposed to the elements all year long. To keep weather damage to a minimum, we have always have it under an all-weather car cover when it's parked in the driveway. Having a cover for the car not only protects the exterior,, it also prevents UV-damage to the dash, seats, and the interior.
After thirteen years, we have gone through a total of three covers. The first one was an indoor cover. It did not fare well when asked to stand up the the ice and snow. We abandoned it after two seasons. The second and third covers were the all-weather silver covers from Porsche. The silvery material kept the car cool in the Summer and the snow off in the Winter. Also, we like them because... [more]- Covercraft Boxster Cover
|
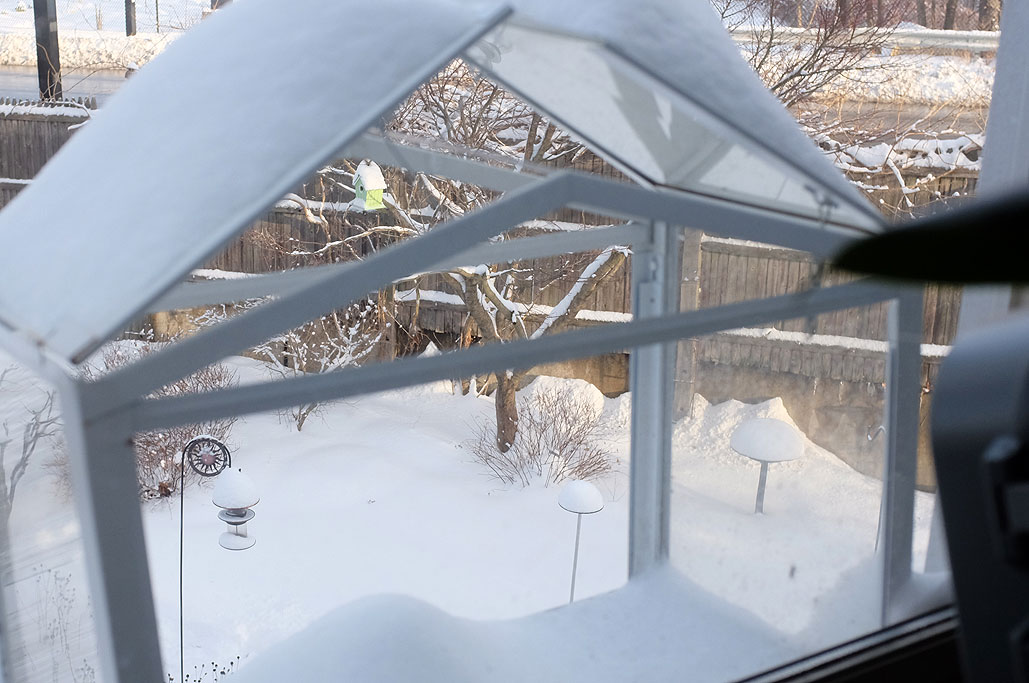
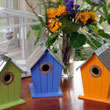
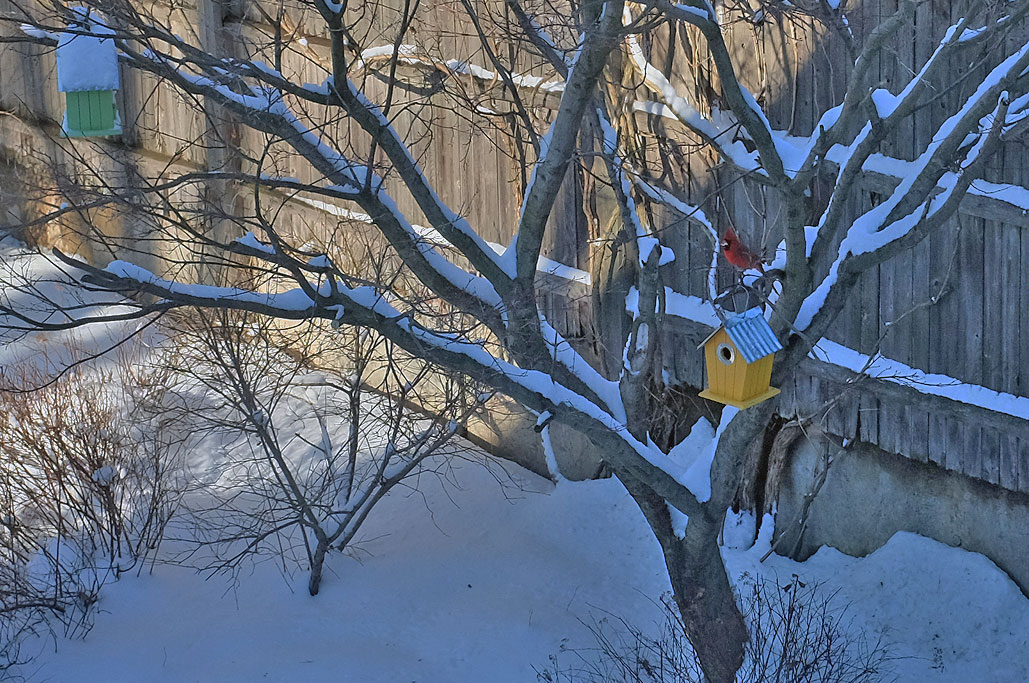
When we first hung the set of bird cottages Winter: December 2013/ January 2014
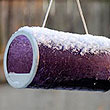
We have had three snow storms in December and we just got another foot of the white stuff last week. The first one was a dusting, but the second and third storms dropped over 12" of the white stuff. They were good opportunities for some photos of snow covered... [more]- Bird Cottages Update
|

Featured Review*
| ||
| 2013 | ||
|
|
||
| 2012 | ||
|
|
||


