| Today |
| Workshops |
| Audio/Video |
| Electronics |
| Carputer |
| Misc |
| Other Garages |
| Contact Us |
RainyDayGarage...
|
||
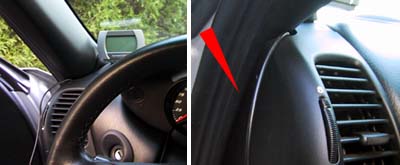
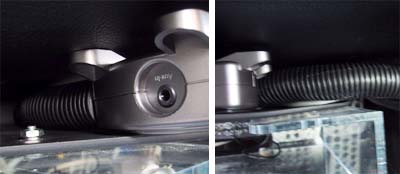
The Drive+Play display unit can be mounted in two different ways (mounting screws, adhesive pad). We were reluctant to drill into the dash so we opted for the adhesive pad.
The best position for the display unit would have been directly near the center of windshield. However, we needed that spot for a future video camera project. The next best place was on the corner of the driver's side. This spot had the advantage of allowing us to hide most of the cabling in the weather stripping on the side.
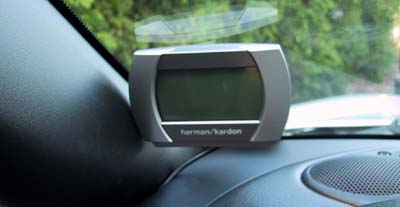
The adhesive pad made mounting the display on the glass a snap. We played with the positioning a bit so we could get the angle just right. We may have to revisit the angling once we actually use it.
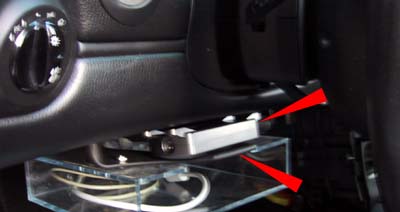
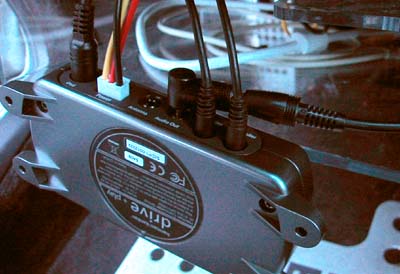
The "brain" unit fit perfectly in the map holder compartment underneath the steering wheel. The space was just wide enough to grab the box tightly so no actual screws or other ties were needed to secure the unit. The lucite box under the map holder is the shelf for the Carputer.
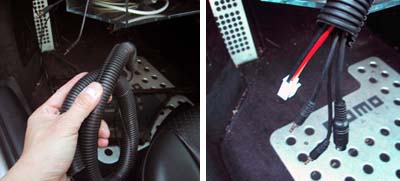
We kept all of the cables in a bundle with some cabling tubes. The cable management tubes were from Radio Shack. We highly recommend them. They made it easy to organize the cables so they could be neatly tucked away and made the installation looked much more professional.
Since the AUX-In cable to the head unit was already installed in an earlier project, all we had to do was plug that cable into the Audio-Out of the Drive+Play and we were done with connecting the Drive+Play to the car's stereo system!
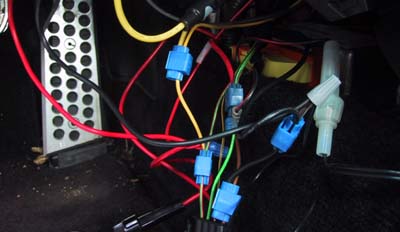
Next up was to run some power to the Drive+Play. OK...maybe we have been mucking around in the electrical system of the Boxster a bit, but that just meant we had already made accessible most of the taps. In case you were not able to follow the wiring runs above, this is how we connected up the Drive+Play to the Boxster: 1. Drive+Play RED to Boxster GREEN/BLUE: Ignition 2. Drive+Play YELLOW to Boxster RED/GREEN: +12 VDC 3. Drive+Play BLACK to Boxster Brown: Ground
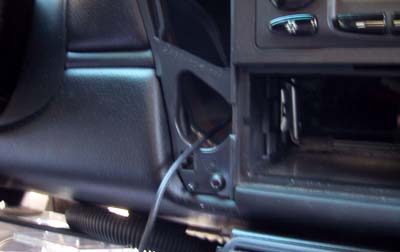
After everything was hooked up, we tucked all of the excess cables up underneath the dash and adjusted the cable tube to hide the wires to the "brain" unit. The finished appearance looked much cleaner then if we had just left the wires exposed.
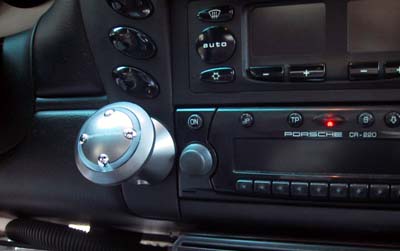
We had to remove the radio for running the controller cable to the Drive+Play brain. The last task was to mount the Drive+Play controller back onto the console. There was plenty of room in the back for any excess cable. The face plate was a "snap into place" piece so it was a simple matter of just popping it back into position.
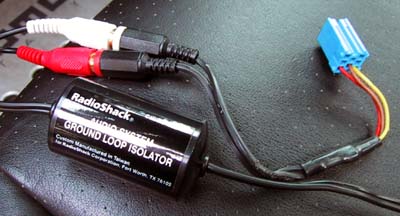
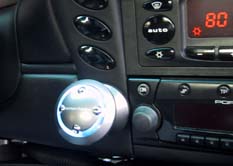
With everything mounted and installed, we were ready to power up the Drive+Play for the FirstUse test!. If we did everything right, the unit should turn on when we turn on the ignition. Go here to see how we did. UPDATE - Nov 10,2005: Ground loop hum problem We noticed a slight but ever so annoying hum from the system during the test drive. We knew it was probably a ground loop issue somewhere and spent a few hours playing around with various grounding options without success.
Finally, we decided it was just easier to filter out the problem. So we added a Ground Loop Isolator (Radio Shack: 270-054 in between the audio out from the Drive+Play and the Becker headunit. Problem solved. If you do run into a "humming" issue with the installation... save youself some time and just add this part in the audio path :-) |
Harman Kardon Drive+Play |
|
We reported on the the Drive+Play back in June when Harman Kardon announced it at MacWorld Boston. Harman Kardon recognized that people want to hook up their iPod to their car's stereo system, but realized that controlling it was next to impossible. The Drive+Play was designed to allow a driver to safely control the iPod's functions with minimal distraction. Of course, the user must still exercise COMMON SENSE while using the Drive+Play... but don't get us started on that :-) The Drive+Play is now shipping and we got one of the first units available.
RainyDayGarage will, of course, do a complete series on the installation and use of this innovative product. Review: 1. FirstLook 5. FirstUse
Review Summary: Initial Impression- Quality pieces Usability- iPod interface Durability- Test in progress Price- $200
iPod/MP3 Reviews: 3. MobiBLU iPod Case Reviews: iPod installation Reviews: iPod Speaker Reviews:
Other Boxster Projects: - Mac mini Carputer installation - PVC Rear Speakers installation |
||