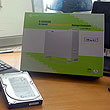
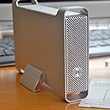
Yesterday we showed how easy it was to roll your own 3-terabyte external drive. Today, we will show how simple it is to set up and use OSX's Time Machine feature to perform automated backups of your data.

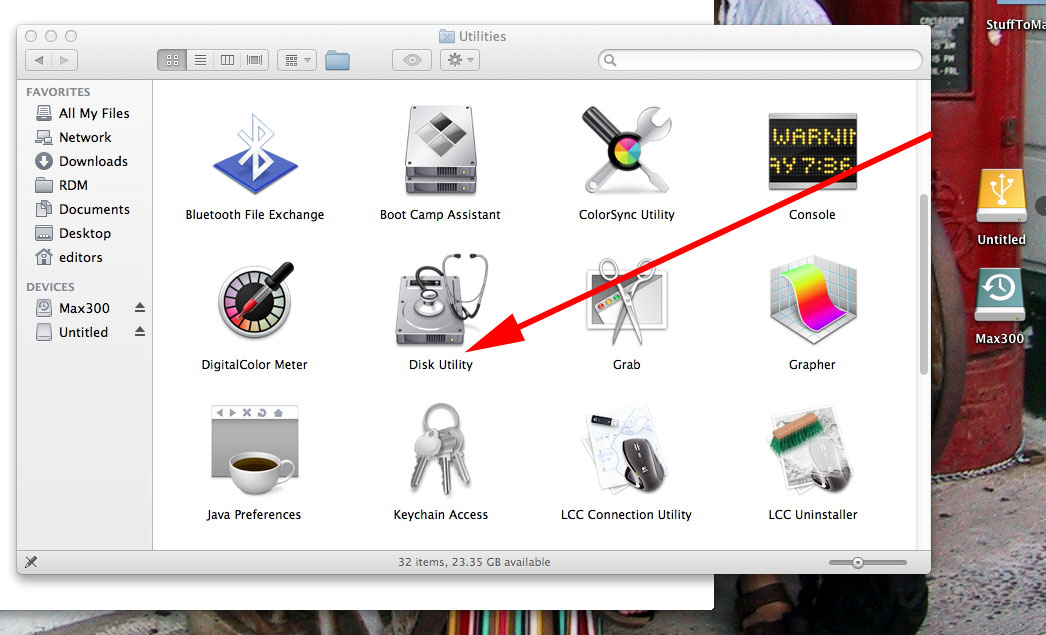
Most disks come pre-formatted for the Windows operating system (NTFS), but in order to use the Time Machine feature, the drive must be formatted as Mac OS Extended-Journaled. Reformatting the drive can be done easily with Apple's Disk Utility (found in the Utilities Folder).

Here are the steps for reformatting the disk for use with Time Machine:
- Double-click on the Disk Utility icon to launch the application
- Select the drive to be reformatted ("3TB Ext Hard Drive Media" in this example)
- Click on the "Erase" tab to bring up the function screen for the reformatting operation.
- Select "Mac OS Extended (Journaled)" in the popup menu.
- Give a drive a name (We called ours "Seagate3TB").
- Click the "Erase..." button to reformat the drive.

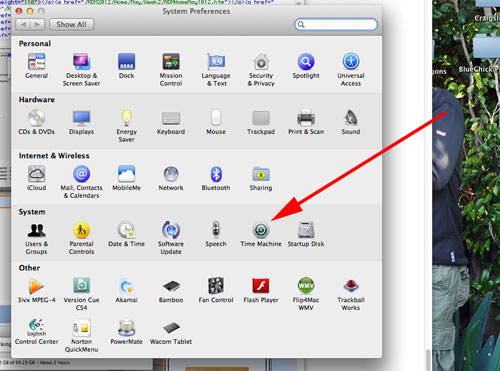
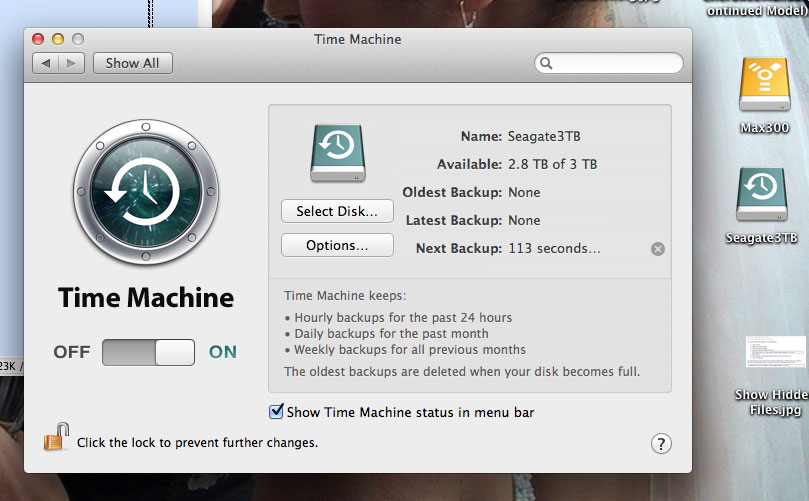
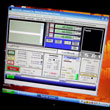
Once the drive has been successful reformatted, it is ready for use with Time Machine. The Time Machine backup feature is an integrated function of OSX. To configure Time Machine, open up System Preferences and click on the Time Machine icon.
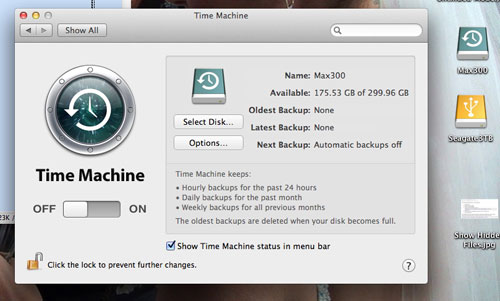
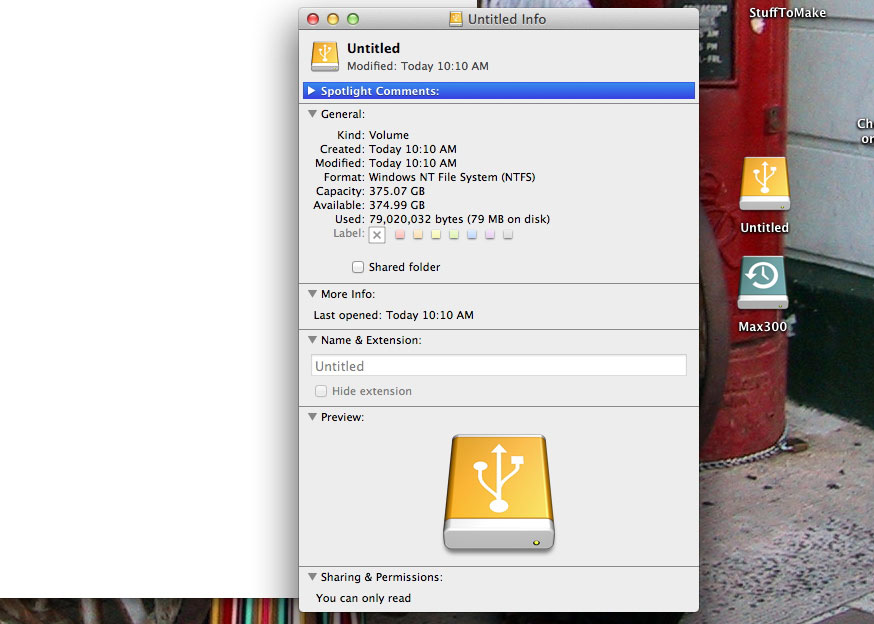
Our current Time Machine backup drive is "Max300" (note the blue Time Machine logo on the drive icon) and we wanted to switch to use the newly formatted 3-terabyte "Seagate3TB" (note the orange USB 2 logo on the drive icon).
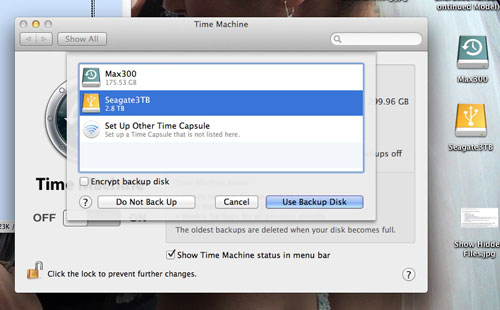
To do that, click on the "Select Disk..." button to bring up the "drive-selection" panel and select the appropriate disk ("Seagate 3TB" in this example).
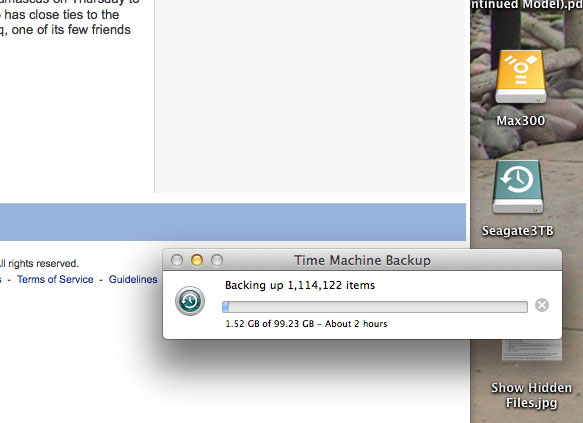
Note that the logos on the disks have now switched. The orange USB 2 logo is now on the Max300 drive icon and the blue Time Machine logo is on the Seagate3TB icon.

At this point, you are done. You can either activate the backup of your data immediately or just wait until Time Machine kicks in automatically. From this point on, all backup operations are done completely "in the background." You won't have to think about it again. Note that the FIRST back up may take some time depending on the number of files you have on your drive. After the first backup, Time Machine will save only the files which are new or have changed.

There are a lot of other nice things about Time Machine, but those are an article for another day. For now, enjoy the peace of mind which comes with knowing that should TSHTF, at least your data will be safe. [Permalink] - Time Machine Setup
|


