Today we will finish up the assembly of the BlueChick v4.2 CNC machine. The only tasks left are: mounting the X-axis motor and installing the two drive chains.
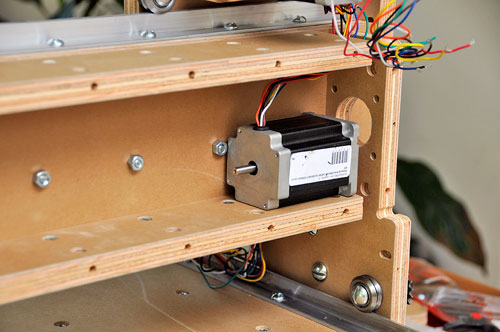
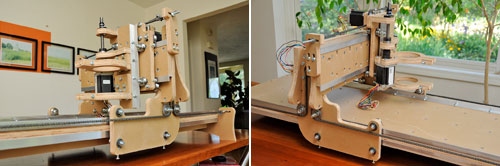
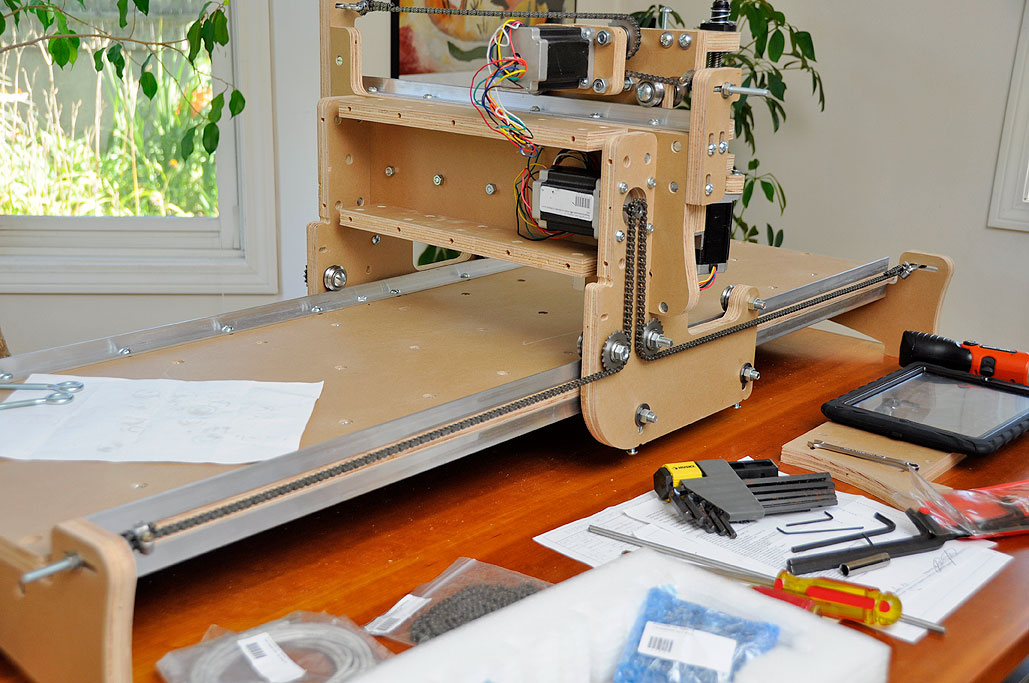
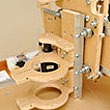
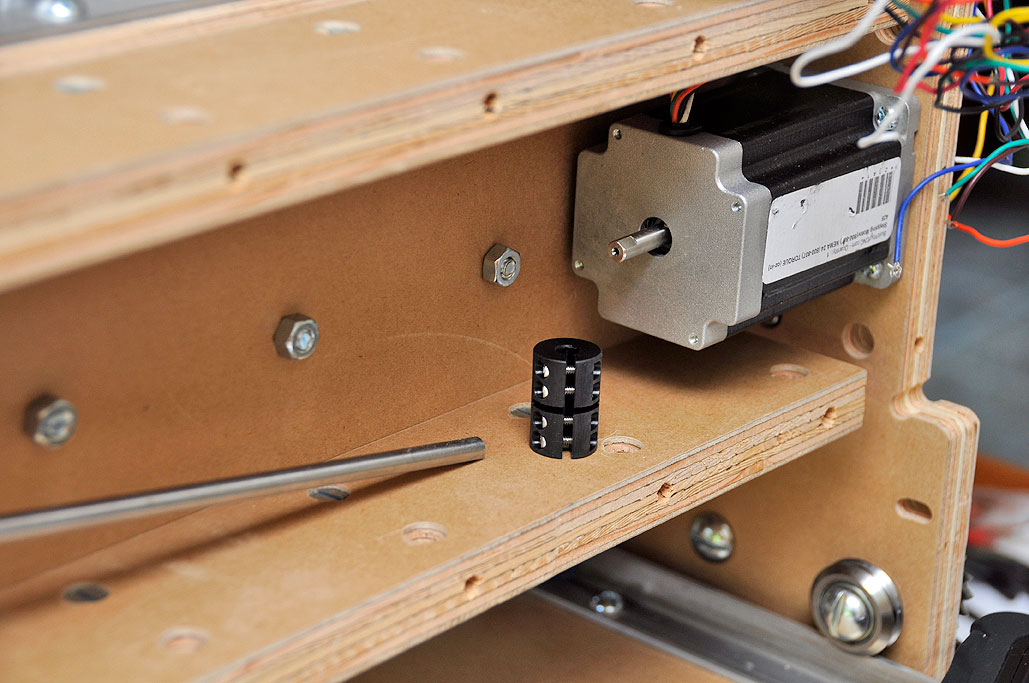
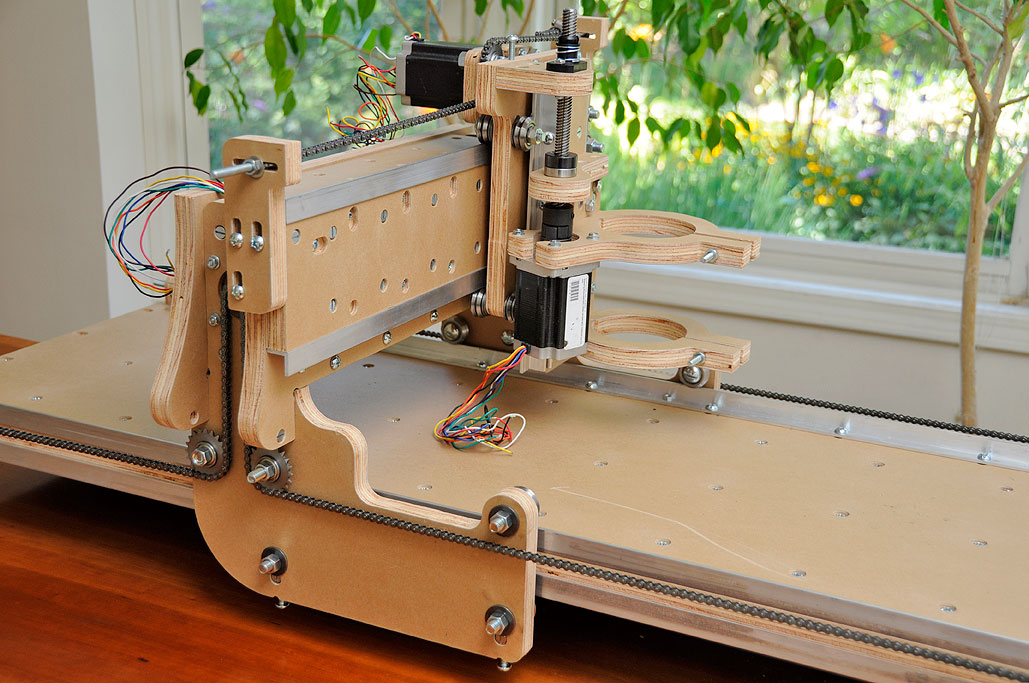
The motor for the X-axis is housed inside the gantry. Those with larg(er) fingers may have some trouble getting the screws and nuts in the back to connect. The space for mounting it was a bit tight, but manageable. Note how we oriented the wire bundle. We positioned it pointing up, but it may also work facing down. What you don't want is to have it facing front or back as there will not be enough space and they will be pinched.
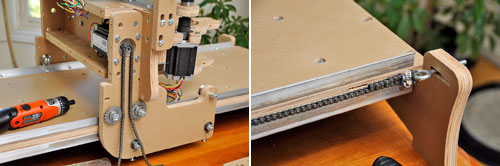
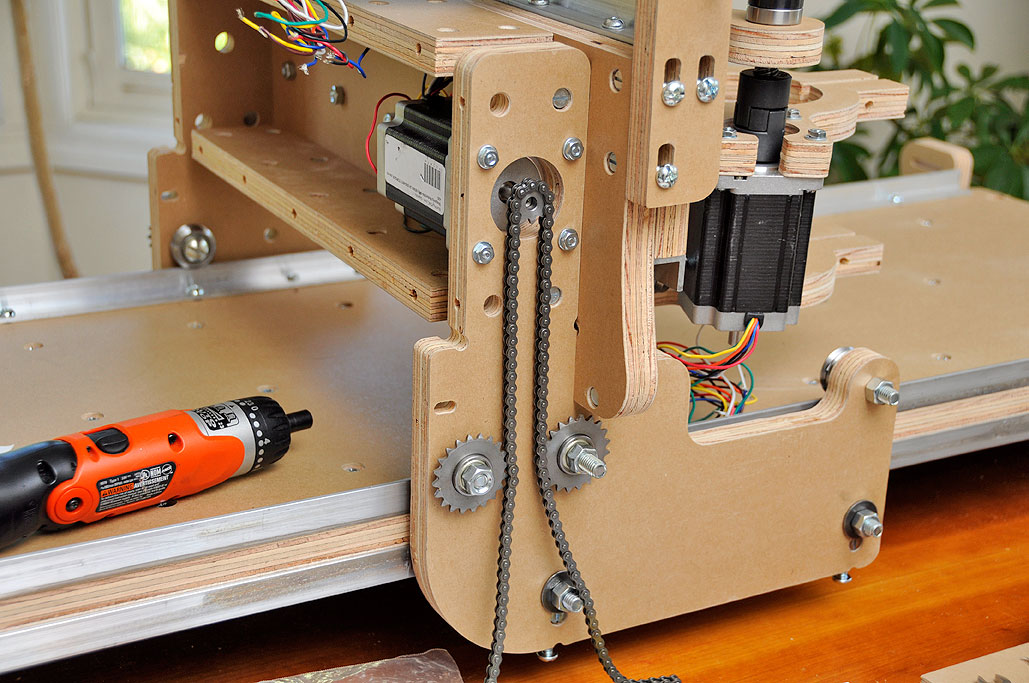
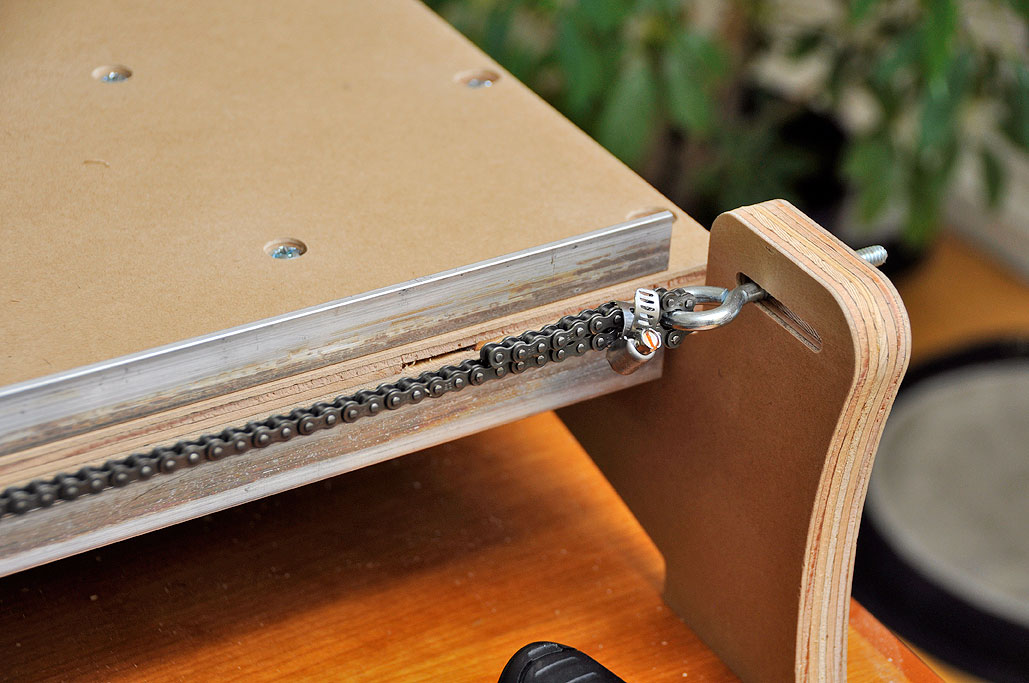
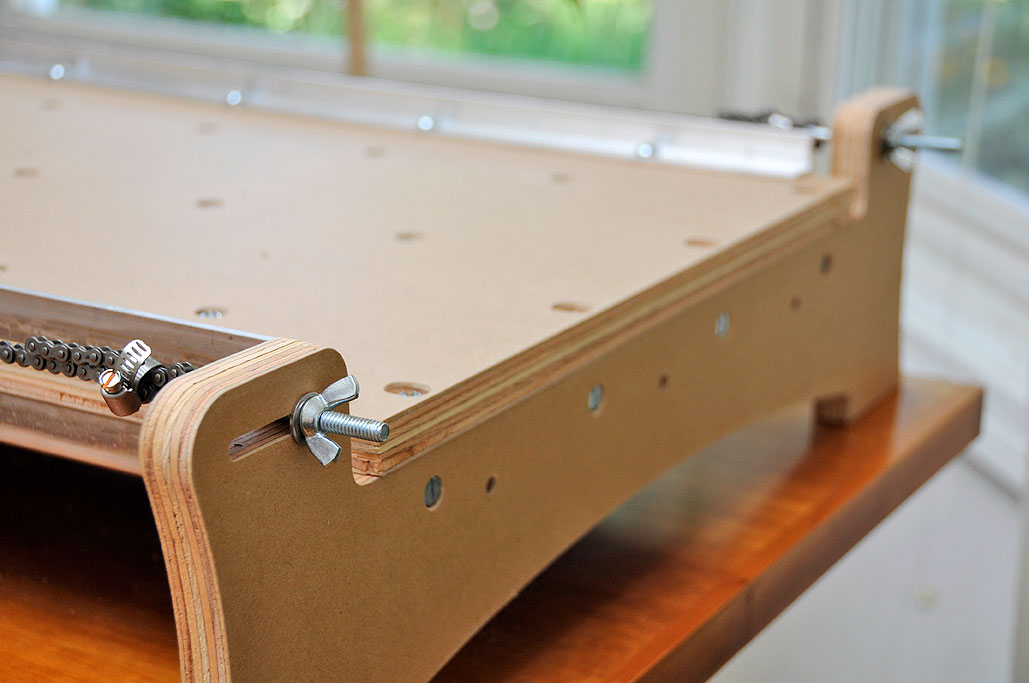
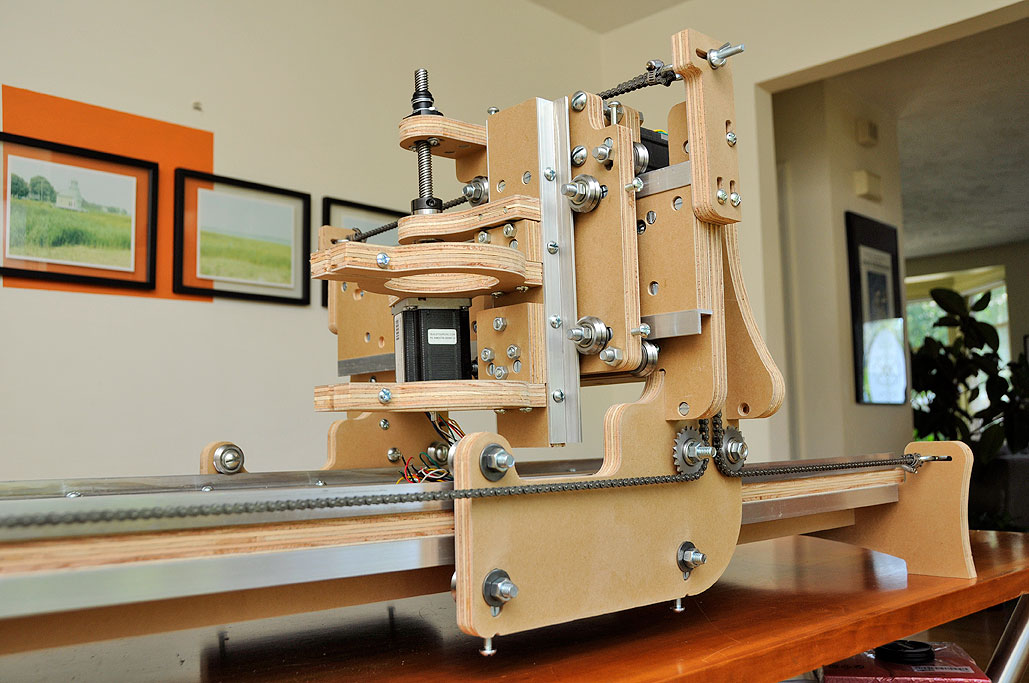
Once the X-axis motor has been mounted and the drive sprocket aligned with the idlers, the drive chain may be installed. The chain is anchored at both ends with eye-bolts. Instead of using a regular hex-nut for securing the eye-bolt, we decided to use a wing-nut. It will make it easier to adjust the chain's tension when needed.

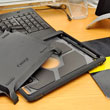
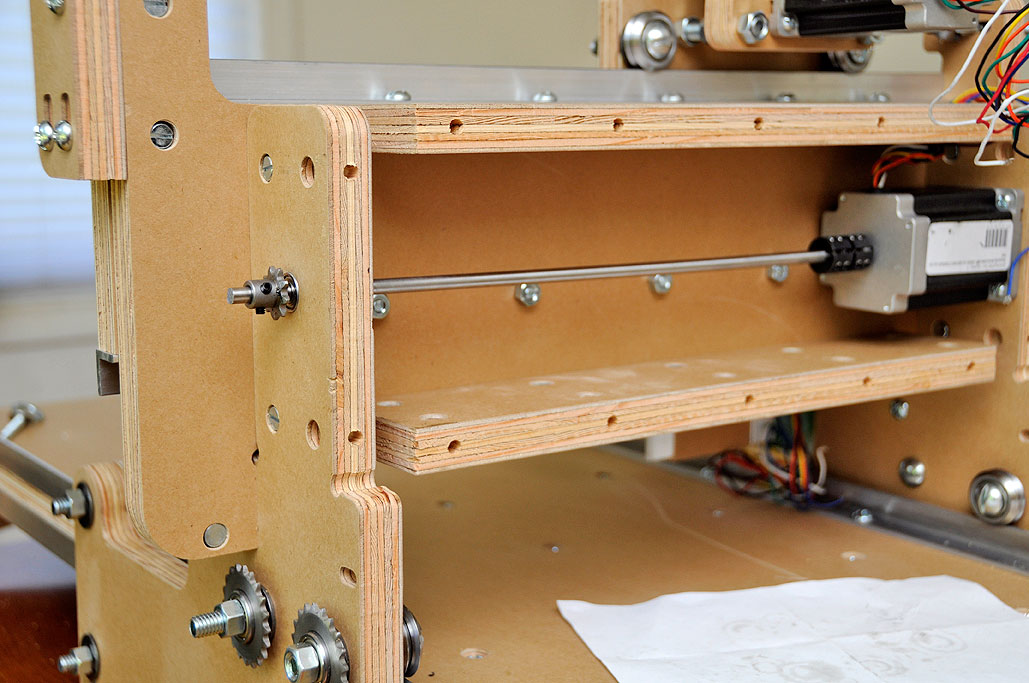
In order to drive the second chain, a coupler is used to connect the other spindle of the motor to a steel rod. However, before putting the sprocket on the end of the rod, a bearing must be inserted onto the rod. While not complicated, we did run into a snag which took us some time to get past: the diameter of the bearing and the rod are exactly the same, and so it is not possible to just slide the rod into the bearing.
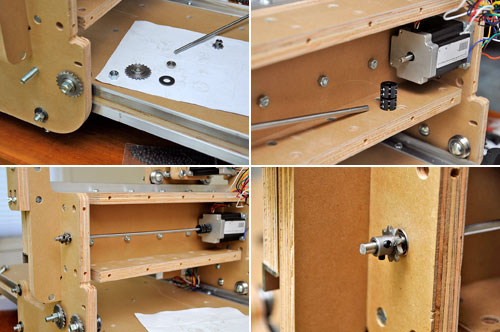
The video suggested that heating the bearing to make it expand was an option, but it seem a bit tricky. We were not sure how best to handle the hot bearing. The other suggestion was to sand down the rod to make it a little thinner. After about 30 minutes of sanding with a 200-grit emery cloth, we realized that doing it by hand was not the way. We decided to try inserting the rod onto an electric hand drill, spinning it, and sanding it that way. After a few minutes of sanding, we were able to slide the bearing on with no problem. The fit was still tight, but a little WD-40 made it all worked. The rest of the sprockets and chain installation went without further issues.
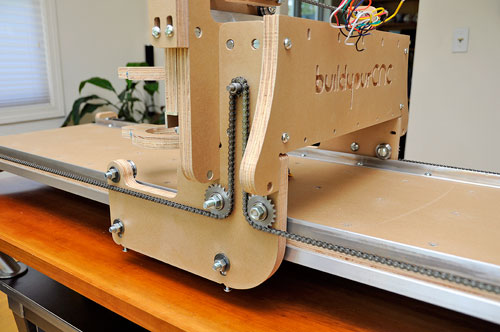
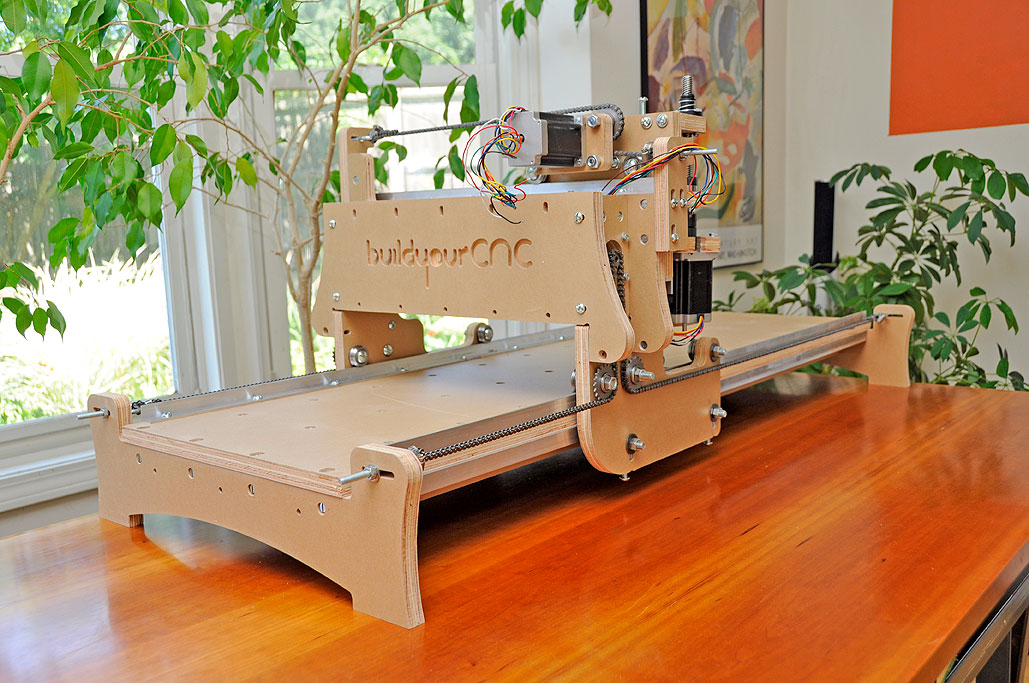
At this point, the assembly of the structural components of the BlueChick is done. The remaining tasks are to the construct the interface for driving the stepper motors and to connect it to a computer. We will cover those topics at a later date. Of course, the machine can't really do anything at this stage, so we'll just enjoy looking at it and maybe take a few more beauty shots. Hopefully, soon it will be covered in sawdust :-)

Now that we have the BlueChick CNC machine assembled, we'll take a little break and go make some space in our workshop for it. BTW, the total amount of time we took to put this BlueChick together was about seven hours. Having done it once, we probably could now assemble another one in less than three hours. Of course, there is still the motor controller and the software components to be done. We will save that for when we get this machine moved to the workshop. We'll be back in the Fall with articles on wiring up of the electronics, setting up the computer software, and FirstUse of the unit. Look for them in October. [Permalink] - BlueChick Assembly Completed
|


