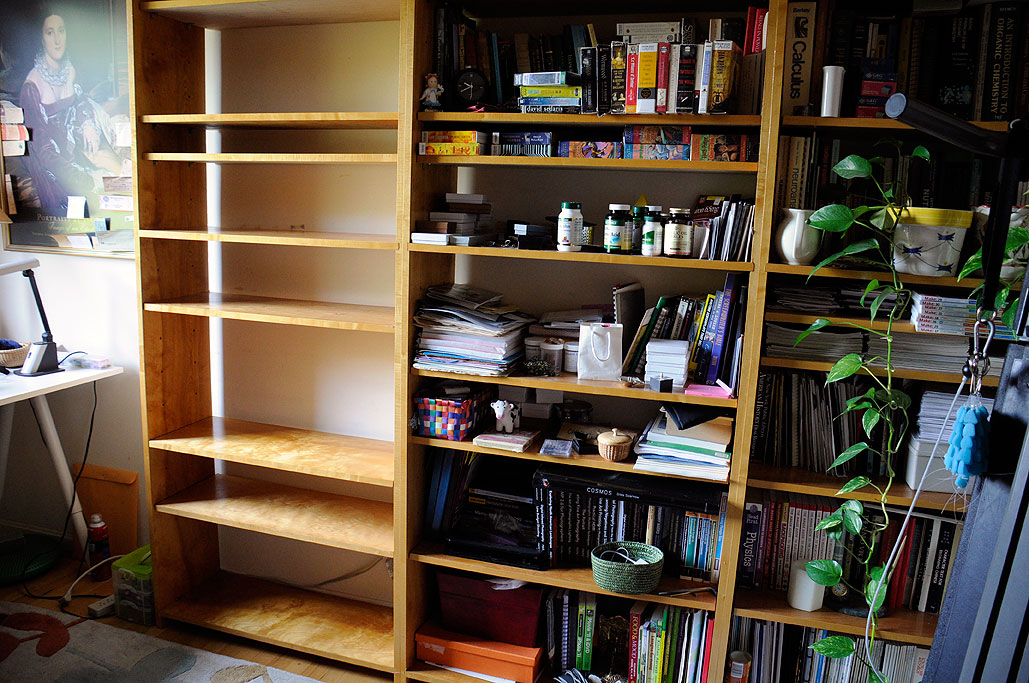
It is difficult to be organized if you have no place to put things. You can sort and label everything, you put them in containers, and you can still end up with piles all over the place. The key to organization is ease of access. Shelves and bookcases solve a lot of storage and organizational problems, but sometimes access can be an issue.
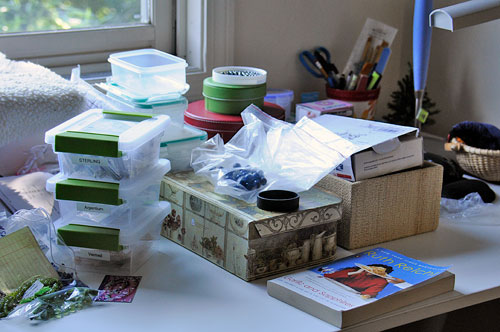
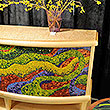
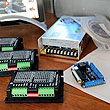
This was the dilemma for one of our editors. Her creative side extends beyond writing screenplays and children books in her free time. She is also quite the jewelry designer. As such, she has an extensive collection of beads, stones, and other shiny bits. All of these items are in tins, boxes, and containers. Whenever she is in a creative mood, an "explosion" sort of happens in her office. Strings of stones, boxes of baubles, and other parts would be laid out everywhere. This was how she could clearly see all of her materials and allow her to select the the bits she needs for her project. Needless to say, cleaning up can be time consuming. So she asked the RainyDayRenovations guys to see if they could come up with something which would let her see what she has, get at them easily, and with no need for cleanup. After some brainstorming, the guys came up with something which they believe satisfied all her requirements.
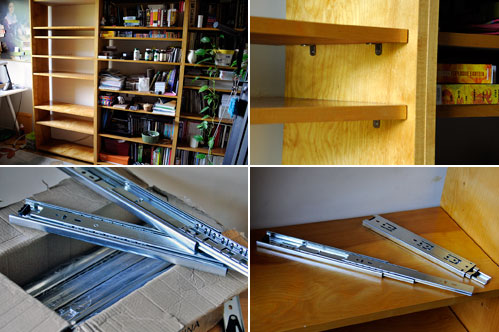
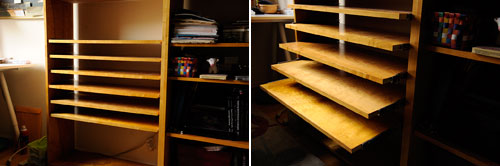
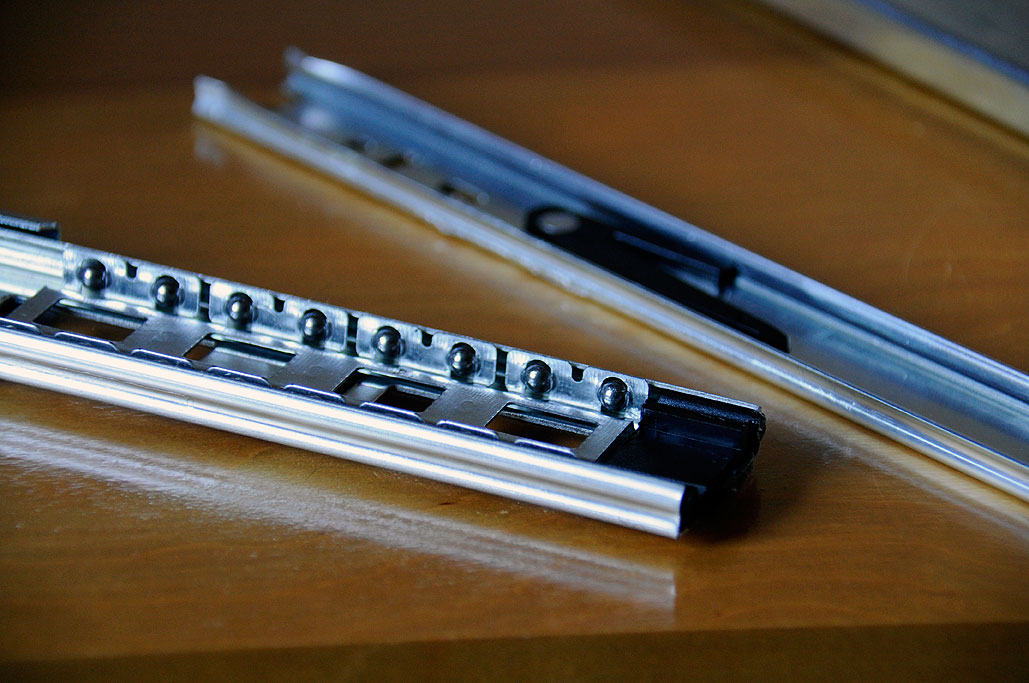
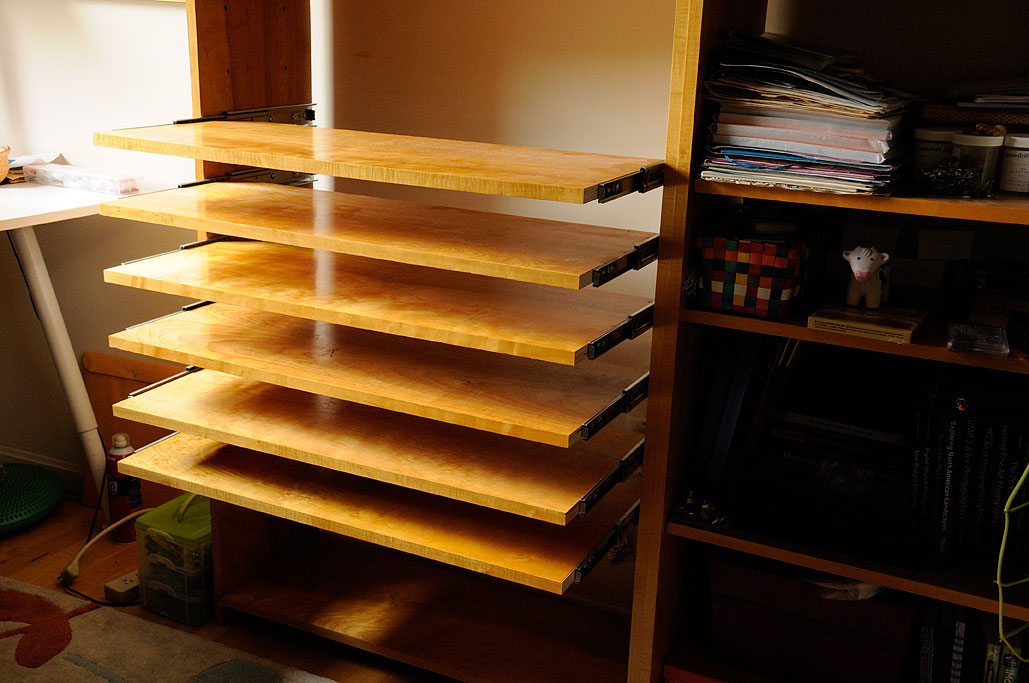
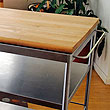
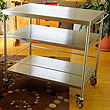
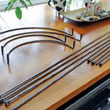
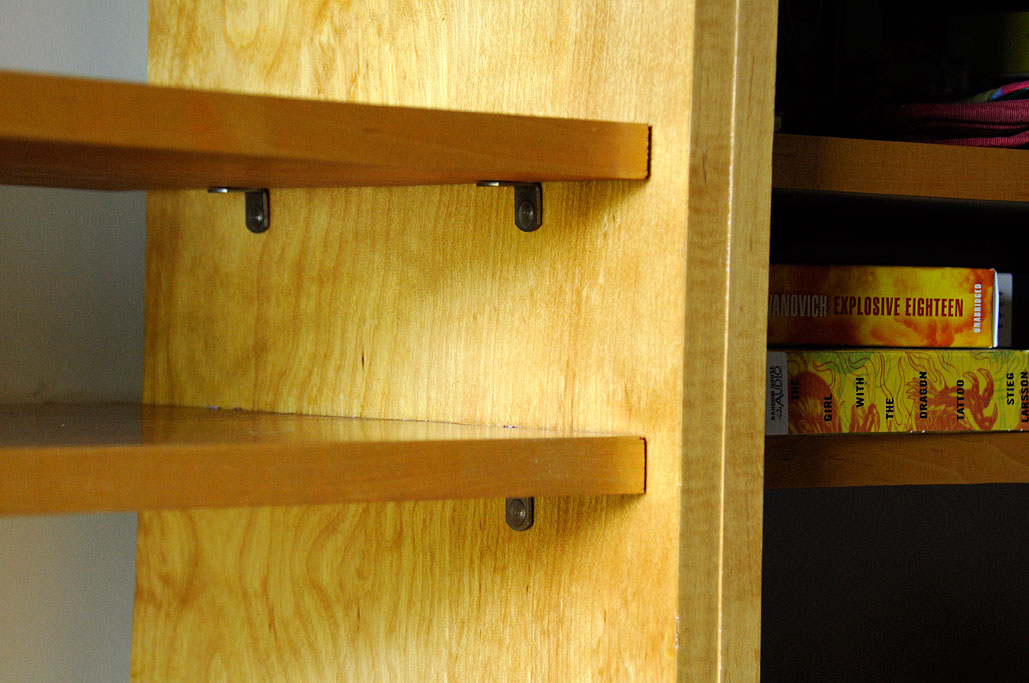
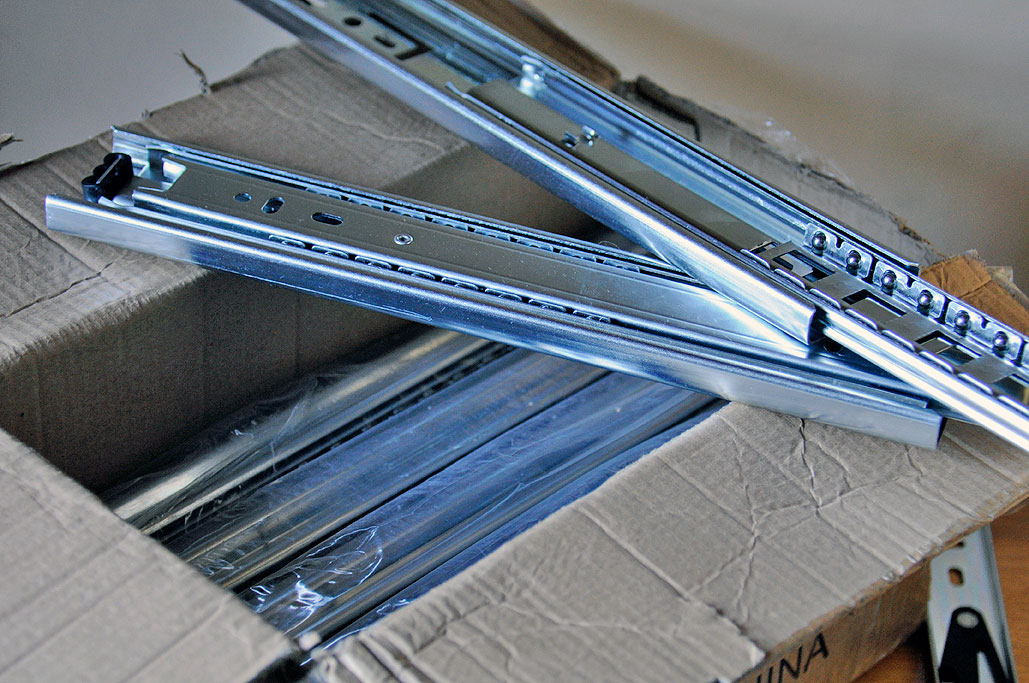
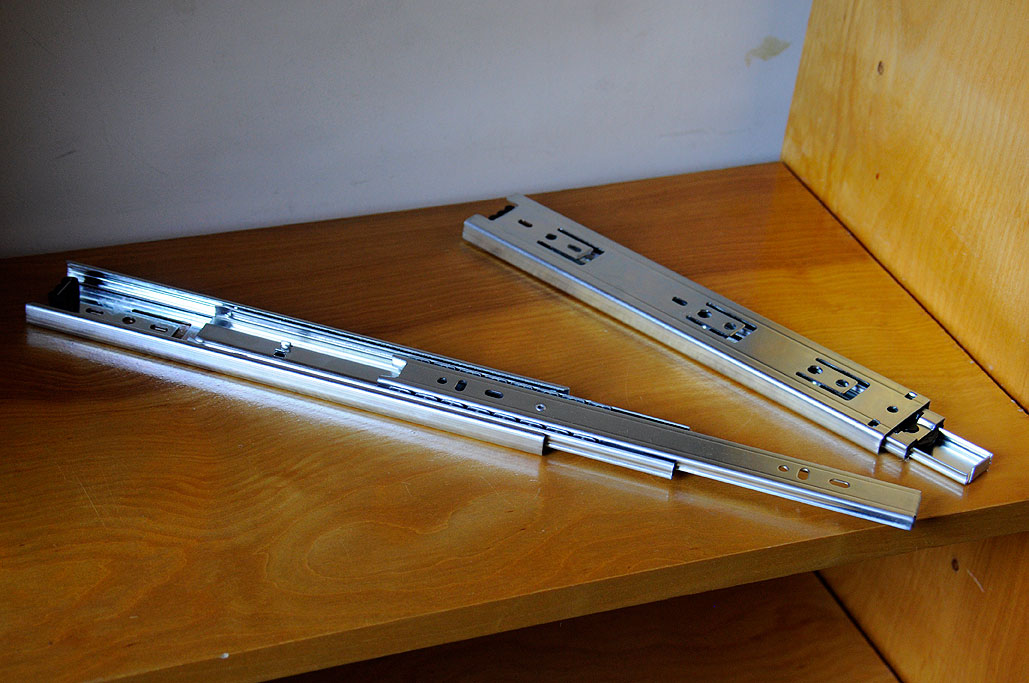
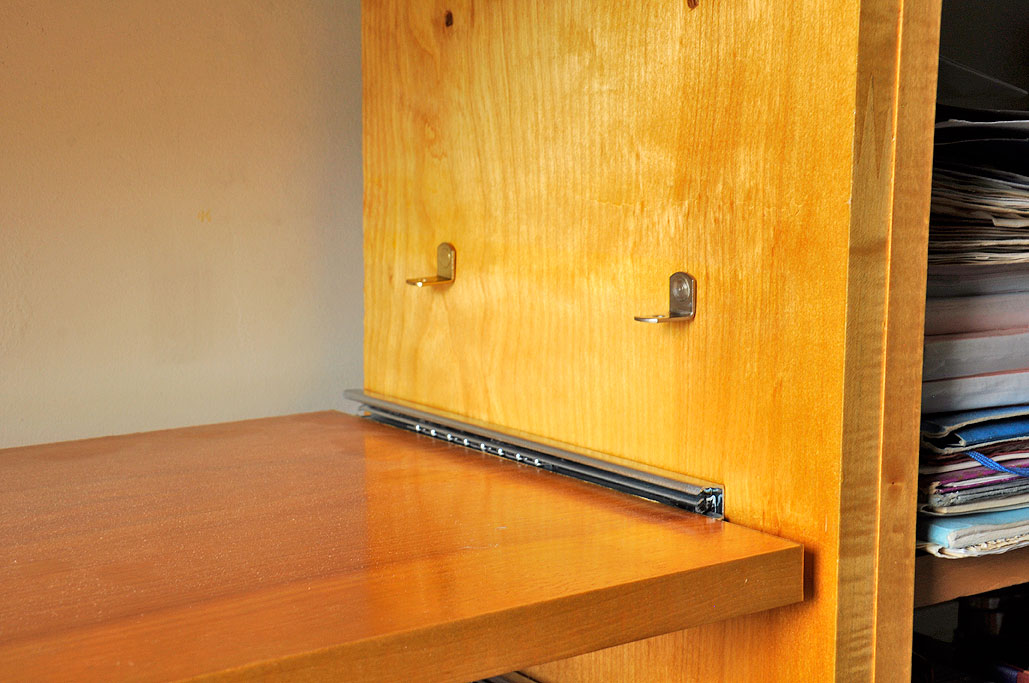
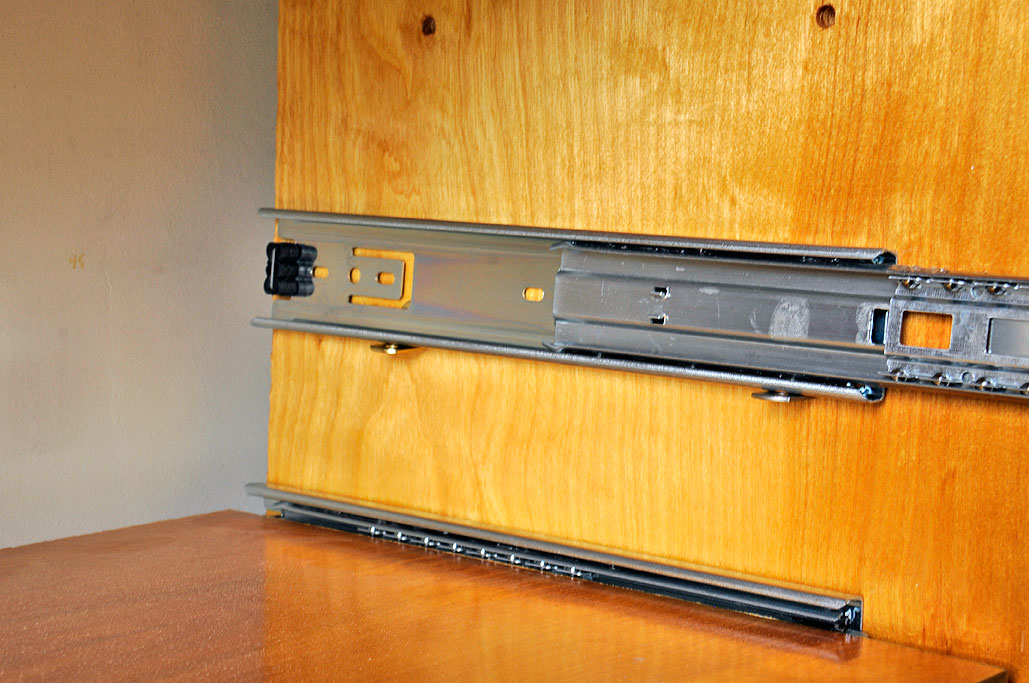
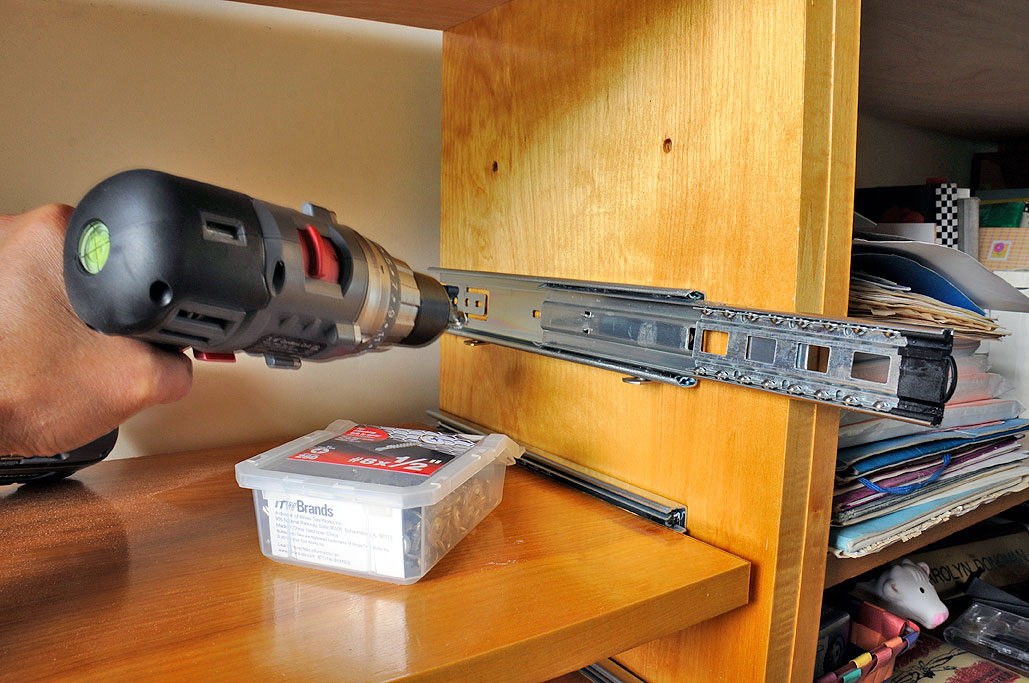
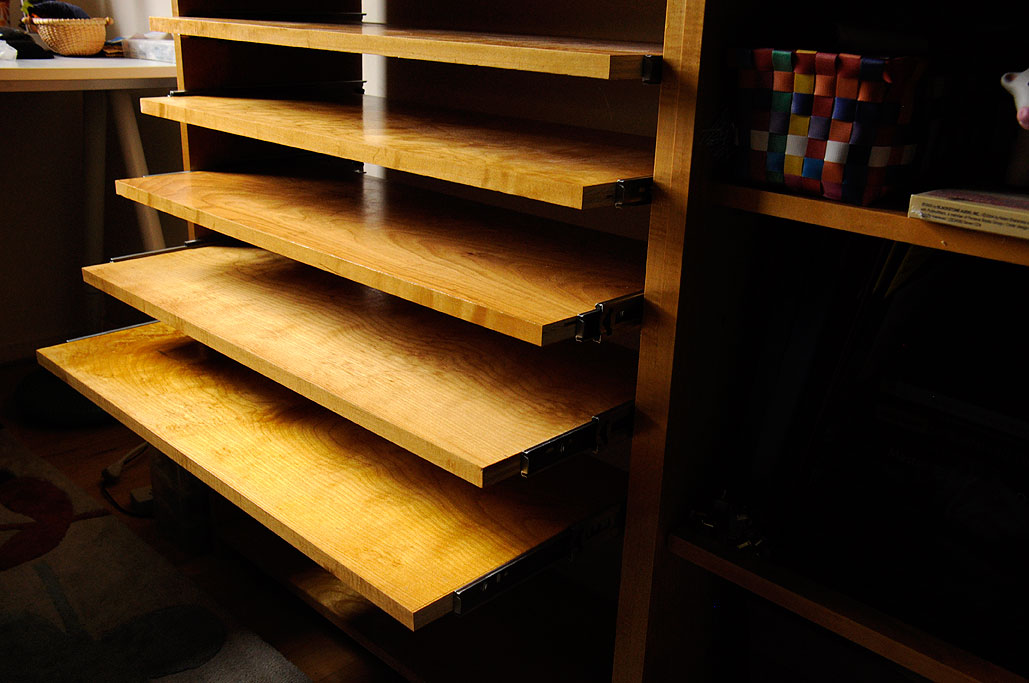
They came up with the idea of replacing the adjustable shelves of the built-in bookcase in her office with ones which can slide out like drawers. This way, she can organize the items in trays, containers, or on a non-slip mat. To see what she has or get at the items, she just has to slide out the shelf. To support the shelf and allow it to slide all the way out, we chose 10" ball-bearing full-extension drawer slides. We found some on EBay ($40/box of 20 slides, including shipping!) which were perfect for that project. Each set can hold up to 100lbs. Unless she is using beads made out of spent-uranium, we doubt they will exceed that load rating.

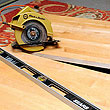
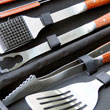
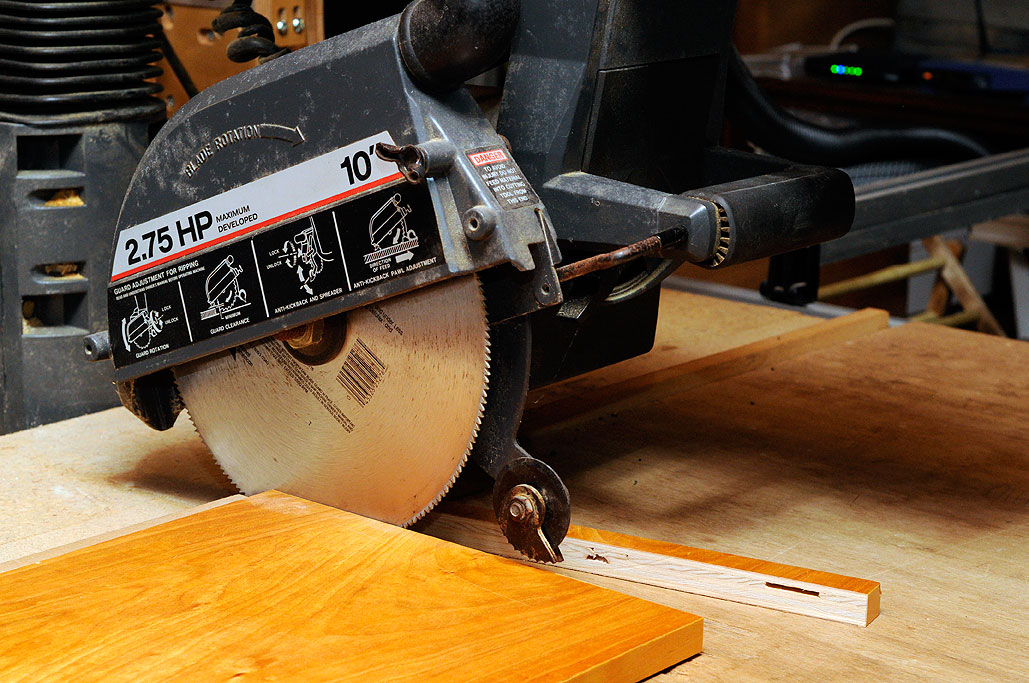
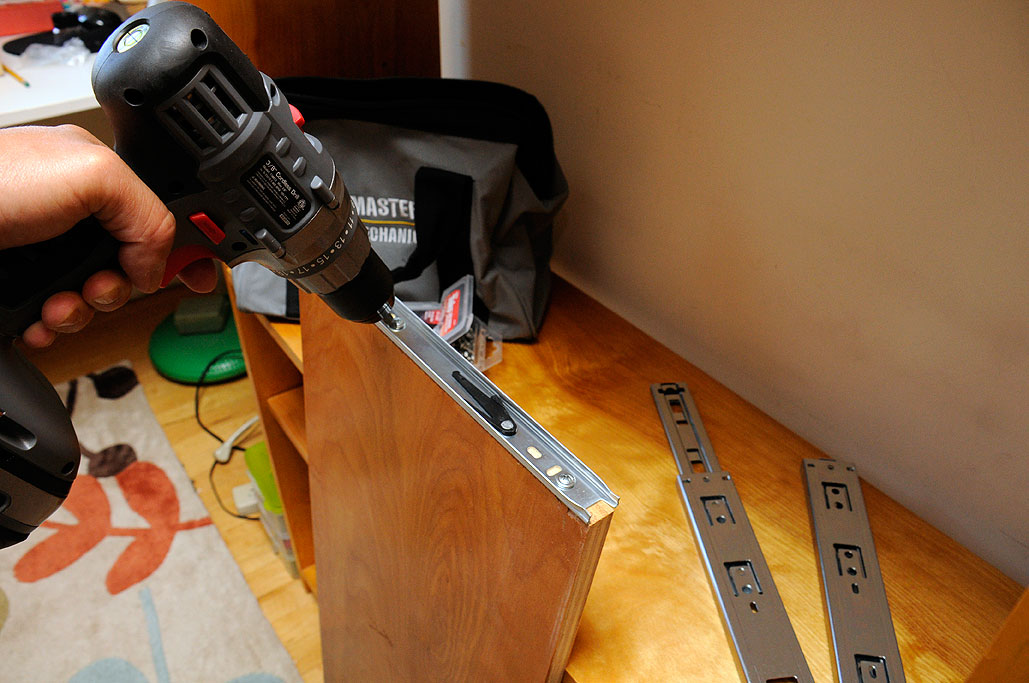
As the slides needed to be mounted on the sides of the shelf board, we had to cut the shelves down to accommodate. Cutting plywood is easiest with a blade designed for the task . It reduces splintering and eliminates the need to sand after cutting. For this project, the edges do not need to be finished (veneered, urethaned, etc), so we were able to go directly from cutting to mounting. . It reduces splintering and eliminates the need to sand after cutting. For this project, the edges do not need to be finished (veneered, urethaned, etc), so we were able to go directly from cutting to mounting.
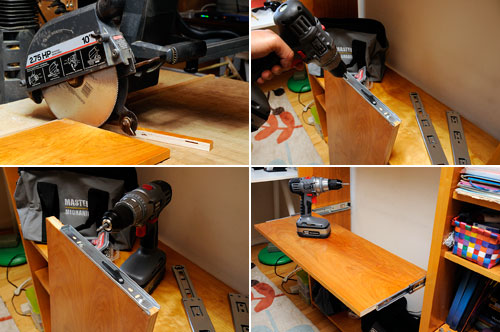
The first shelf took the longest as we had to figure out the workflow. We wanted to reduce the amount of measuring needed to get both slides aligned and parallel. When we made these bookcases years ago, we had already gone through the effort of drilling parallel adjustable bracket holes and realized that we could use the supports as mounting guides! Also, if we aligned the end of the slide with the back edge of the bookcase, both sides would match up without having to do any measuring. This approach worked perfectly and saved us a lot of time.
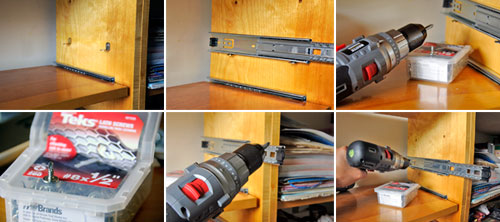
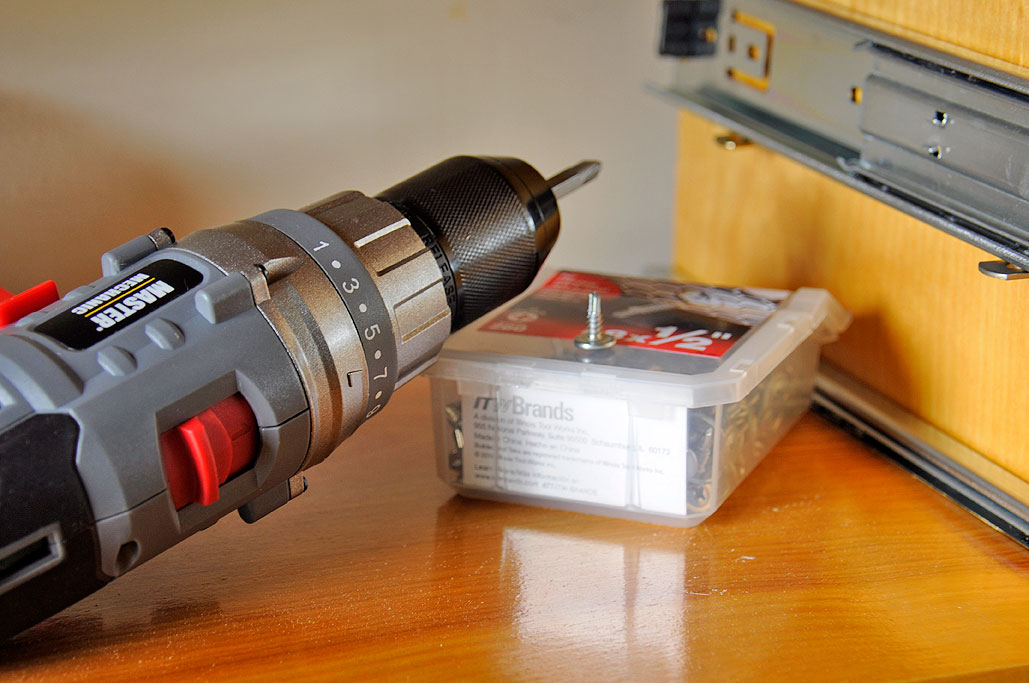
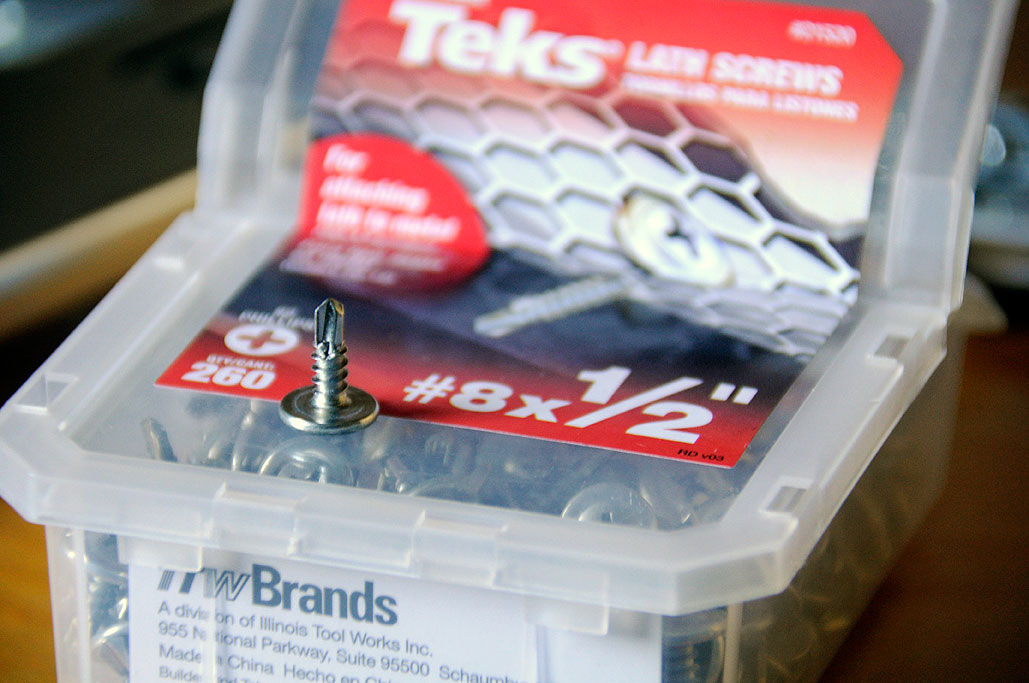
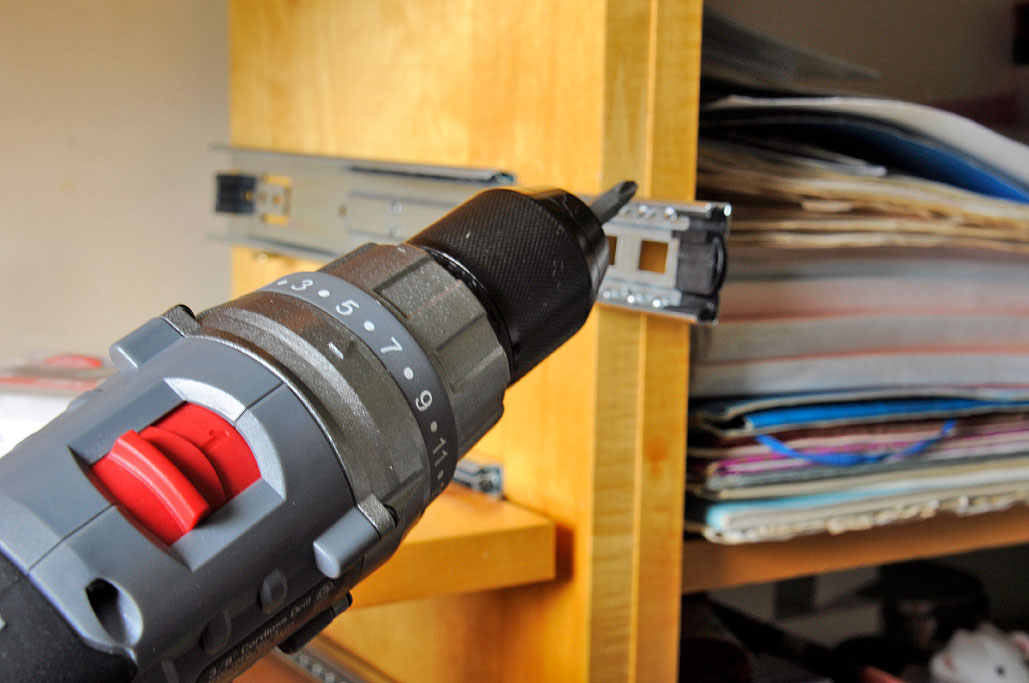
Another thing we did to save time and effort was to use self-drilling screws. The ones we used were Buildex Teks lath screws. Designed for attaching lath to metal, these screws were perfect for this application. The screws have a tiny drill tip at the end. Using these screws eliminated the need to drill pilot holes prior to mounting the glide. This project was also the perfect opportunity for us to give the Master Mechanic drill a FirstUse workout.
The Master Mechanic 18V drill really came in handy on this DIY project. It took us a few hours to put everything in. The battery had no problem lasting through the entire project. The drill had more than enough power to get the job done. We had the torque set on a relatively low setting (6 out of 23) so we didn't accidentally over-tighten the screws. As we had to put down and pick up the drill a lot, being able to stand the drill up so we could just grab it was a big plus. It was nicely balanced, too, so that even when we had to use it at an awkward angle, we had no problem with control.
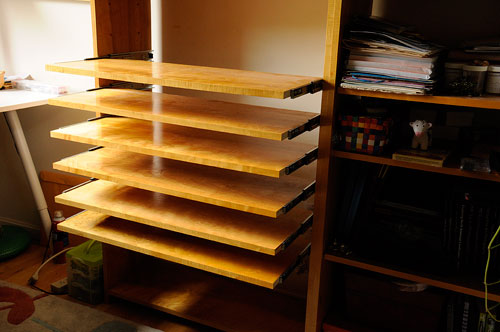
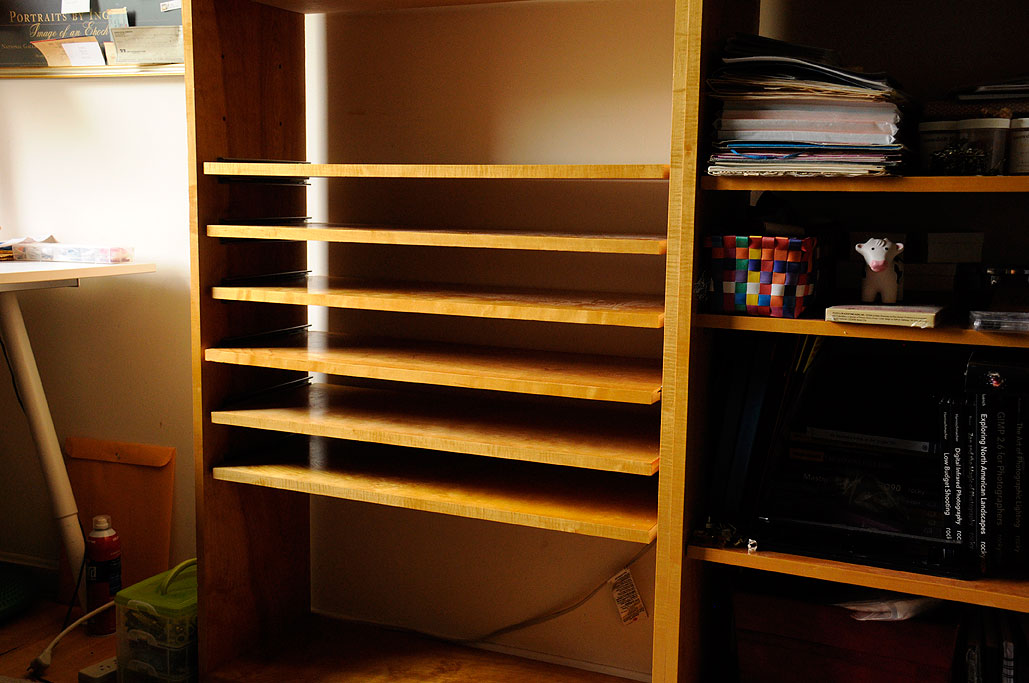
Six sliding shelves were installed in this first effort. The nice thing about this approach is that the shelves may be staggered so things on different shelves may be seen at the same time. Also, more shelves can easily be added as needed. We will see after some use if these sliding shelves do indeed make it easier for our creative editor to "get her bead on" without making a mess our of her office. If nothing else, at least the stuff will be off the floor and the interns won't have to worry about stepping on things when they enter her office :-) [Permalink] - Slide Out Shelves DIY
|


