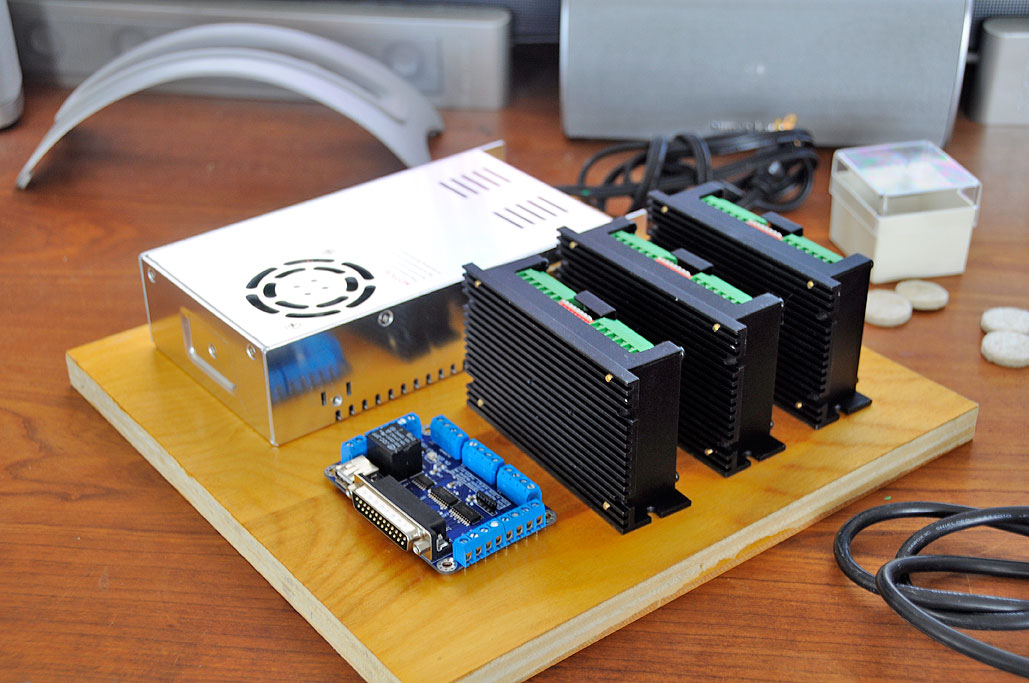
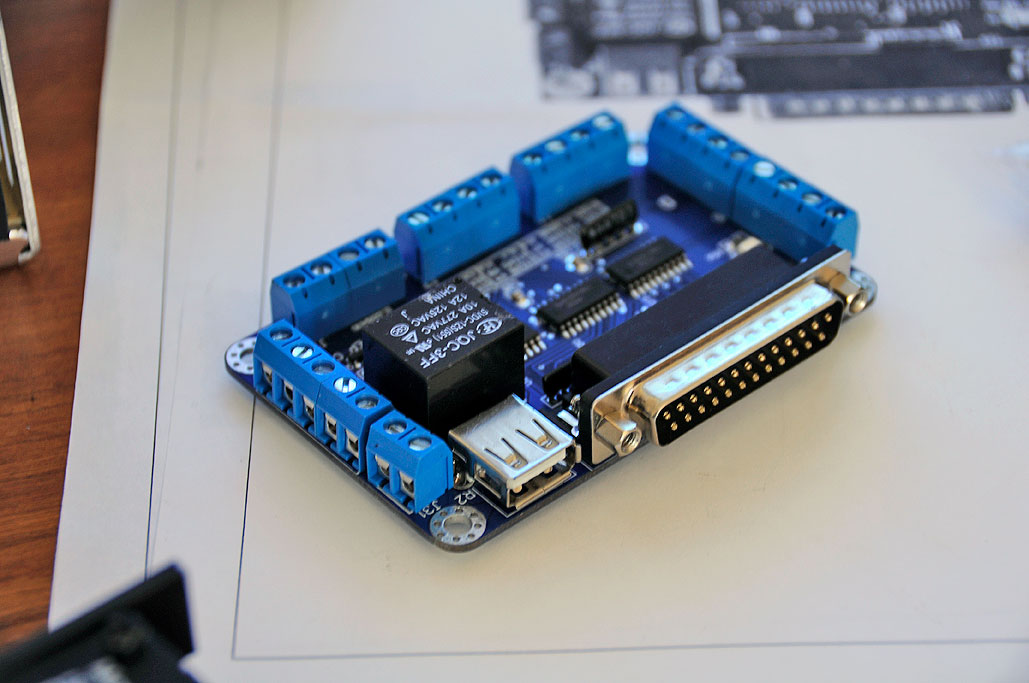
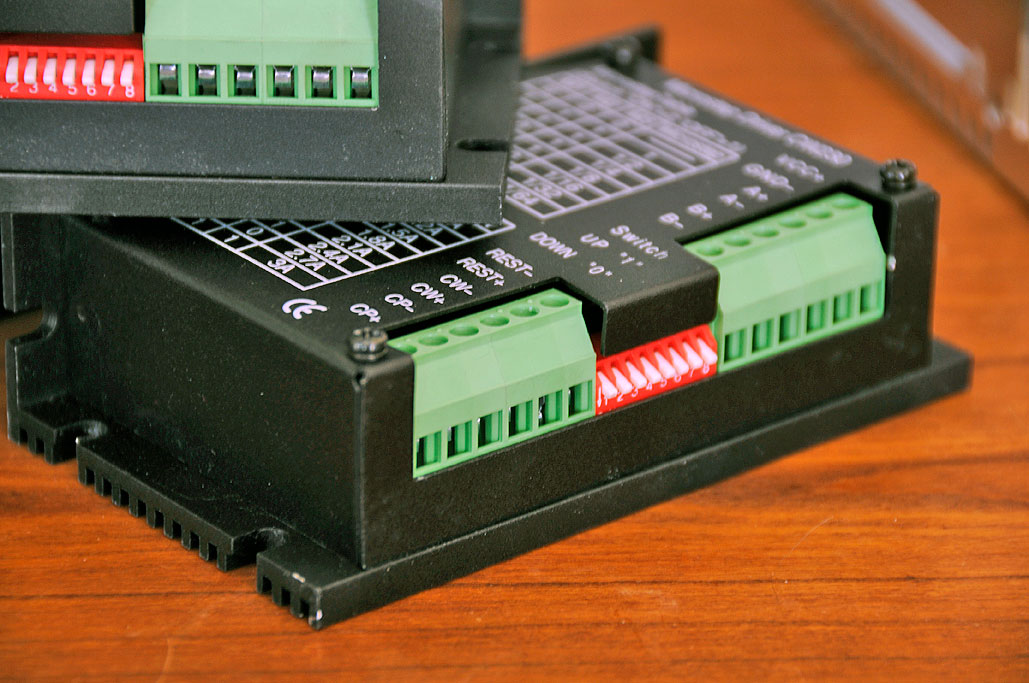
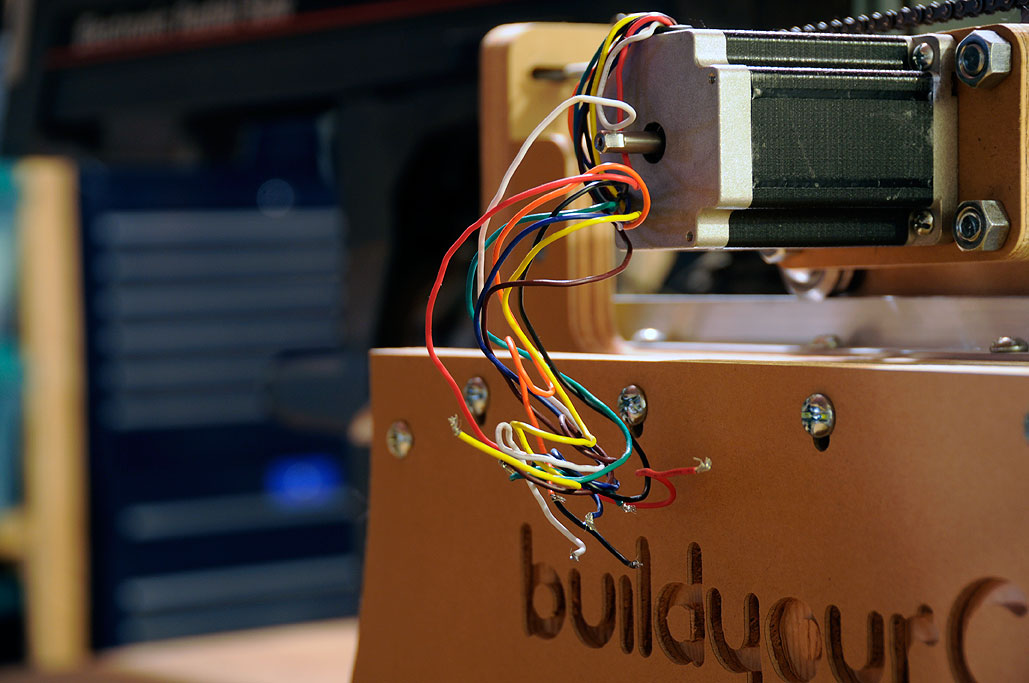
The movement of the router on BlueChick CNC machine is controlled by specialized software running on a PC. However, before the BlueChick and the computer can "talk" to each other that have to be connected up using a few pieces of electronics: a parallel port breakout board (BOB), and three stepper-motor drivers (SMDs). The BOB's purpose is to allow access to the individual pins on the cable connected to the computer; the SMD's job is to translate signals on those pins and use them to control the stepper motors on the CNC machine. This junction is where the digital world meets the real world.

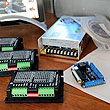
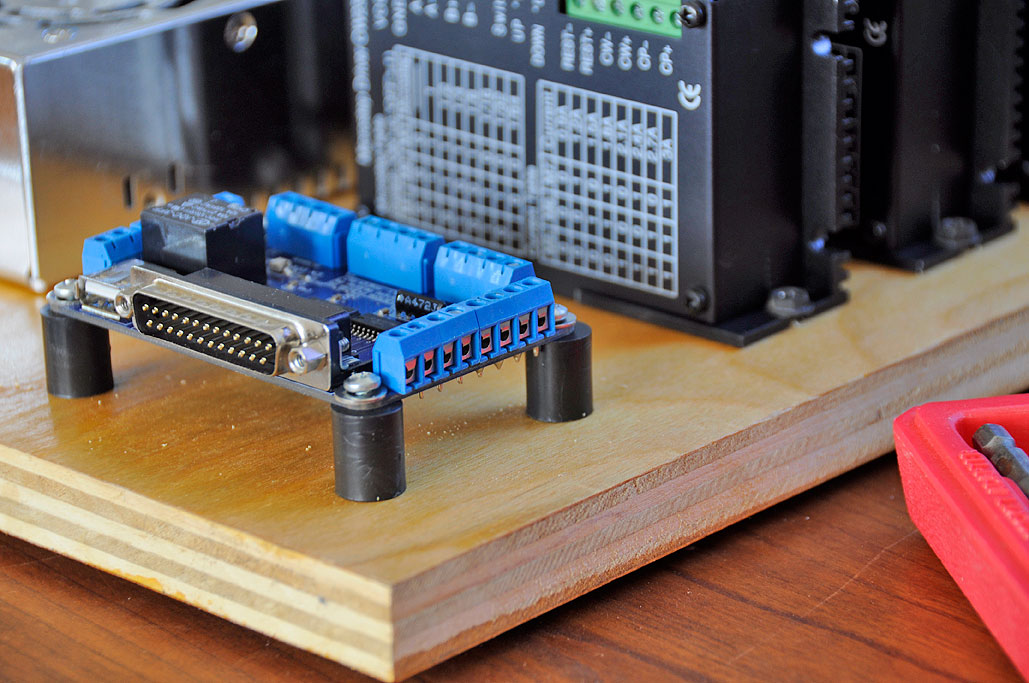
There are many ways to mount the components. A wooden tray, as suggested in the video, is an easy way to hold everything. We happened to have a piece of 12"x12" 3/4" plywood laying around, so we used that. With its 3/4" thickness, we could use wood screws and secure the pieces directly onto the board.
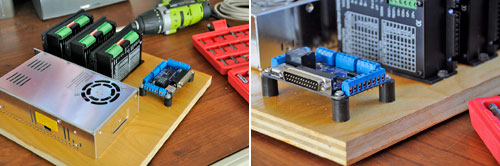
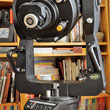
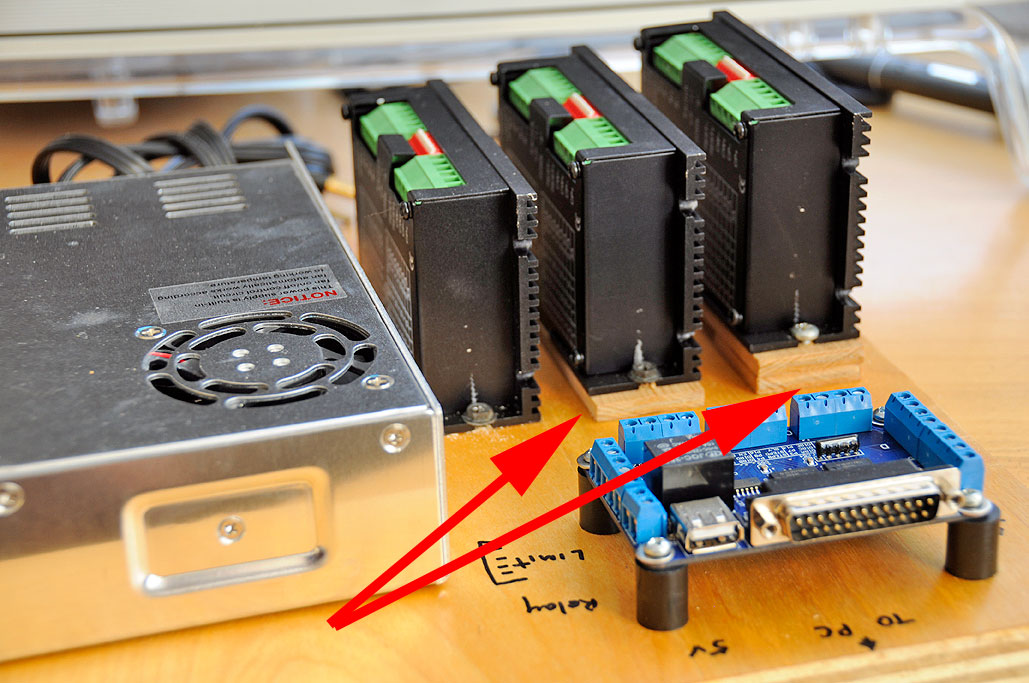
The first step was to mount the BOB. In mounting the BOB, it is important to elevate the board so that it does not make direct contact with the surface (which is true for all circuit boards). We had a few plastic posts in our parts bin which did the job nicely.
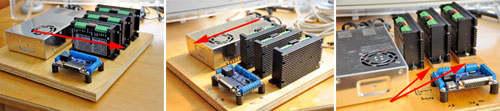
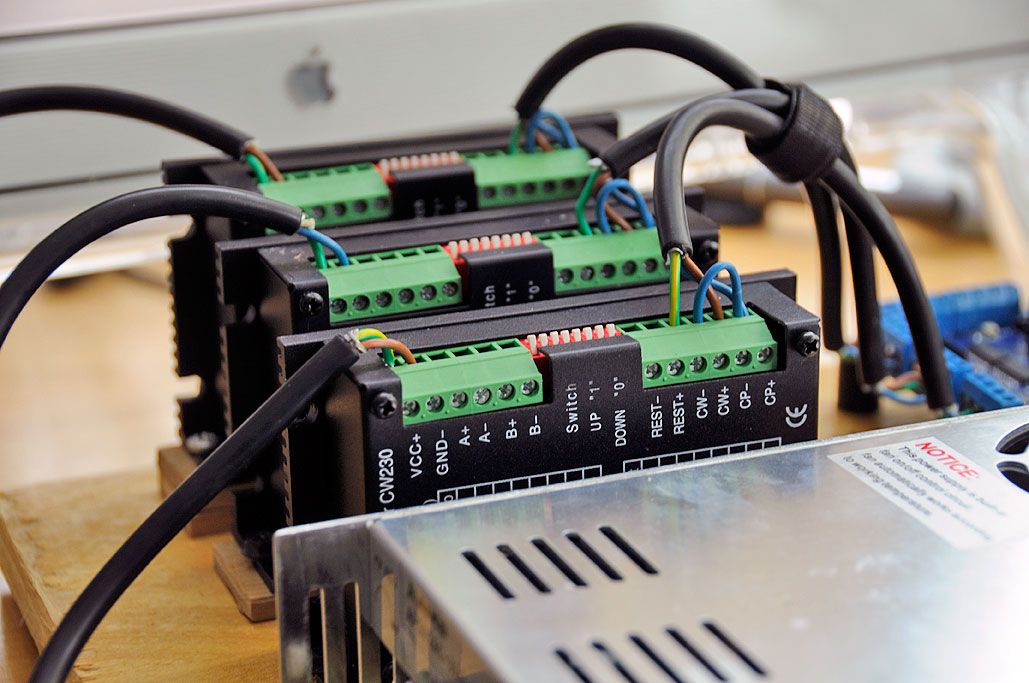
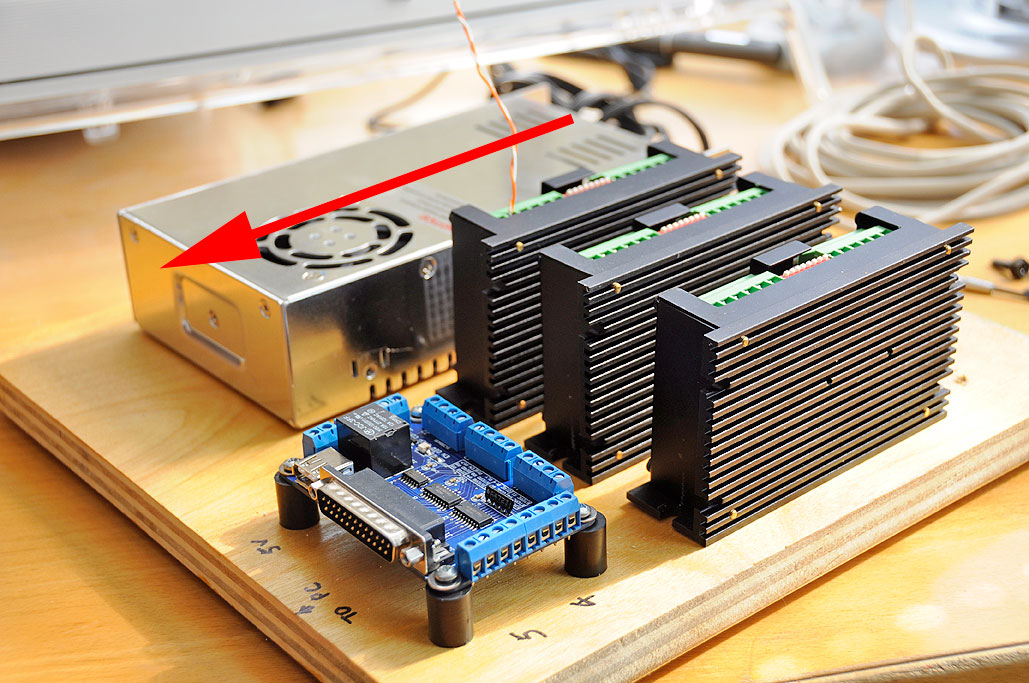
With the BOB mounted, the next step is to secure the SMDs. We tried a few different layouts and found the staggered parallel arrangement made the most sense. The vertically staggered arrangement of the SMDs provides us with access to the screws that secure the wires. We placed the SMDs in parallel because it matched nicely with the location of the X,Y, and Z connectors on the BOB.
There are lots of informative videos on how to wire up the BOB and SMDs on the Build Your CNC site. We recommend watching them all to get a general understanding of the basics of what to do. However, unless the model of your components match EXACTLY, you should not blindly follow the connection steps on the videos. Of course, we would definitely check and double check every connection before powering anything up.
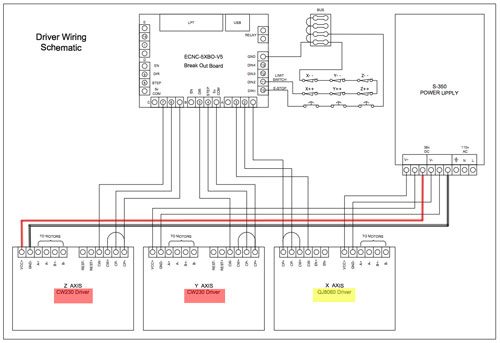
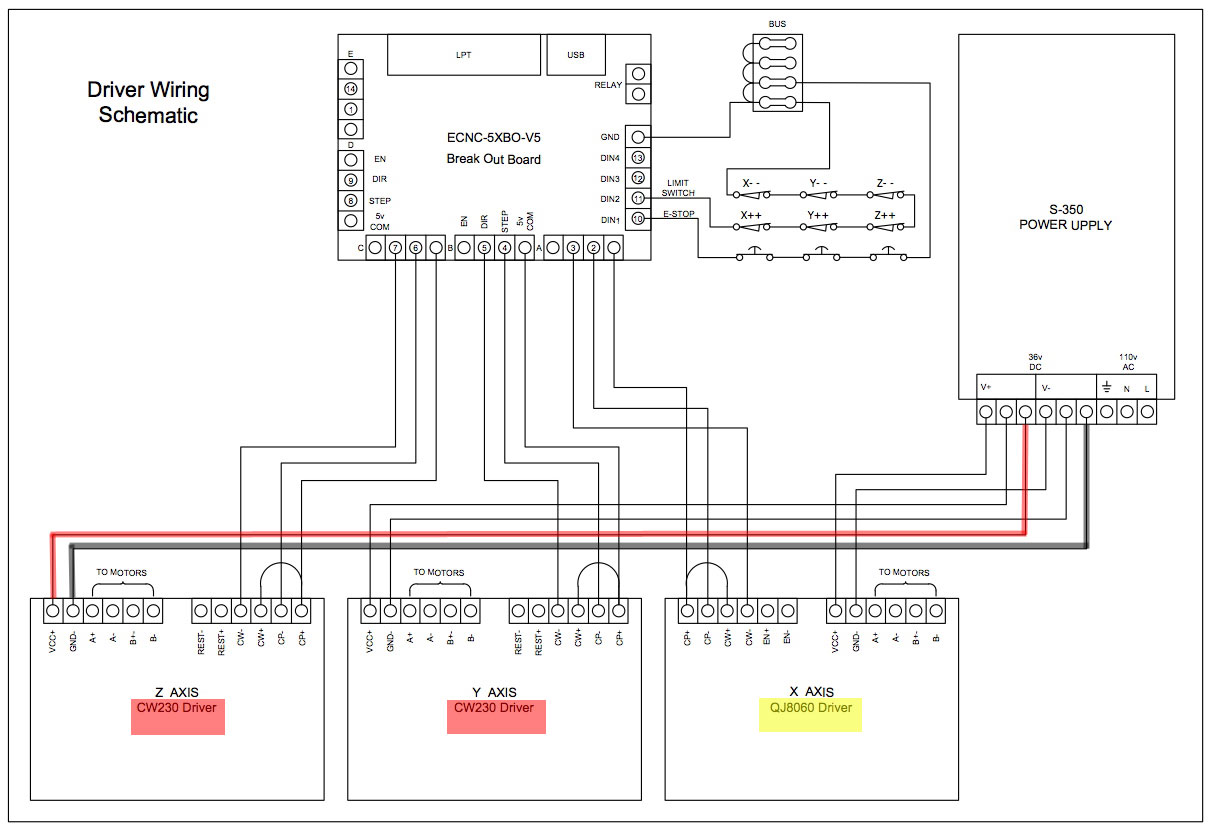
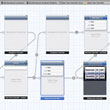
The BOB we got with the BlueChick is a 5-axis unit. It gets its 5V via a USB connection to the computer. This is fine if the computer has a free USB port. At first we were a little confused as how to connect things up, as the layout of its connectors were different from the unit's in the tutorial. Fortunately, this question had been fully answered by other builders on the Build Your CNC forum. One poster even provided a wiring diagram for connecting the BOB to two different types of SMDs (CW230, QJ8060). We have added some color-coding just to make it easier to follow the wires.
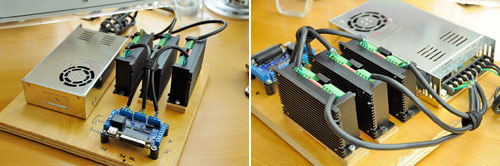
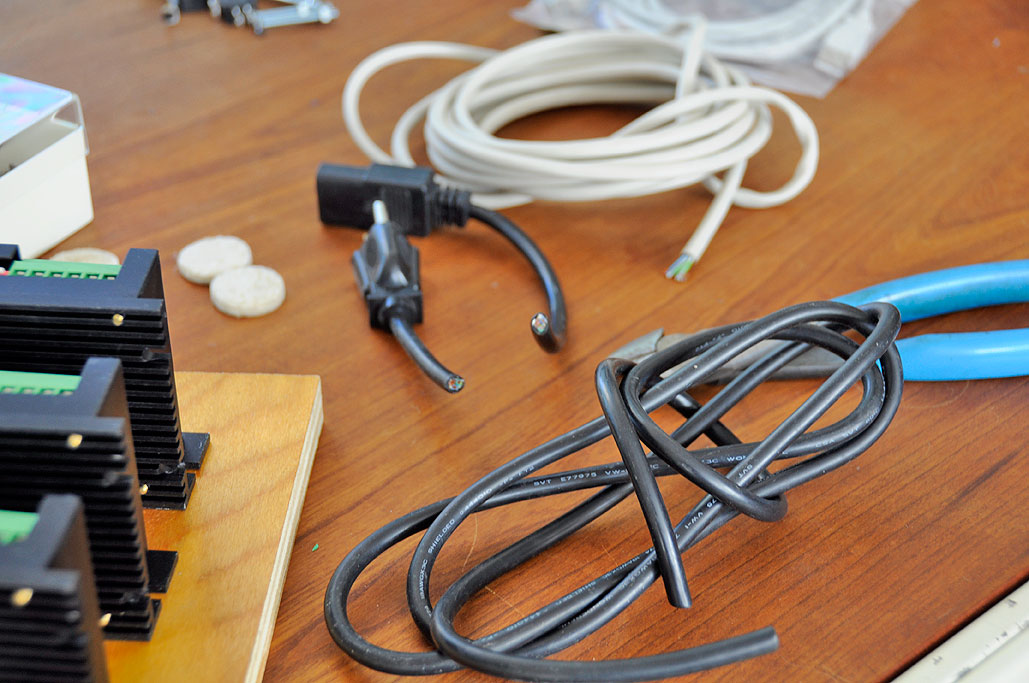
We wanted to minimize any possible EM interference so we decided to use lengths cut from a shielded power cable. One cable was sufficient to wire everything up. The staggered arrangement of the SMDs also proved to be a very good idea.

With the BOB wired to the SMDs, we are now ready to connect the interface board to the three motors on the BlueChick CNC machine. However, before we do that, we are going to get the PC and the software needed to run the BlueChick sorted out. [Permalink] -BOB and SMD Setup
|


