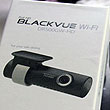
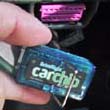
Earlier in the week we posted a FirstLook at a cool little video camera called the BlackVue DR500GW-HD. The BlackVue is a new class of video camera designed specifically for recording footage from the inside of a vehicle. It is perfect for a variety of purposes: insurance claims, security/remote monitoring, car-at-the-racetrack day. The camera is able to communicate with WiFi-enabled devices such as the iPhone and iPad for viewing. Data on the removable MicroSD card can be download to any computer for review and archival storage.

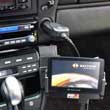
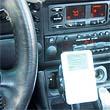
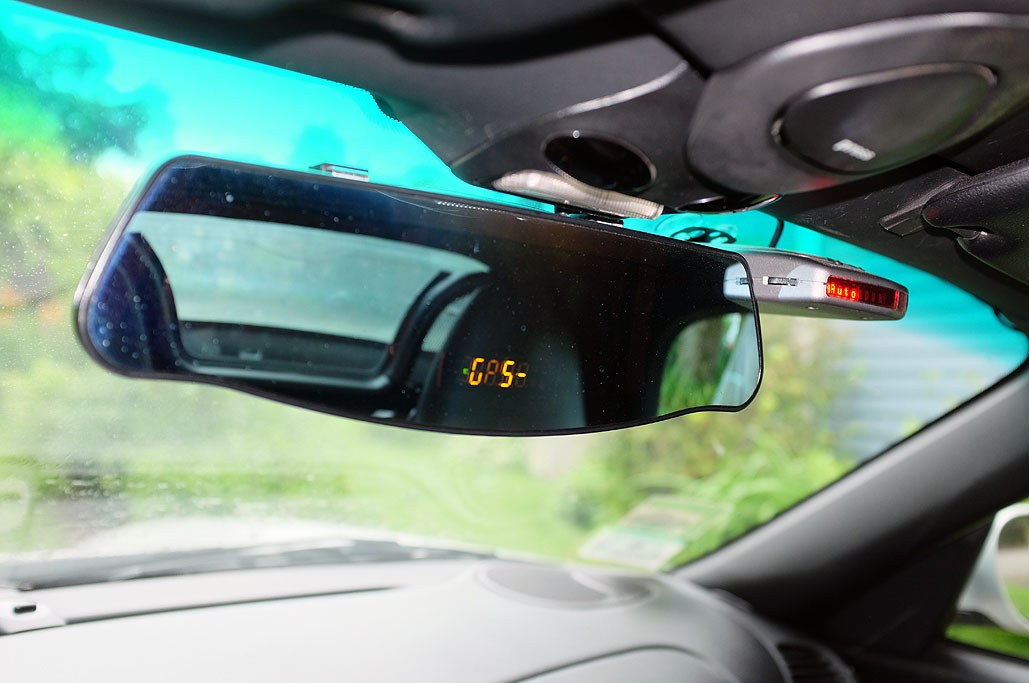
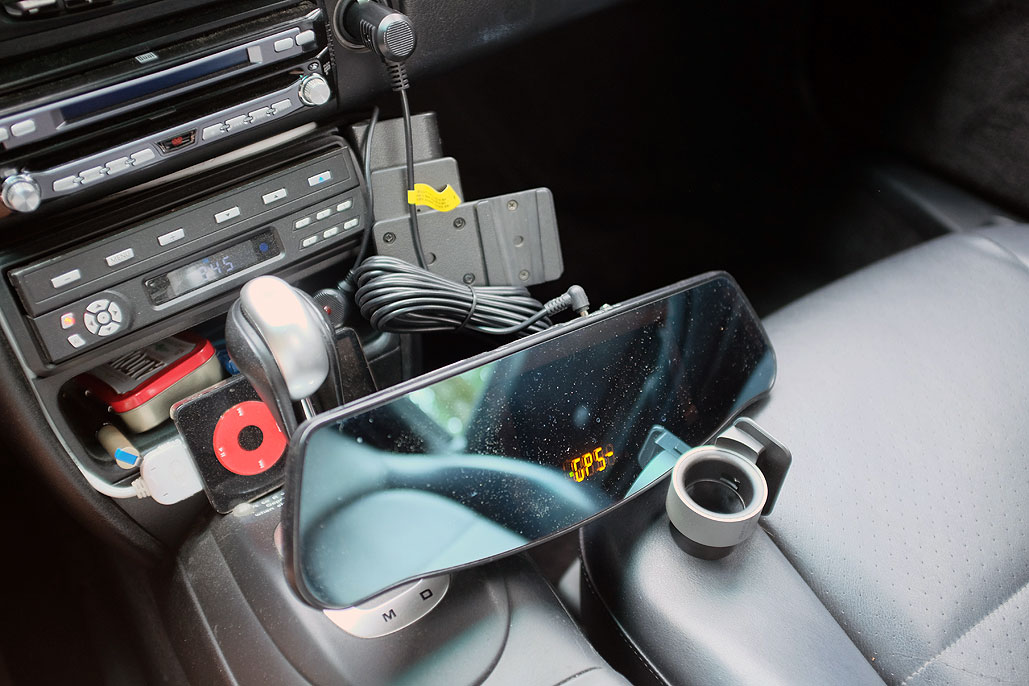
Today, we will show you how we mounted the BlackVue in our project car. As RainyDayGarage readers know, we have installed quite a few things in the Boxster over the years (Carputer, Escort radar detector, touchscreen, Cheetah Mirror, etc). As a result, the area around the rearview mirror is a bit crowded. Also, there are now wires running up both sides of the windshield and no room to run a third set. In order to power the BlackVue, we had to either rearrange or remove something.
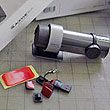
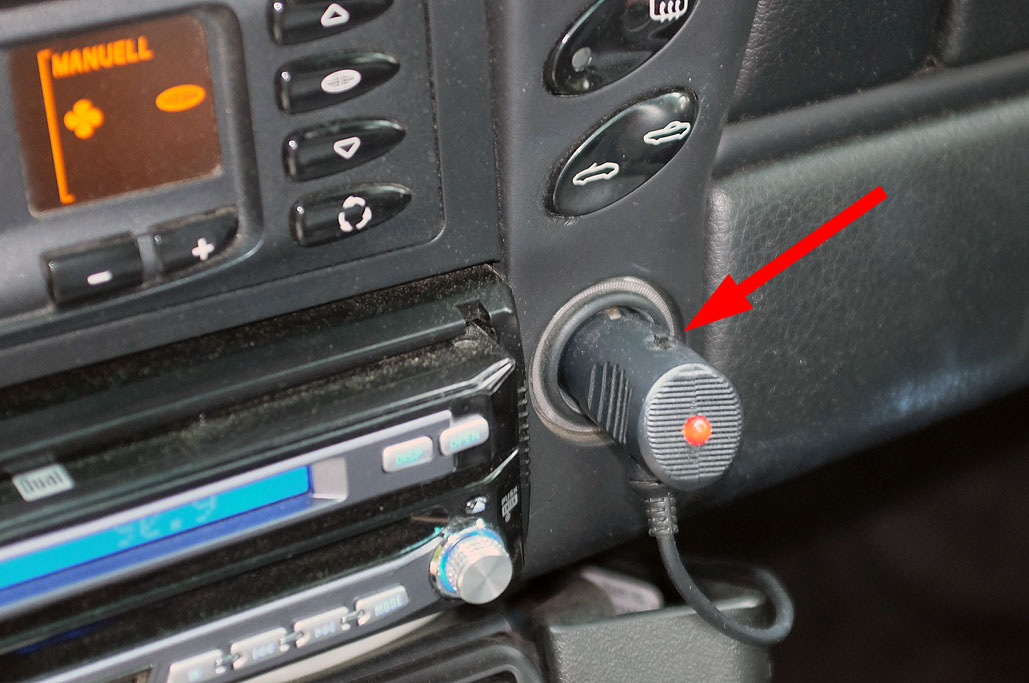
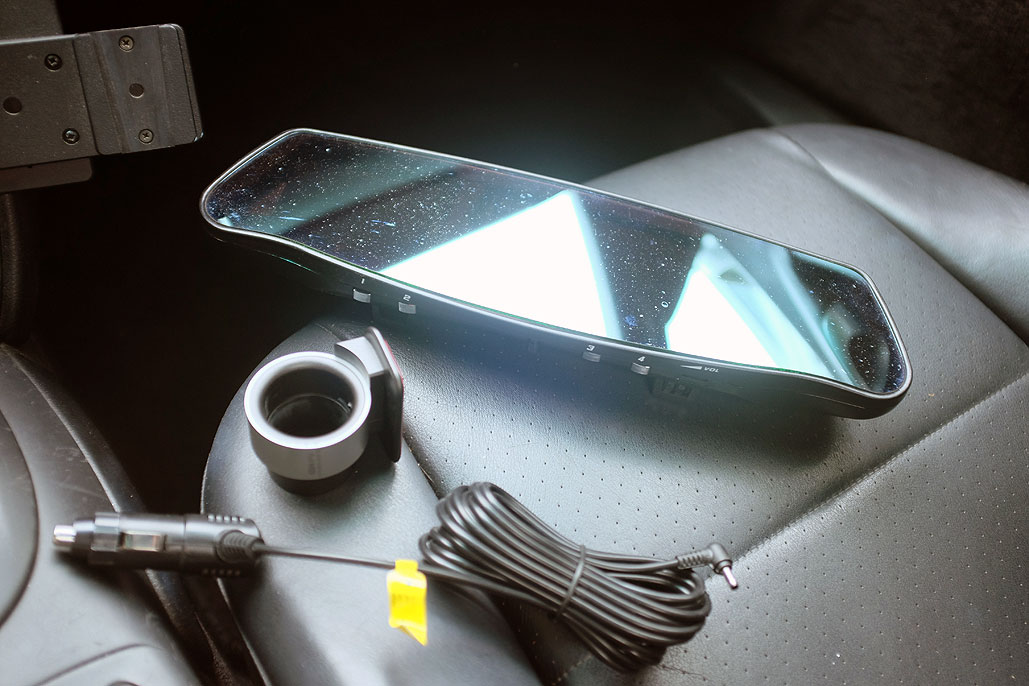
While we love the Cheetah Redlight Camera Detector and we find it helpful when we are in NYC, Boston does not actually have them (the ones that give you a ticket). We keep it more because the mirror gives us a wider view of the rear. In light of the needs of the BlackVue install, we opted to take out the Cheetah mirror. When we were about to remove the wiring, it occured to us that perhaps we could use it for the BlackVue as both units ran on 12VDC. One of the features of the Cheetah Redlight Camera's power plug is that it has an On/Off switch. If compatible, not only would we not have to run new wires, we would have a nice simple way of controlling the camera.
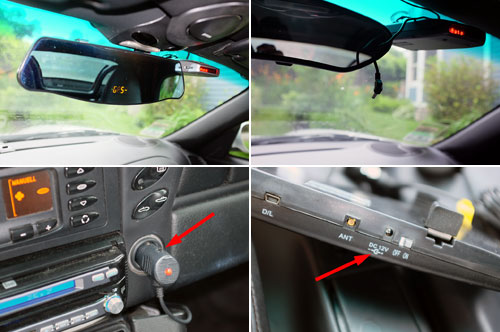
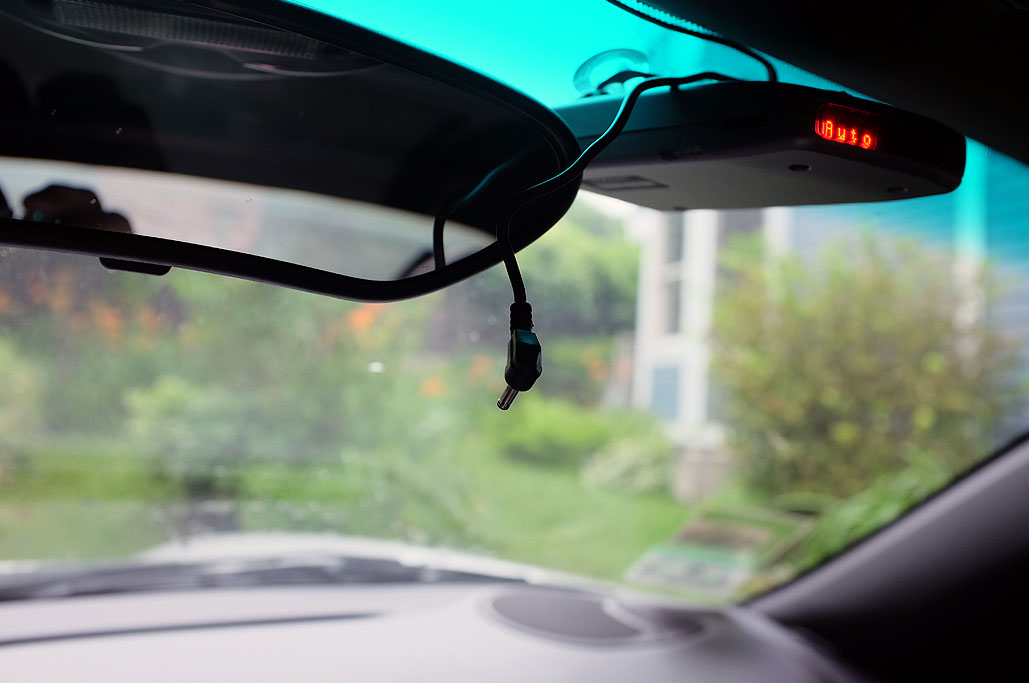
The big question was whether the polarity of the plugs were the same and whether the adapter would supply the proper amount of current. The graphics on the Cheetah mirror indicates that the tip was "+," but we were unable to determine the polarity of the BlackVue plug. Undeterred, we decided to see if the BlackVue's adapter would power the Cheetah mirror. We figured that if it did, we would at least know the polarity of the tip was correct. As luck would have it, they were compatible. The next test was to see if the "already installed" Cheetah adapter would work with the BlackVue. Once again, the answer was YES.
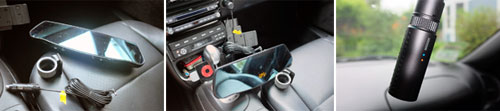
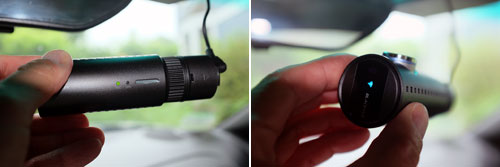
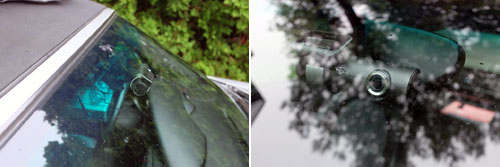
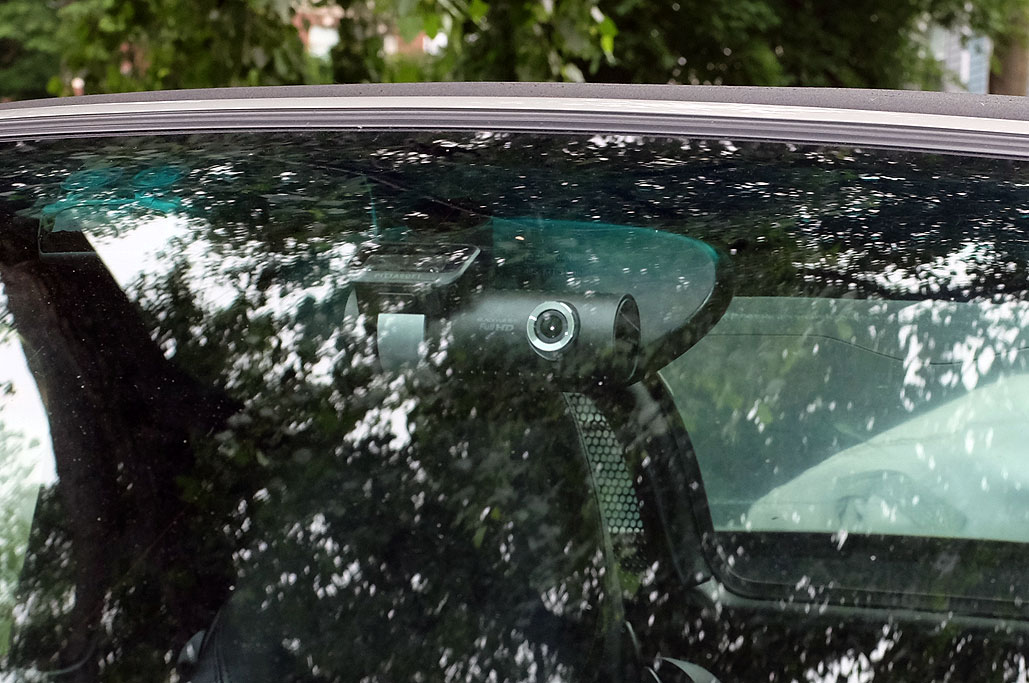
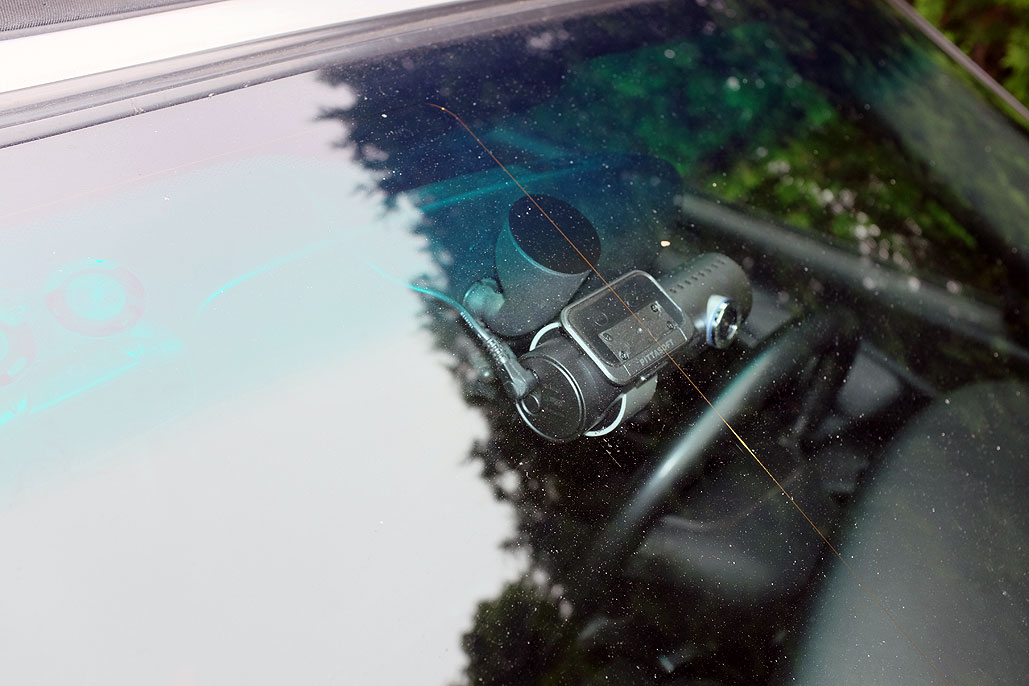
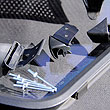
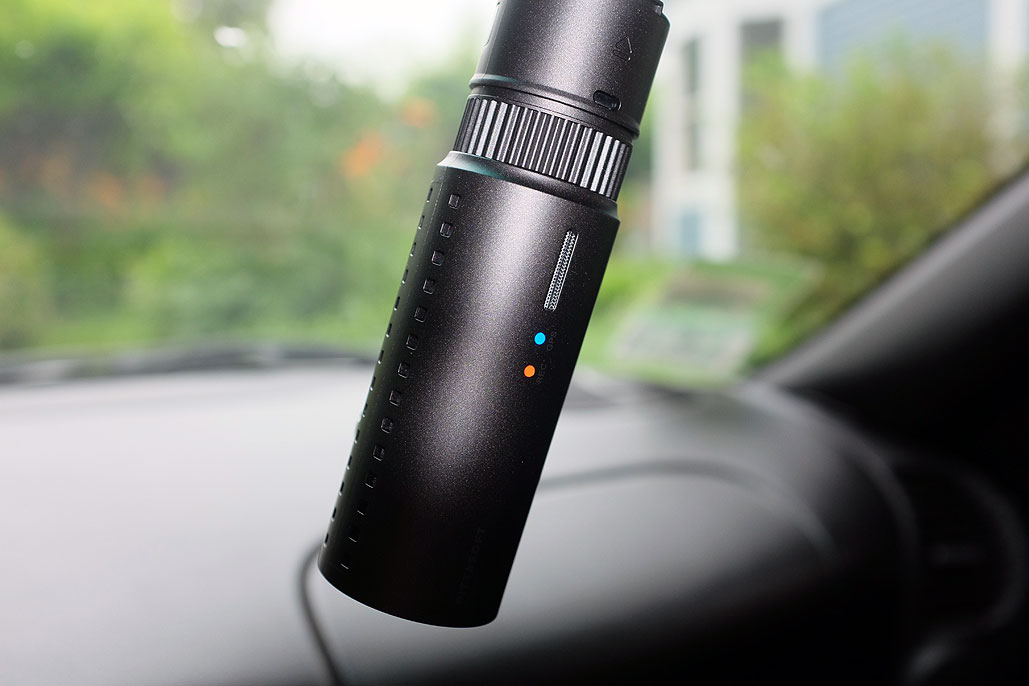
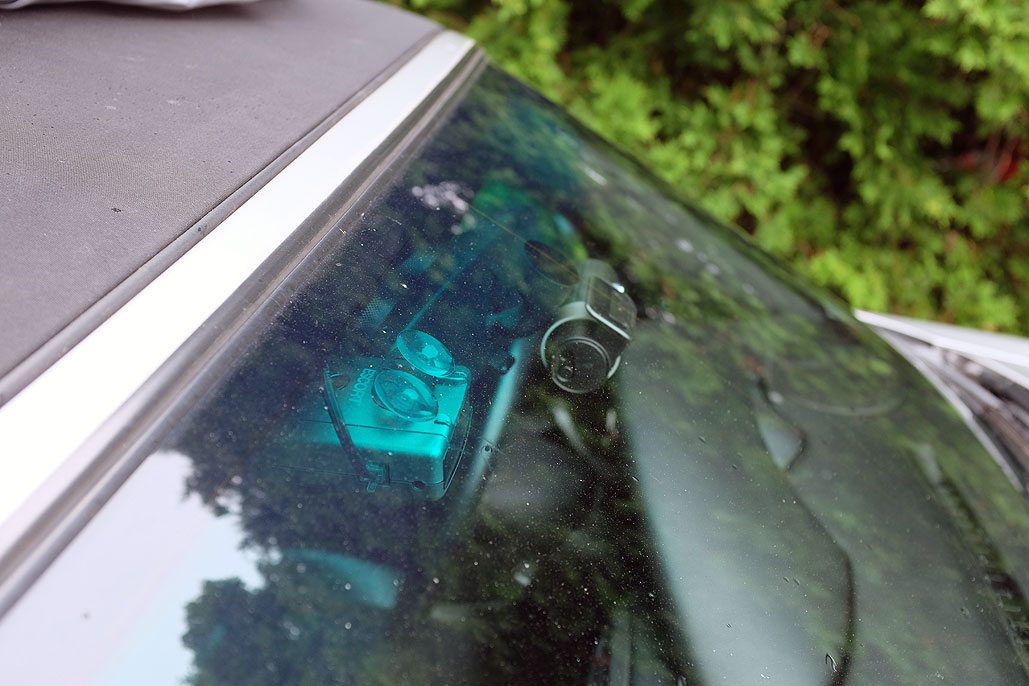
With the first part of our installation completed, the next task was to decide the best place for the camera's placement. The manual suggested putting the camera mount on the windshiled right behind the rearview mirror. We took a look and agreed that that spot made the most sense. It did not obstruct our view out the front, was easy to get at, and was reachable by the power plug.

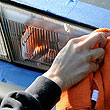
We cleaned the spot and placed the mount into position. The mount has a strip of double-sided adhesive preinstalled, so it was just a matter of "peel and press." We made sure it had good contact by pressing out any air bubbles (easy to see just by looking through the other side of the glass!). We also left the mount on the glass for about 10 minutes to give it plenty of time to set. The mount's positive click-lock mechanism made setting the camera at the desired angle fast and precise. Everything felt nice and secure.

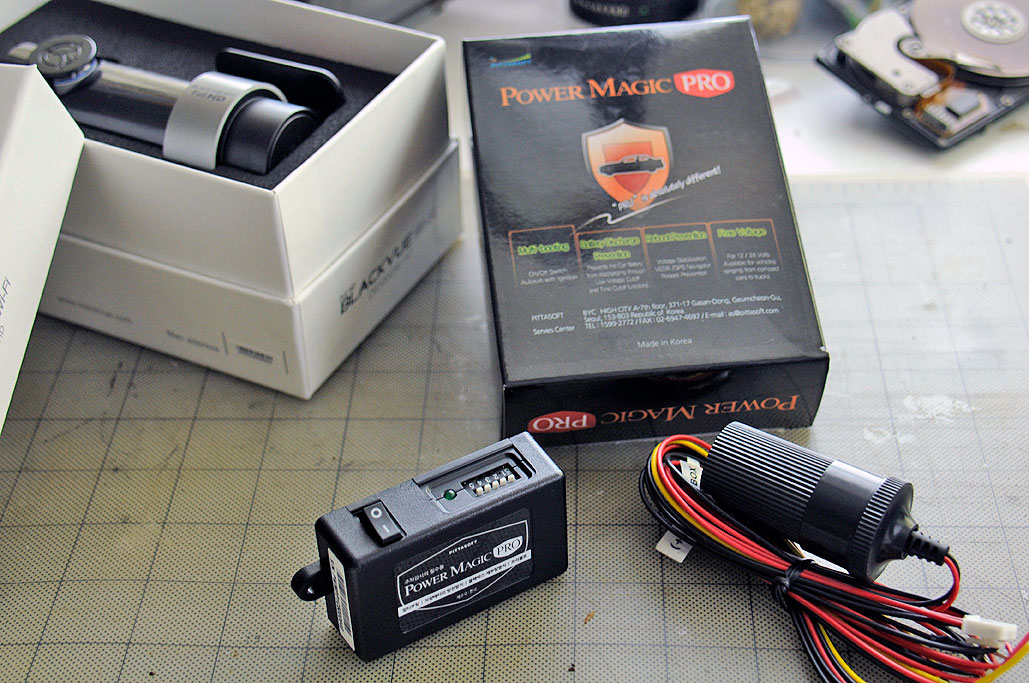
As we had already done most of the work for laying out the power line, this particular installation was quick and painless. Once we are satisfied with utility of the camera we will revisit the power situation and likely install the Power Magic Pro. However, we will leave that on the ToDo list for the time being and get some FirstUse videos posted ASAP! [Permalink] - BlackVue Camera Installation
|


