"We Entertain When It Rains"  
 
RainyDayShopping HERE !


Google
Web www.rainydaymagazine.com

RainyDayMagazine's content can now be licensed for your print magazine or web site. Please contact us directly here.  If you want to see something reviewed, then drop us a note with a link and we'll be happy to take a look.


Jan 12-13,2008(WeekendEdition)

This Summer (we know, we know...there is a storm heading to Boston right now that will drop 8" to 12" of snow on us by the commute tomorrow morning) we are going to launch a new section called RainyDayCrafts.  The goals are to highlight some of the fantastic work being done and to show readers some interesting projects to help pass a rainy day.

We found these delightful ceramic bird houses at Birch St. Home & Garden, one of our favorite shops in Roslindale Village. They are designed by the artist Rae Dunn of San Francisco and come as a set of three. 

Check out the wonderful graphics on on the outside of each of the houses (Home, Chirp, Nest).  For more of her work, click over to Ms. Dunn's site.  If you can't find any of her stuff locally, she does have an Etsy boutique online. 

We will, of course, be featuring all kinds of local Boston artists on RainyDayCrafts.  One of the first will be our own Carolyn Donovan.  Carolyn launched Darby Rowe Design last December, has done a few local shows, and is already building a following.  Savvy readers may want to snap up some of her early designs before she gets too widely known! - Wan Chi Lau (permalink)


Jan 11,2008(FontsFriday)

The Xyron Design Disc Maker is a great accessory for anyone with a Design Runner printer.  The one aspect we had not discussed much in our past reviews are the different fonts available from Xyron.

Xyron made it simple for users to purchase and use different type faces by packaging the fonts on a SD-like disc.  The discs may be used directly in the Design Runner or the Disc Maker.

We liked that the entire content of the disc printed on the inside cover of the box.  One hack we will do is to make it easier to put the disc back into the box so the two are always together.  We find that it is handy to be able to see the entire font collection at a glance. 

Our recommendation is to have three different fonts on hand (formal, script, fun).  Having a few different font options will give with you a lot more flexibility in your projects.  We'll post some projects soon to show you what we mean.  In the meantime, check out all the gear, fonts, and designs available at Xyron.  We are sure you will find something for you will like! - Wan Chi Lau (permalink)


Jan 10,2008(TechThursday)

The Eye-Fi product was brought to our attention a few months back by one of our readers.  We were intriqued by a memory card with WiFi capabilities.  Yesterday, we learned that the Eye-Fi card has won the "Last Gadget Standing" honors at the 2008 CES.

We do not have direct experience with the unit yet, but the idea is simple enough.  The Eye-Fi card is a standard SD memory card which will fit in most of the newer small digital cameras. 

Built into the SD card are the electronics of a WiFi transmitter.  One would take photos normally with the camera.  When it is time to transfer the images to the computer, there is no need to connect a cable because images are transmitted wirelessly.  To further simplify things, Eye-Fi also let the user set things up so that it will upload the images directly to an image host/sharing sites (flickr, shutterfly, etc...).  We'll see if we can get our hands on one to try out and report back on whether the Eye-Fi is as good as the buzz! - Wan Chi Lau (permalink)


Jan 9,2008(WowUsWednesday)

Senator Hillary Clinton wow'ed everyone last night by taking New Hampshire!  It is clear a change in how things are done in government is desired.  The folks in NH sent the message that they wantws someone who has the experience to make those changes.

We are not so sure, but we are going to take a closer look at both before making up or minds.  We plan to seek out views different from our own, discuss it, and vote.  We urge our readers to do the same.  Participation is key to a working democracy.  - Wan Chi Lau (permalink)

GoTo mounts are great. Making one for your own telescope is even better. Don't know how? Check out the DIY write-up on Steve Bedair's site.  It is not a step-by-step instructable, but the photo series on building one for the Celestron C-11 was enough for a mention on WowUsWednesday.

Steve also recommended joining Yahoo!'s RoboScope forum.  We did and found a great collection of photo album on various homemade Goto mount. 

Very cool!  So many projects, so little time. - Wan Chi Lau (permalink)


Jan 8,2008(GearTestTuesday)

Just about everyone who covers consumer electronics is at the CES out in Las Vegas this week.  We used to go, until we realized that most of what we saw at the show never made it on the market.  So for the past four years, we have stayed home during the "crazy" season :-)  When we want to see what is the latest, we just pop over to Gizmodo!  It costs a lot less and gives us more time for testing gear that has actually made it on to the market!

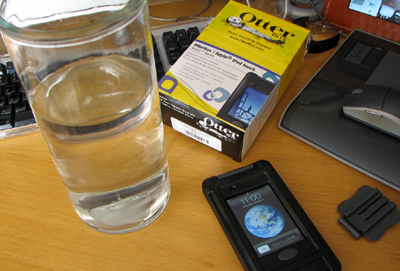
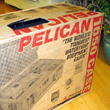
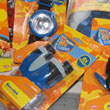
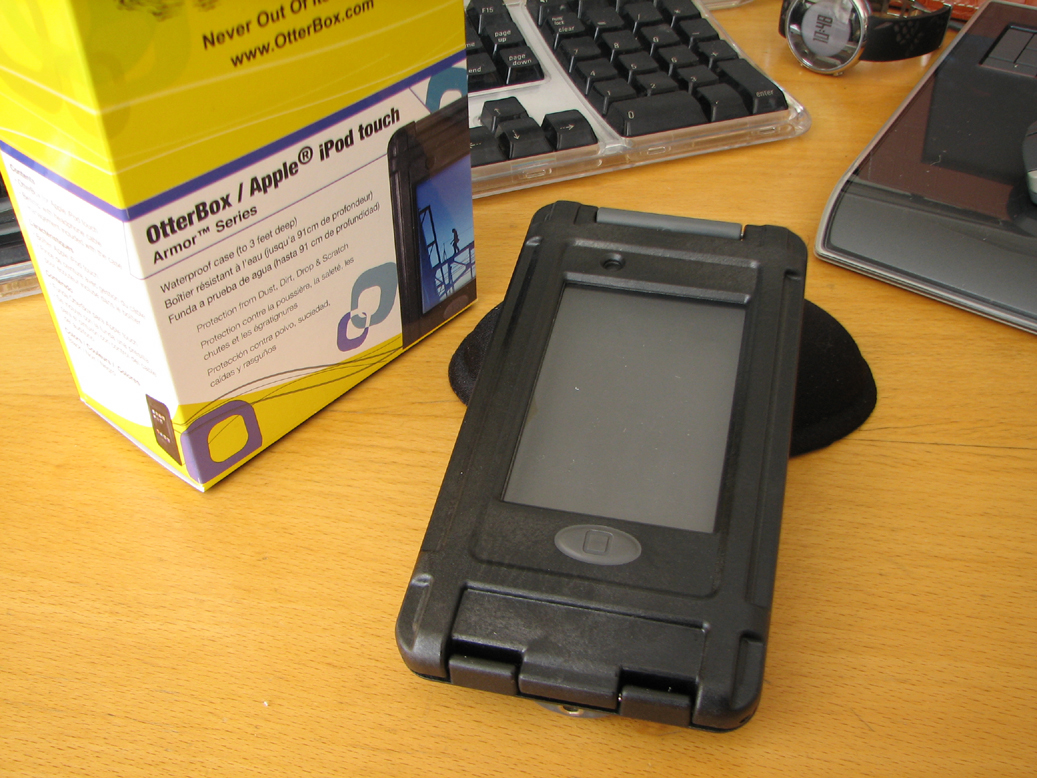
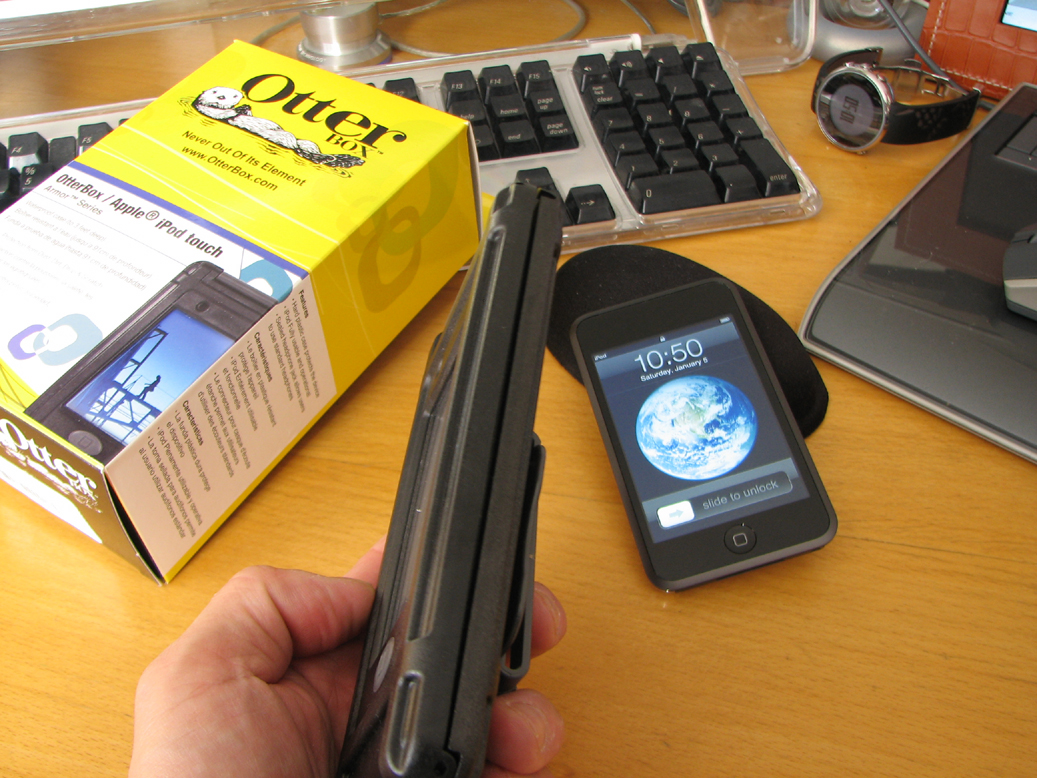
Today, we will be reporting on the results of our FirstLook of the OtterBox Armor case for the iPod Touch.  This case, like all of the other cases in the Otter line are functional, tough, and great looking.

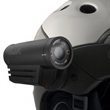
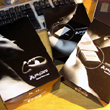
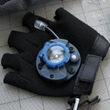
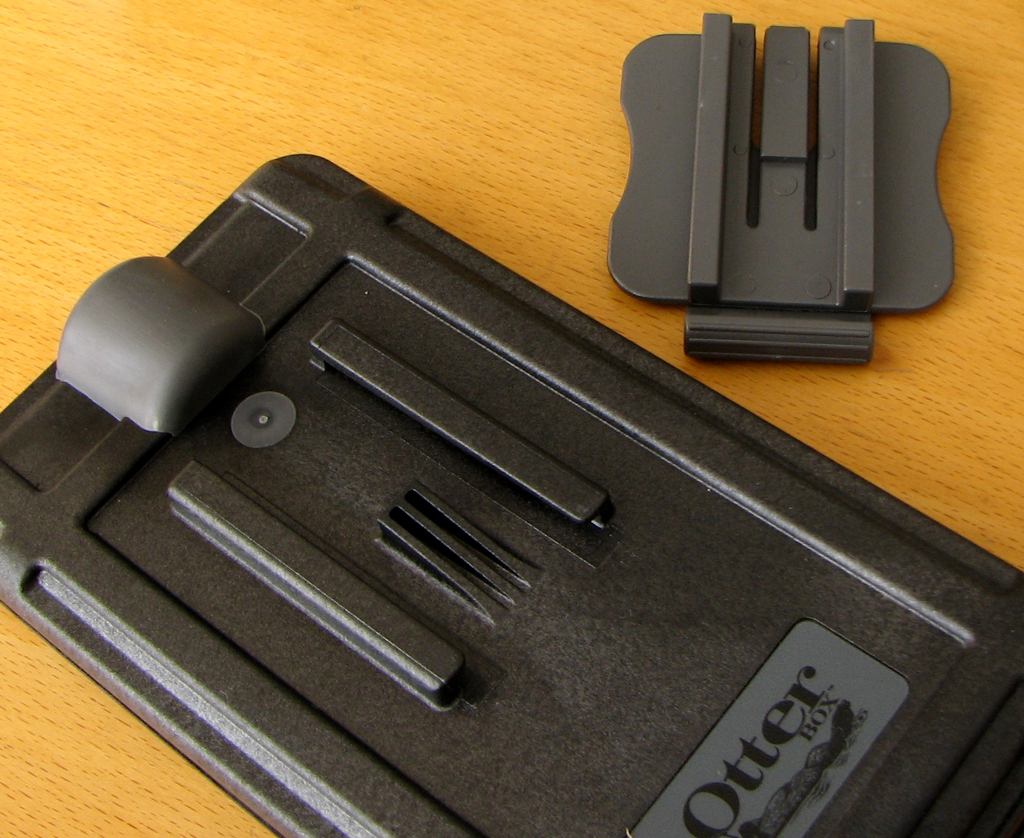
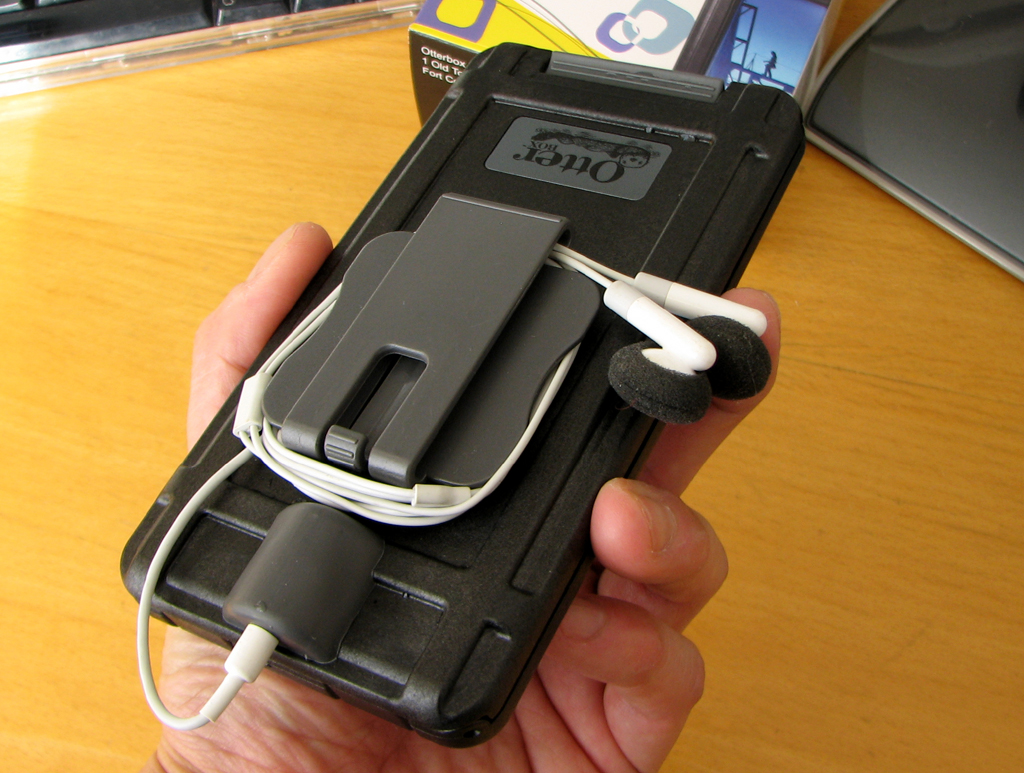
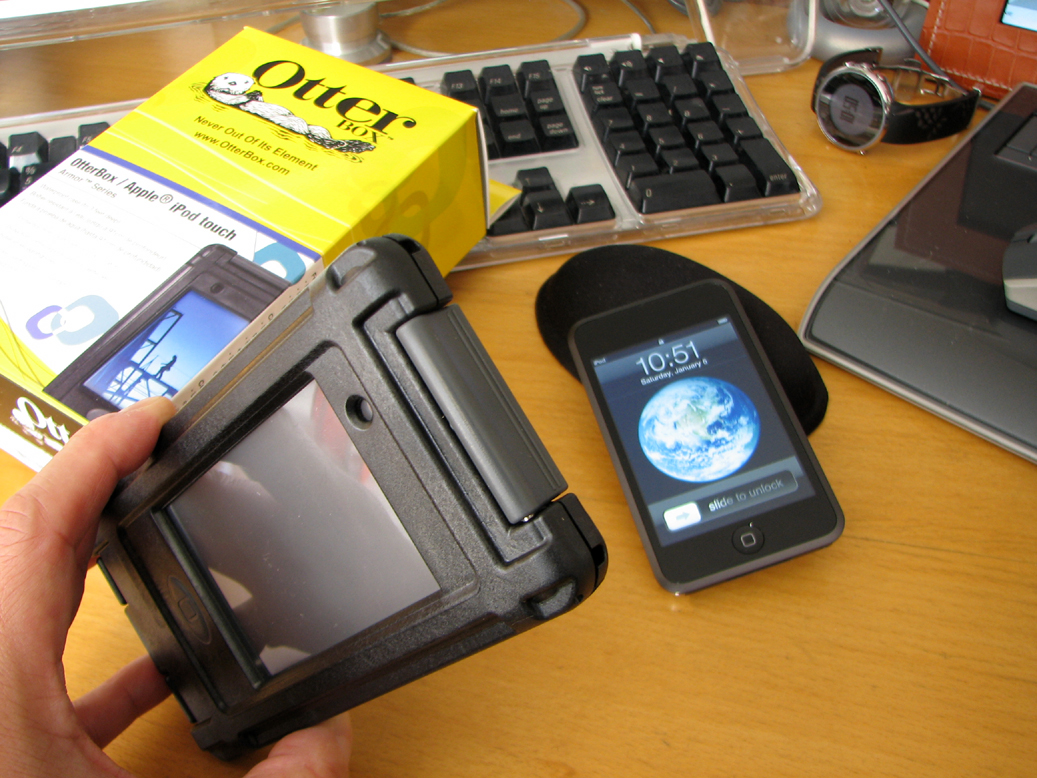
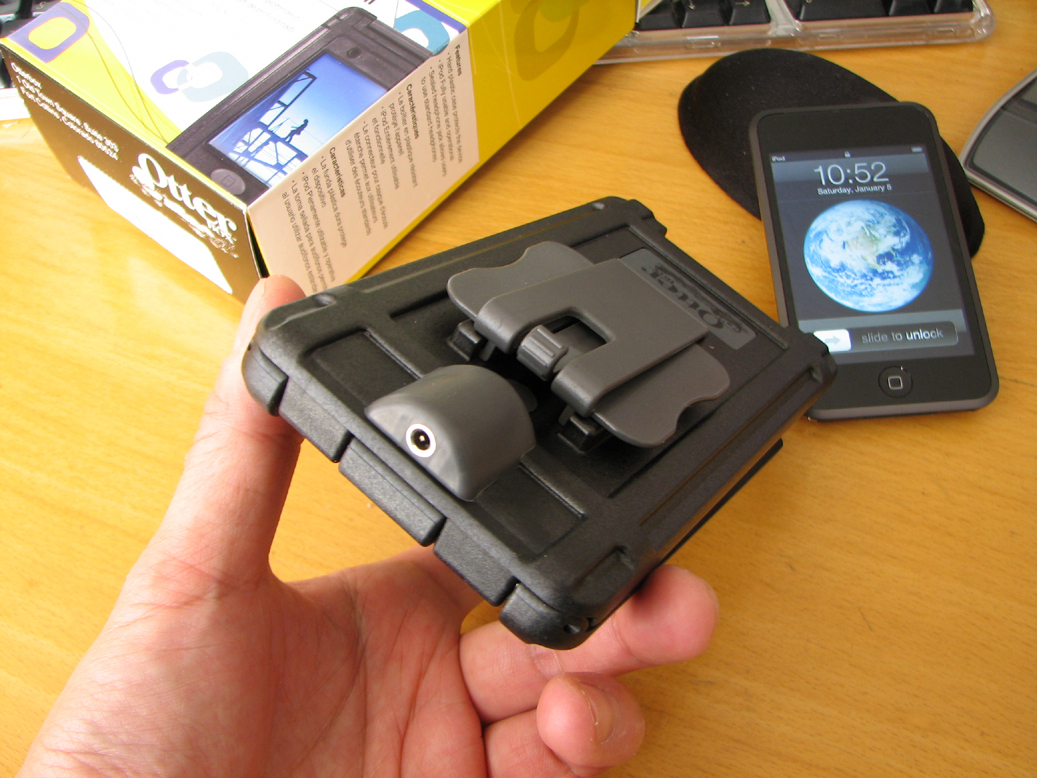
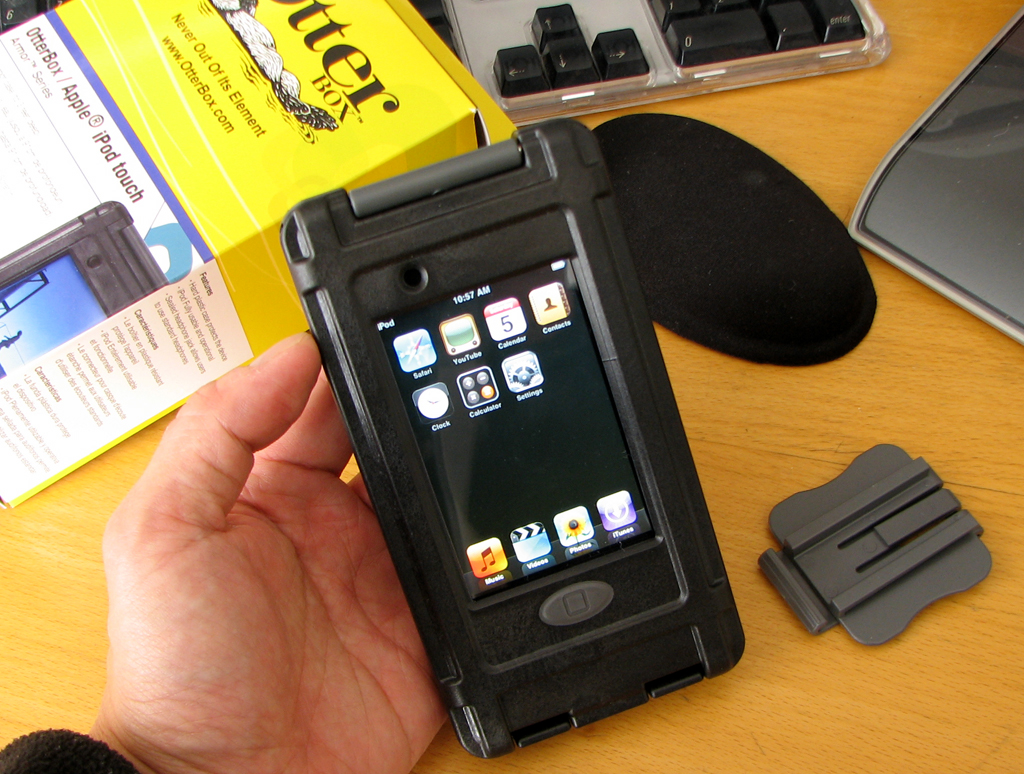
The front of the case has a crystal clear window.  The material is soft enough to allow the user to manipulate the screen, but feels tough enough to hold up to extended use.  There is a removable clip on the back which doubles as a cord management system.  The case does add some thickness to the iPod, but did we mention this case is part of Otter's Armor series?

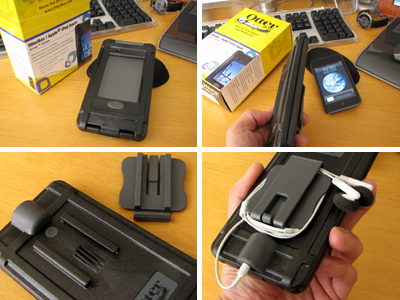
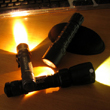
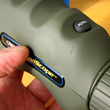
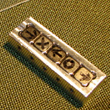
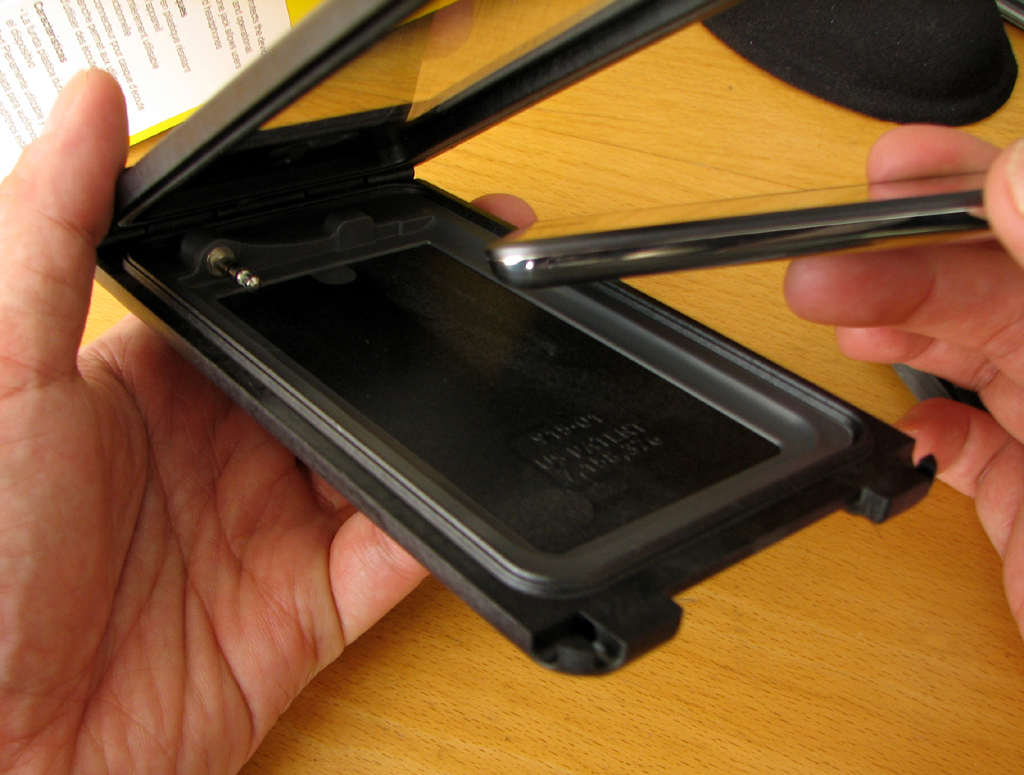
The latch to the OtterBox case is on top.  As expected, there is an O-ring around the perimeter of the case.  On the bottom of the case is the watertight headphone socket.

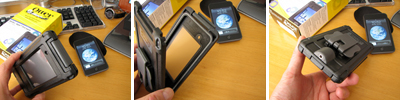
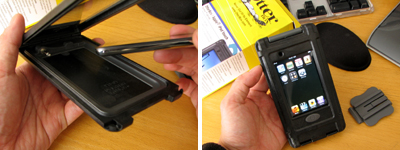
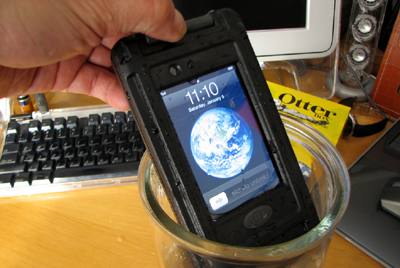
The lid of the case opens enough to insert the Touch.  It was easy to seat the iPod in the case, especially with the headphone plug inside the case as the guide.  The overall fit is perfect.  The iPod does not move at all when inside the case.

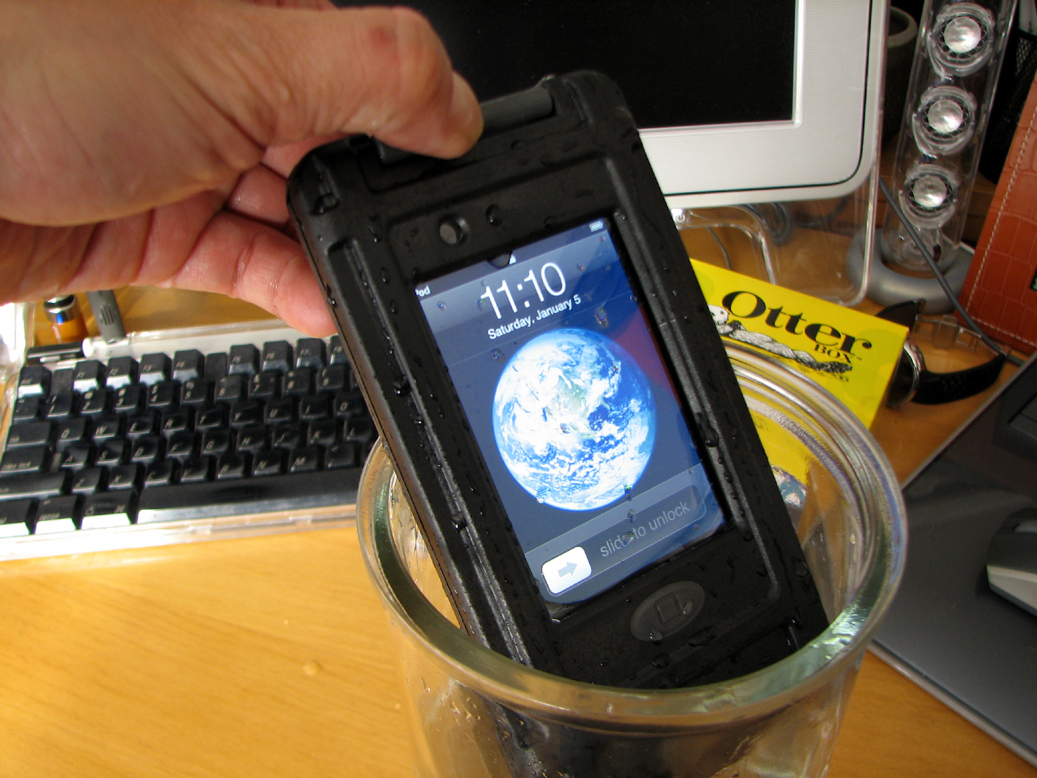
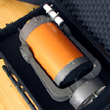
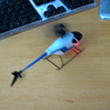
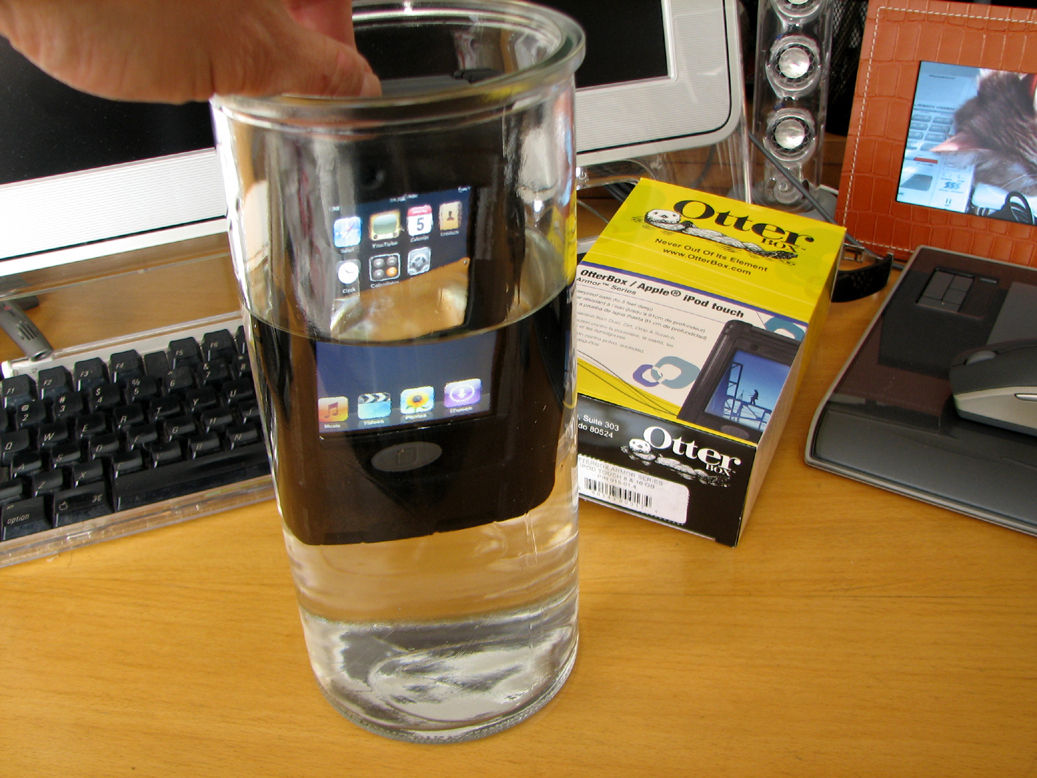
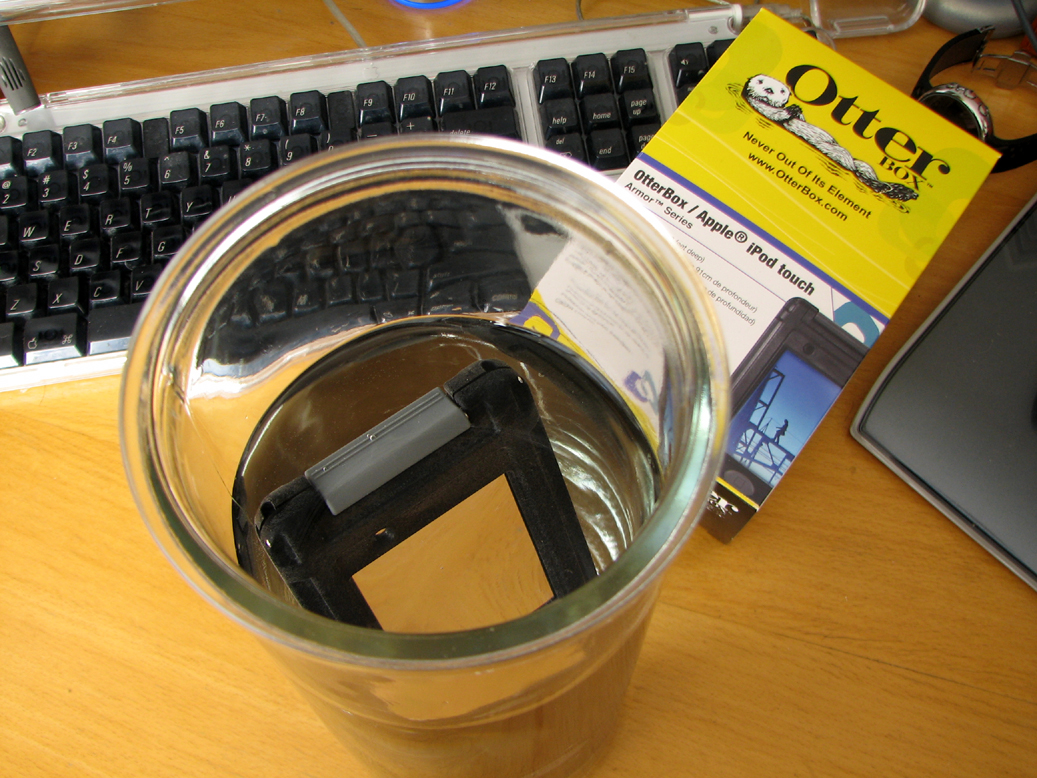
Since this is suppose to be a watertight case, we had to at least dunk it into the water to see if that were any leaks.  Yes, we could have done it without the iPod, but what fun would that have been?

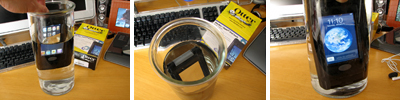
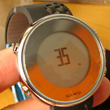
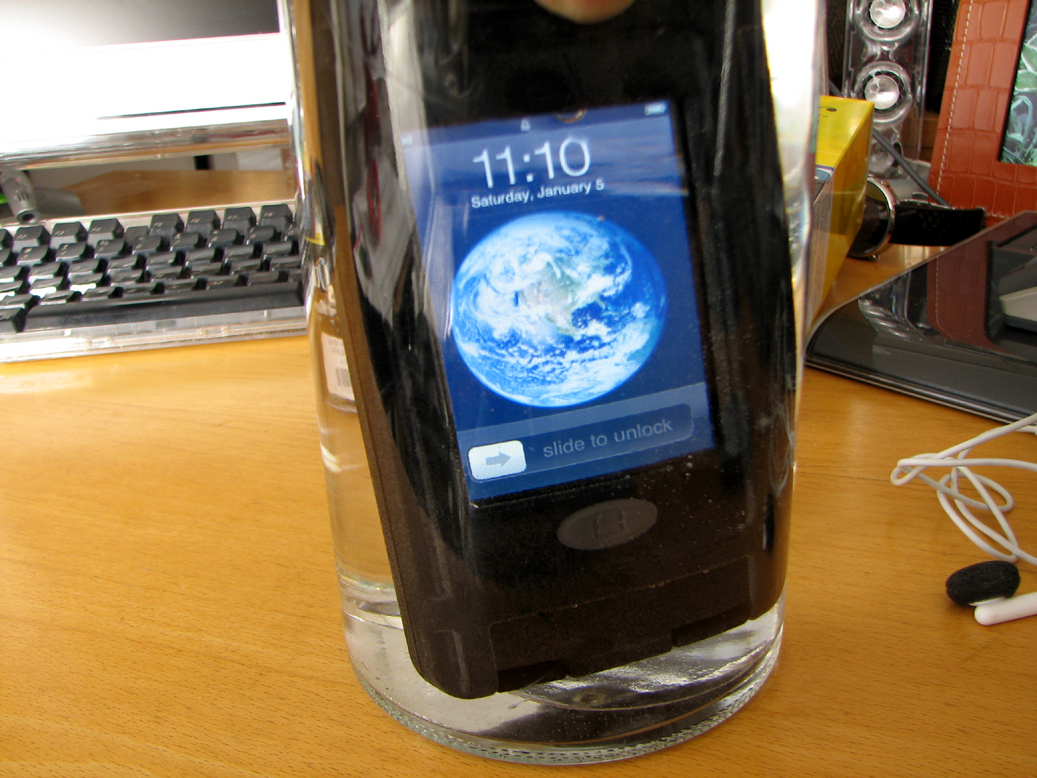
We left the iPod under water for about five minutes.  During that time we saw no bubbles rising out of or any signs of seepage into the case.  The moment of truth came when we reached in an pressed the button to turn the iPod on.  No problems.

While the case will protect the iPod if dropped in to water, it clearly does not float.  So this case is good for protecting the iPod in rugged and dirty environments, but don't drop it overboard!

Everyone here had full confidence that the OtterBox case would keep the Touch perfectly safe.  The OtterBox Armor case is rated to 3 feet deep.  However, we think this is a conservative estimate.  If you want to see just how deep we can go with this case before water starts seeping in, just send us your iPod Touch and we'll be happy to test it out :-) - Wan Chi Lau (permalink)


Jan 7,2008(MonitorMonday)

Judging by the emails offering free 15" LCD screens for the project we mentioned last Thursday, the DIY-Cintiq appeared to be an interesting topic to many readers.  Thanks to all those that offered, but we had already purchased an NEC 15" LCD on Craigslist for the project.

The reason why this monitor was so cheap is the scratch on the screen.  It's not very deep and should not be a problem for how we will be using the screen.

Removing the case was easy. There were mounting screws in the corners and near the stand.  With the screws removed, the back case popped off revealing a metal frame encasing all of the electronics

The next step is to extract the LCD from the metal casing.  To get the casing off, we removed all of the visible screws and connectors, then flipped the screen up and place onto a flat surface and lifted it out. 

With the LCD panel out of the way, the mounting screws for the AC power board and other electronics can now accessed.  Removal of those pieces can wait until later.

The LCD panel was housed in its own metal shielding.  This shielding must be removed or it will block the signal of the pen to the digitizing pad.  Care must be taken from this point on as all of the circuit boards and delicate connectors are exposed.  Once we realized that there were only a free tiny screws holding the frame in place, we were able to free the LCD panel witout any problems. 

We ran into a small snag when we finally got the LCD out of the frame.  We realized that the cable connecting the XY circuit boards will be too short to reach the connector when they are folded flat with the LCD.

Apparently figuring out how to connect up the two circuit boards is a problem something others have solved with their LCD related DIY projects.  There are several sources (LumenLab, Mouser) for the right size FFC extension.  Just make sure to order the right size cable and connectors.  We placed our order this weekend, we'll continue with the project once the cables arrive. - Wan Chi Lau (permalink)


Jan 6,2008(WeekendEdition)

Yesterday we laid down all of the whole tiles in the center of the room in about 2 hours.  Another five hours were spent on making the single cuts for the various tiles along the edge.  Today, we finished up the more difficult compound cuts of the corners and around the door mouldings.

There are two ways to place a tile around door mouldings: under it or around it.  To place the tile under the door moulding, the moulding must be removed.  To place the tile around the moulding, the tile needs to be cut.  We opted for the latter option.

The easiest way to fit the tile around a moulding is to use a form tracing tool.  The tool is simple to use.  Just press it against the shape, trace the outline onto the tile, and cut.  We found that it was not necessary to cut too deep into the tile, just deep enough so it can be removed using some needle-nose pliers.

There is a compound cut every time a tile hits a corner.  There were ten of them in the kitchen.  We found the old saying "measure twice, cut once" really was something one should take to heart when making these compound cuts.

This size project can easily be completed by two people in one weekend.  The main recommendation we have is to work from the center, take care in aligning the tile edges, and to wear knee pads :-) - Wan Chi Lau (permalink)


....... 2008 .......

[Dec] [Nov] [Oct] [Sep] [Aug] [Jul]

[Jun] [May] [Apr] [Mar] [Feb] [Jan]

....... 2007 ......

[Dec] [Nov] [Oct] [Sep] [Aug] [Jul]

[Jun] [May] [Apr] [Mar] [Feb] [Jan]

....... 2006 .......

[Dec] [Nov] [Oct] [Sep] [Aug] [Jul]

[Jun] [May] [Apr] [Mar] [Feb] [Jan]

....... 2005 .......

[Dec] [Nov] [Oct] [Sep] [Aug] [Jul]

[Jun] [May] [Apr] [Mar] [Feb] [Jan]

....... 2004 .......

[Dec] [Nov] [Oct] [Sep]


RainyDayBuzz*
   
 
GET GEAR*
   
RECENT TRIPS*
 
GO PLAY*


Rainy Day Magazine is a Publication of Rainy Day Entertainment© 2008