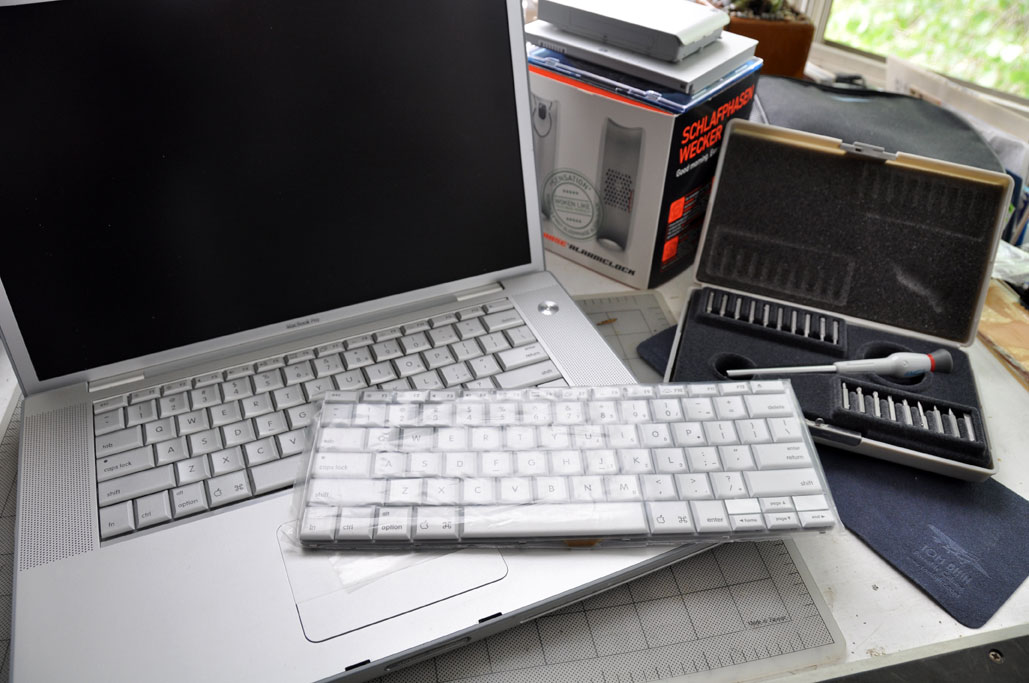
One of the parts (besides the battery) which seems to always need replacing on used Mac laptop is the keyboard. The 12" Powerbook we bought had some non-functioning keys. The same was also true of the 15" Macbook Pro we got a few weeks ago.

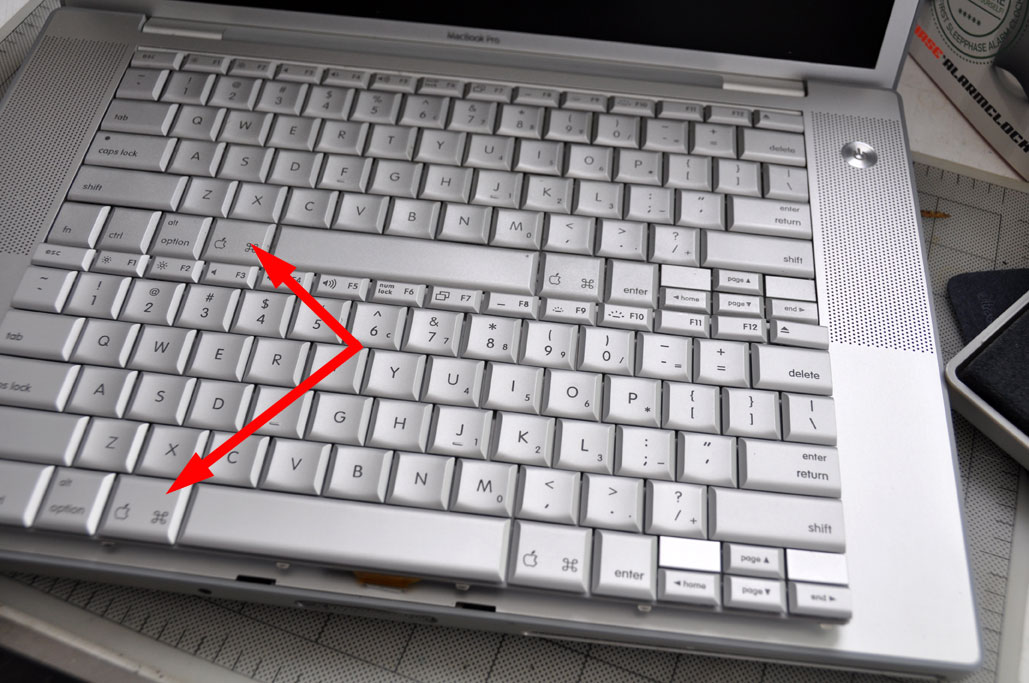
We found a good deal ($32, free shipping) on a new keyboard on EBay. It took a while getting here as the seller was in China. There are few different versions so be sure to get the keyboard which matches exactly... check for a "Command" key for pre-Core Duo MBP, an "Apple" key for post-Core Duo MBP.
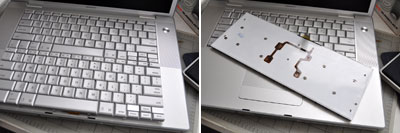
Replacing the keyboard on the 12" Powerbook was simple because it was designed to be user removable. Not so with the one for the Macbook Pro. In order to get at the keyboard, the entire top of the machine had to be removed. We'll walk readers through the process. The project is definitely within reach of those with good dexterity, but it is not a DIY for everybody...especially if you don't have good tools.
The folks at PowerbookMedics have a huge collection of DIY instructions. They are very well done. We used the one for the 15"MBP as a starting point. However, we did notice a few discrepencies with what we have encountered. We will not repeat their instructions, but will point out places where we found differences.

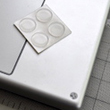
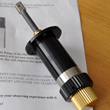
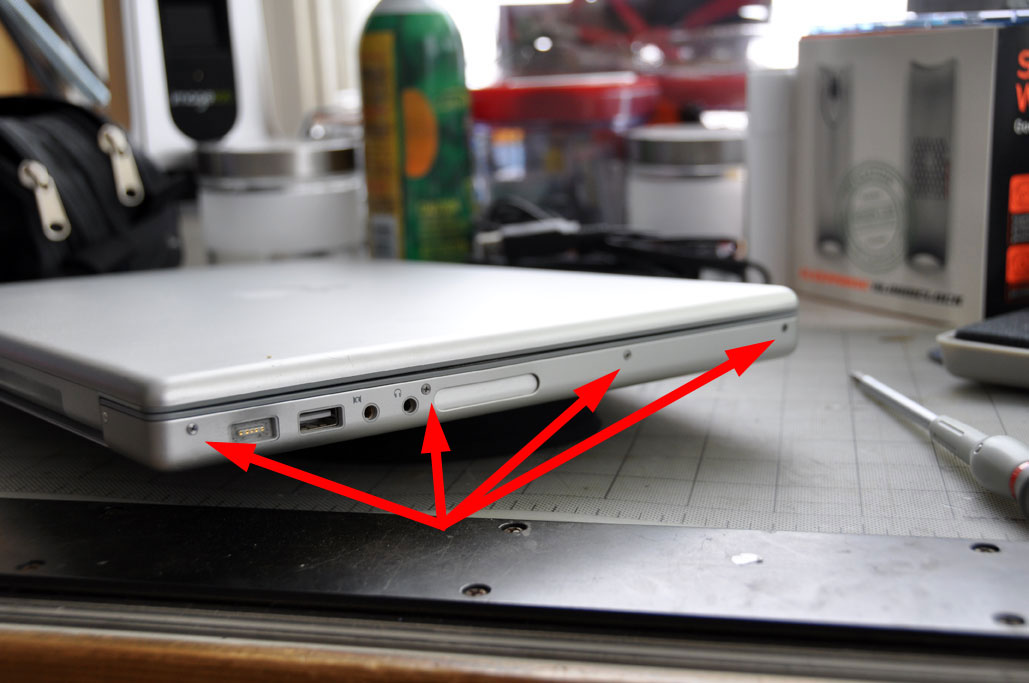
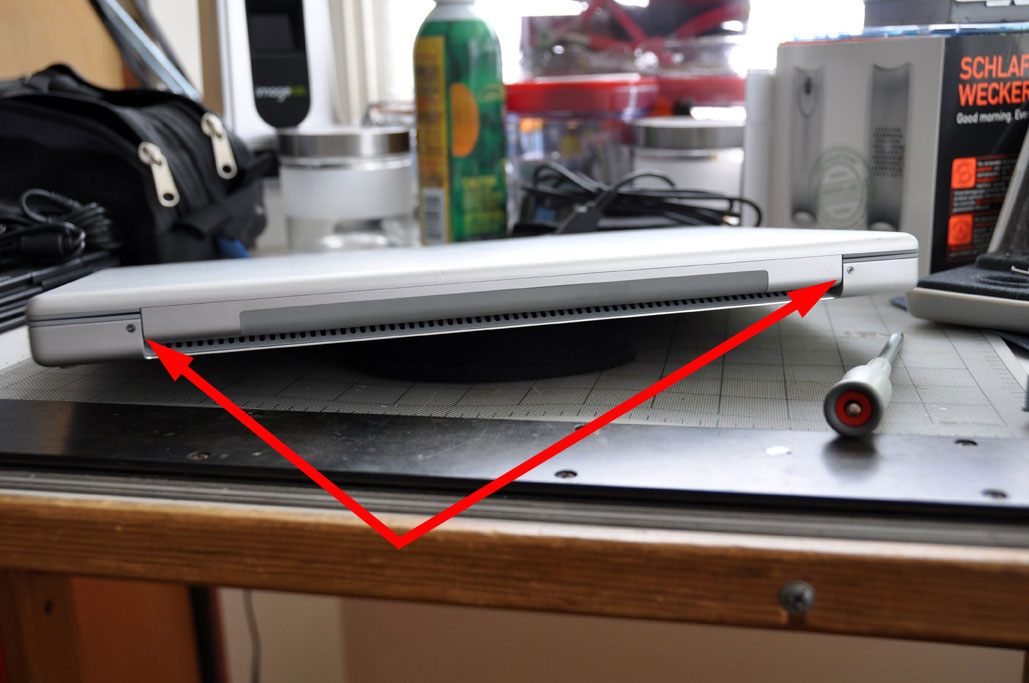
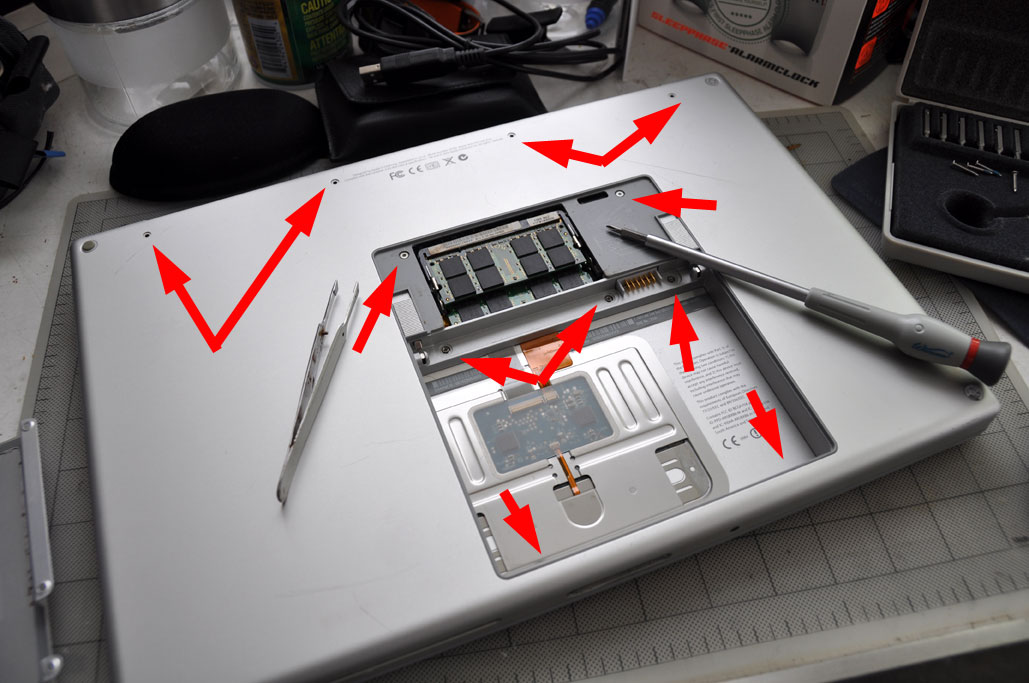
In order to remove the top cover, stainless steel screws on the sides, back, and bottom must be removed. Click on any of the images above to see the location of all the screws. Contrary to PBMedic's directions, the two torx screws in the memory bay MUST be removed.
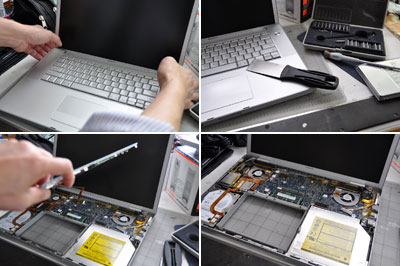
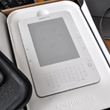
Once all of the screws (4 on each side, 11 from the bottom, 2 from the back) have been removed, the top should lift off. Start from the edge closest to the screen and work your way forward. We used a putty knife to help lift the sides, but you may be able to get by without it. There is one cable connecting the top to the main circuit board. Ours popped off (no damage) when we lifted the top too high, so take care when you are at this step.
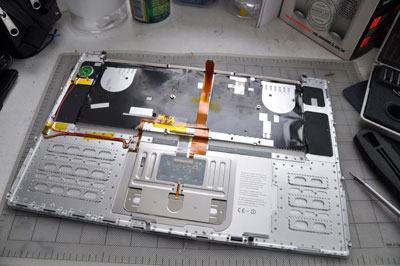
With the top cover off, we were ready for the removal/replacement portion of this DIY repair project. There were a few delicate steps to freeing the old keyboard from the top cover. Our general rules are: go slow, don't use force, and track where all the screws came from. In the next segment, we will show you some tricks to make the process a little easier. [Permalink] -Removing the Macbook Pro keyboard
|


