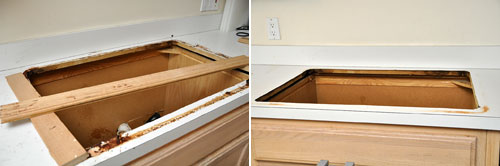
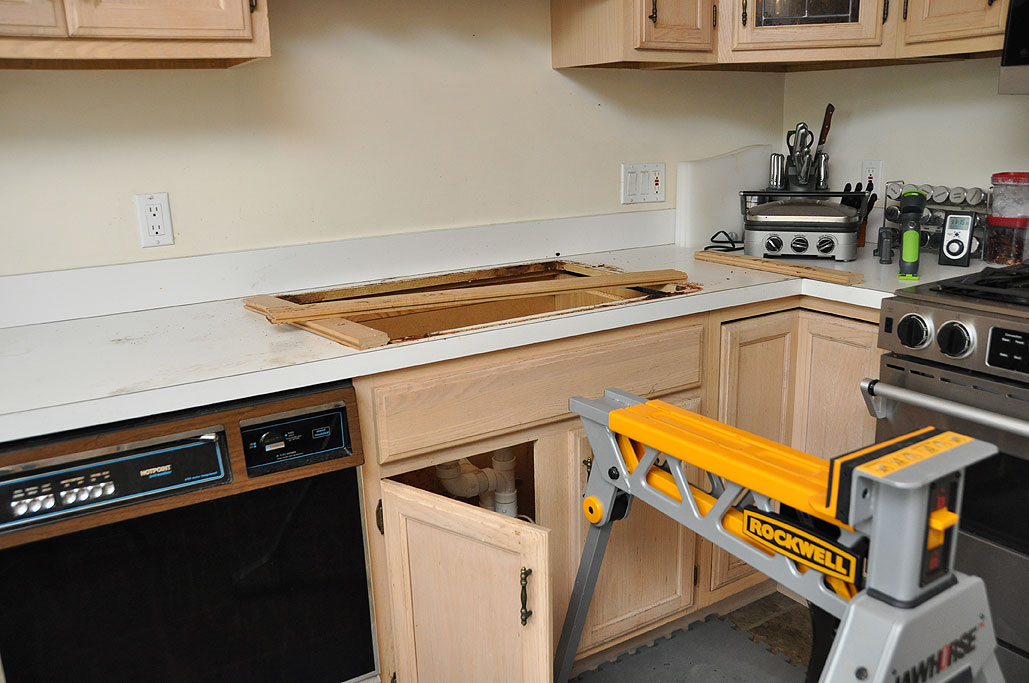
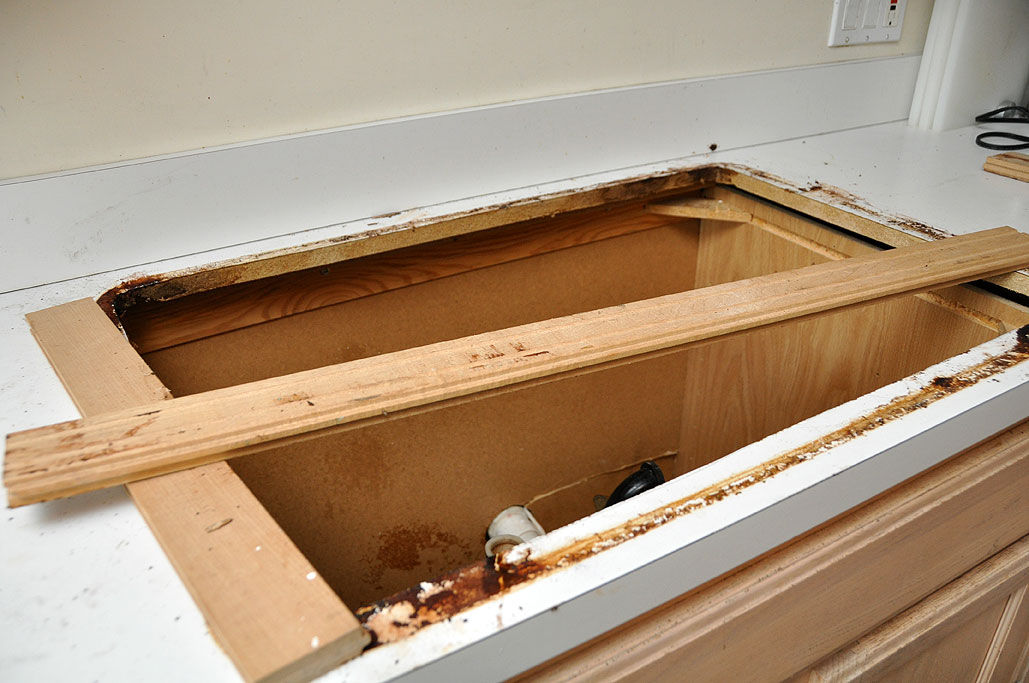
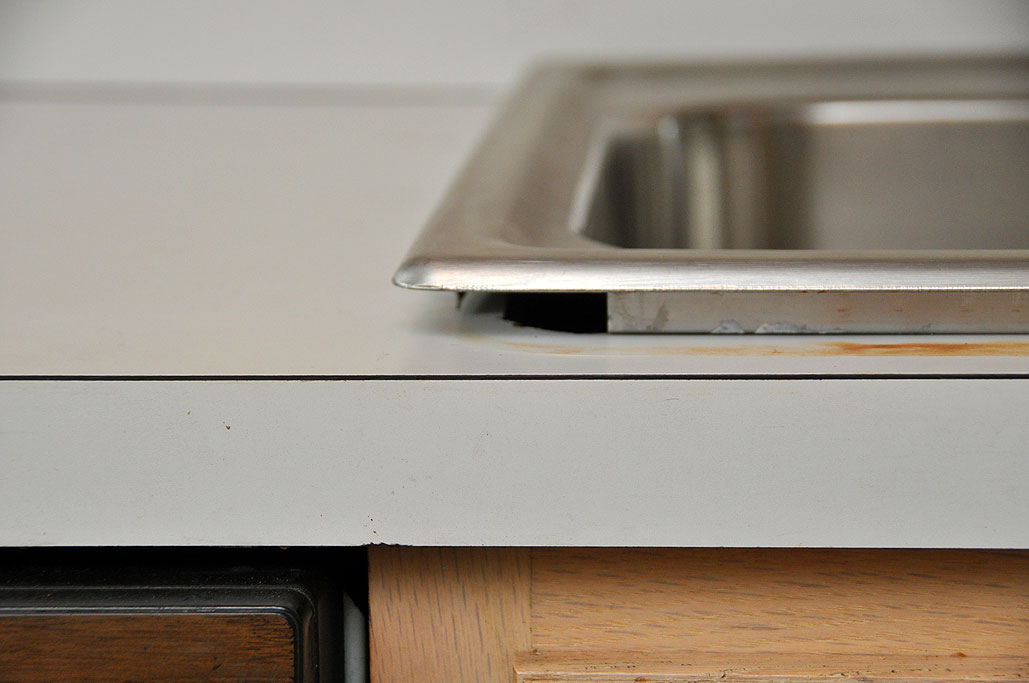
When we removed the old sink the extent of the damage from the rust was plain. We also understood why the rust problem had developed in the first place: the original installer never bothered to seal the rim of the sink (which would have prevented water from seeping underneath the sink).
There was no caulking under the lip of the sink at all. Over time, the lip gradually rusted from the moisture and crumbled. We are not sure if the installer forgot or was just too lazy to bother. Either way it caused a lot of damage to the surface and to the exposed particle board.

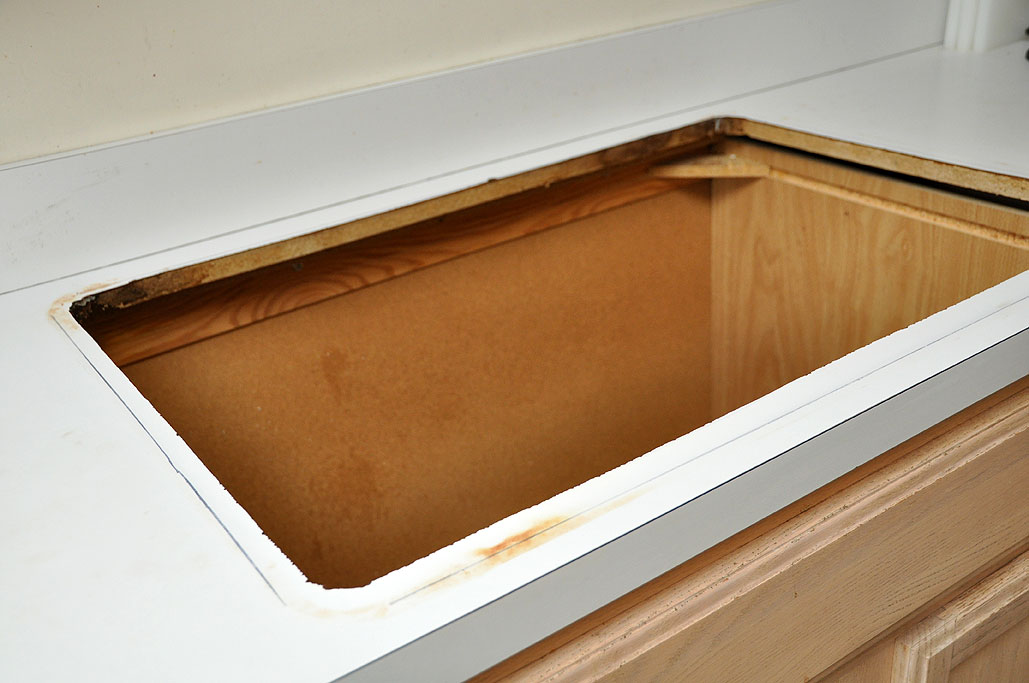
We cleaned it the best we could, but some of the stains might be permanent. Most of it will be covered by the lip of the stainless-steel sink, but some of it may be visible. BTW, if you were wondering why we had the Rockwell JawHorse in the kitchen, it was because we needed a sturdy platform to rest the original sink on after we lifted it out from the counter. The JawHorse was the only thing we had which was heavy-duty enough to hold up the sink. It is a compact and handy "third-hand" when you need one.
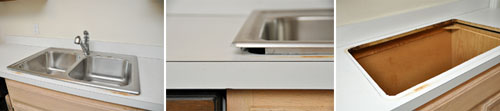
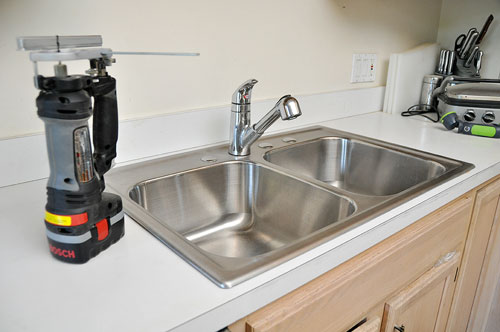
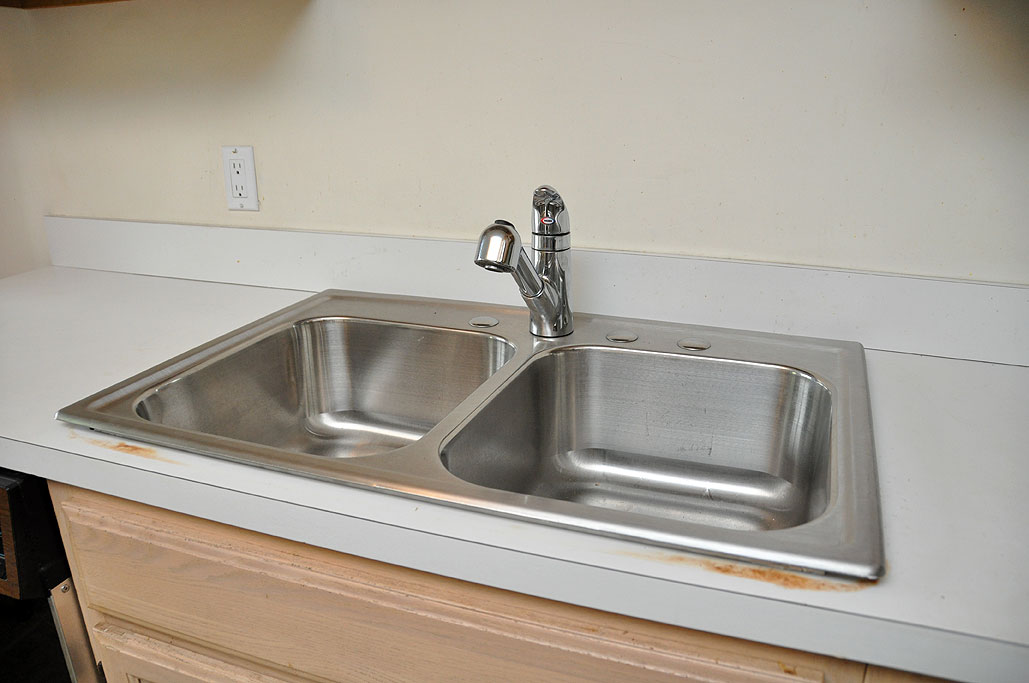
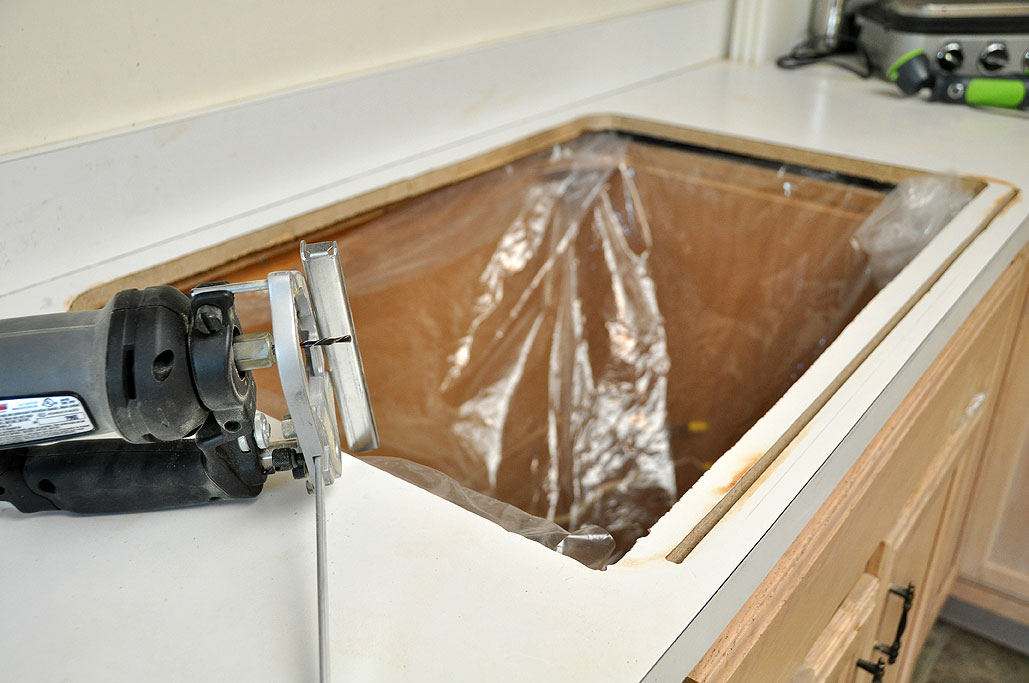
Removing the heavy, rusty, sink was the most difficult part of this DIY project so far. However, when we dropped in the stainless-steel sink, we realized immediately that we had a new problem on our hands. The opening in the counter was not large enough to accommodate the new sink. It was about 3/4" too small all around. The problem is that stainless-steel sinks have a mount around the lip for the pull-down clips, something which we had completely overlooked.
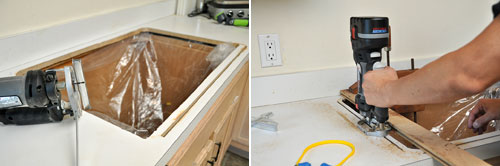
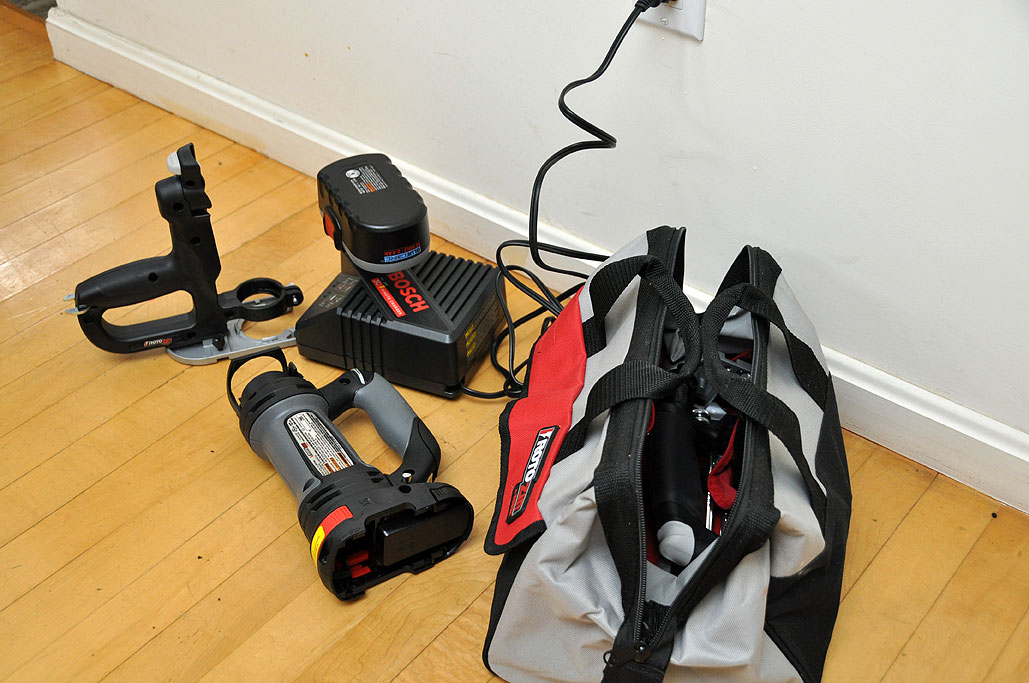
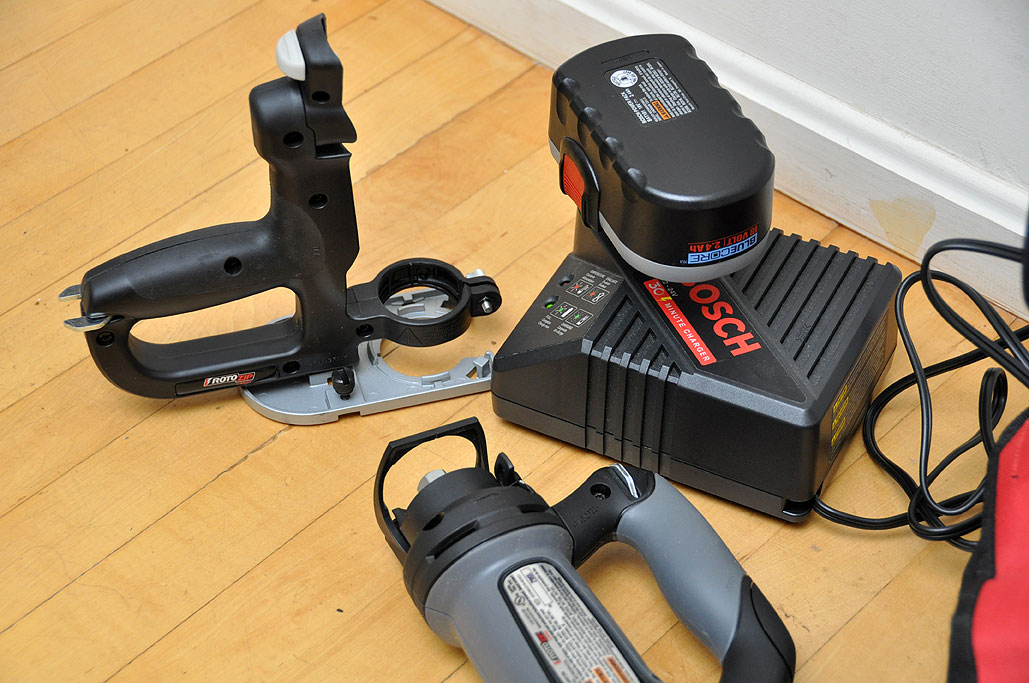
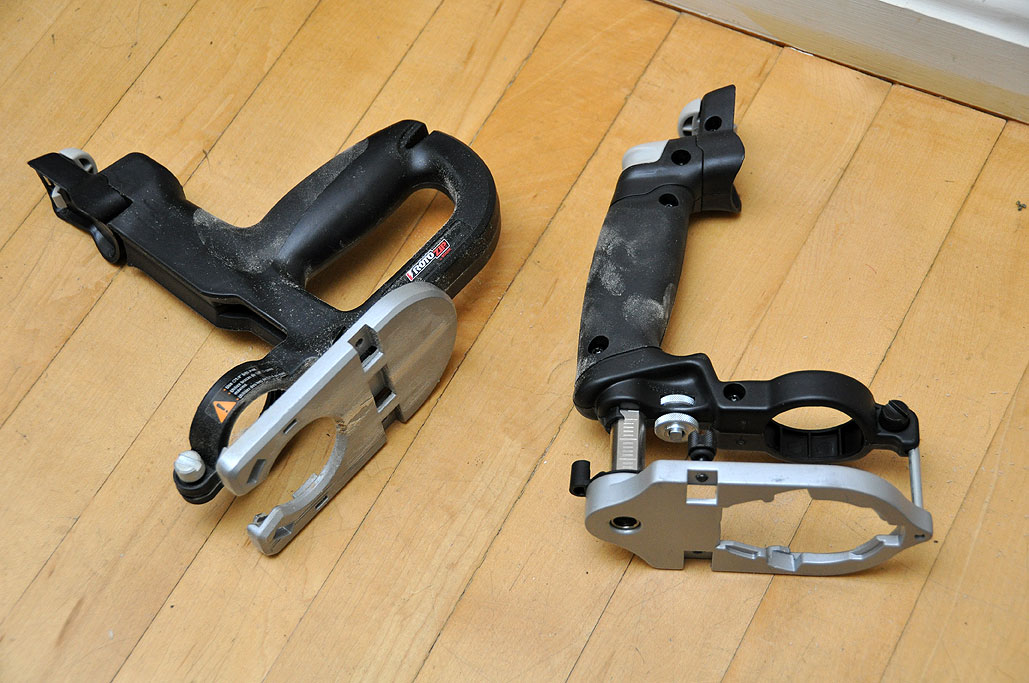
To make the cut, we turned to our RotoZip SpiralSaw. We last used this saw to make the circular cut in the floor beneath the stove for vent. For this job, we will be using the jigsaw attachment. Changing attachments is a simple process with the RotoZip: detach the handle, add attachment (the attachments have their own handles). If you are planning on doing your own home-renovation projects, consider getting yourself one of these cutters. They come in corded and cordless version. We like the cordless version for its portability. If you do get the cordless unit, get an extra battery. The battery ran out a few times during this job and we had to wait for it to recharge. If we had an extra battery, we could have saved ourselves some time.
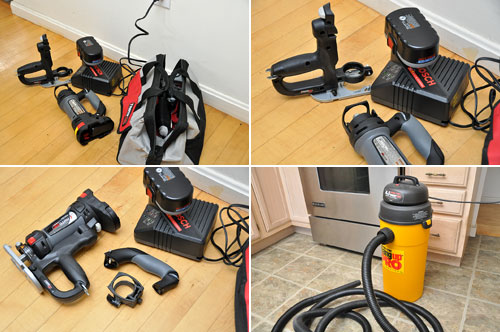
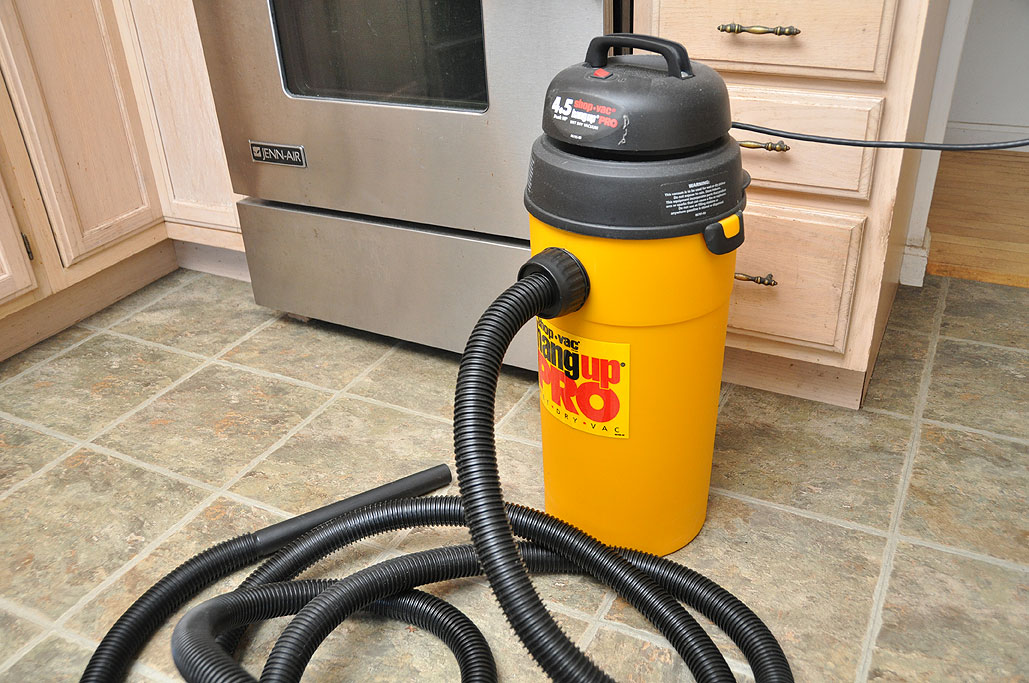
No matter how careful one seals the area, dust is going to get in the air and settle on things. The trick for minimizing dust dispersion is to clean as you go. The ShopVac HangUp Pro is a great all around heavy duty wet/dry vacuum cleaner. Its slim vertical profile was designed for hanging, but we have found that it works just fine on the ground. Don't try to pull the unit by the hose as it is a bit top heavy and may tip over.

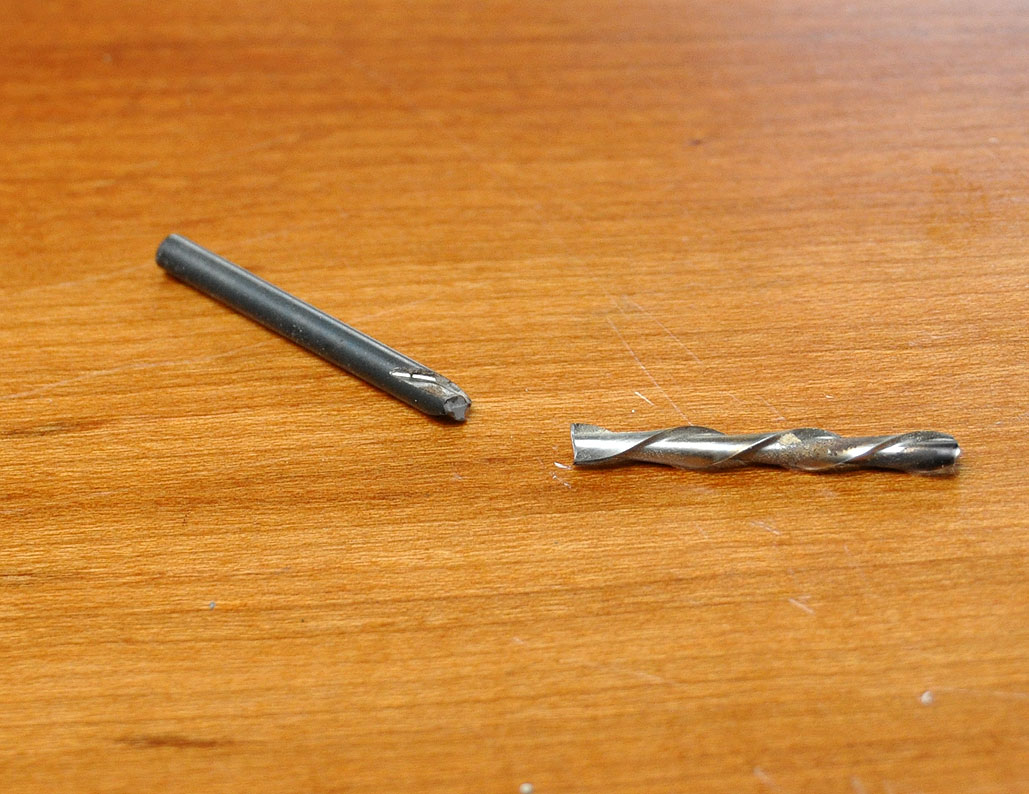
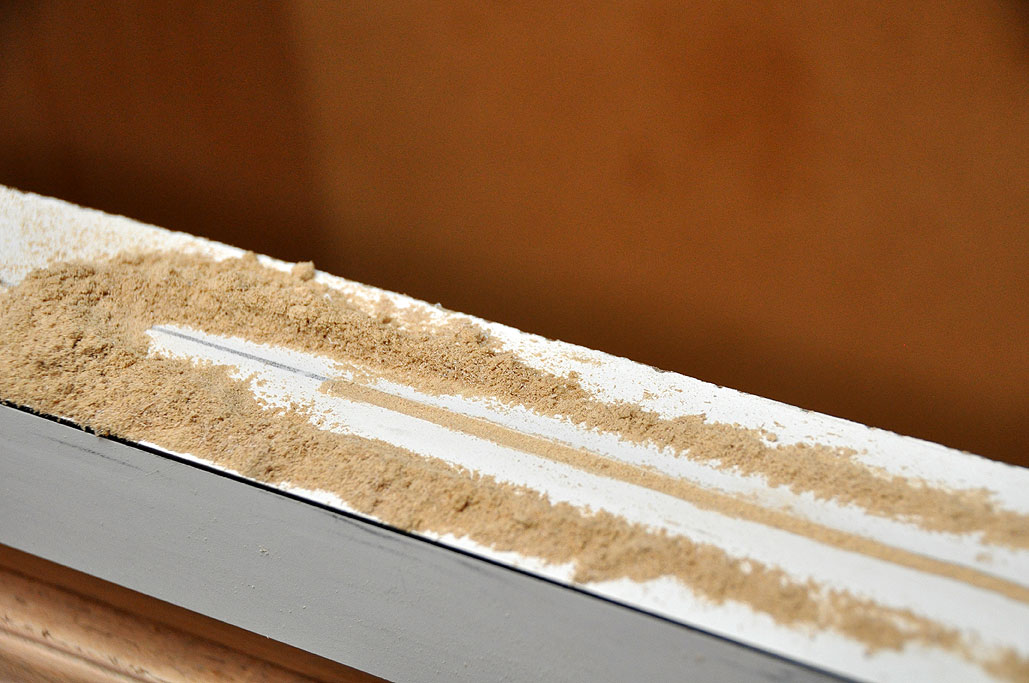
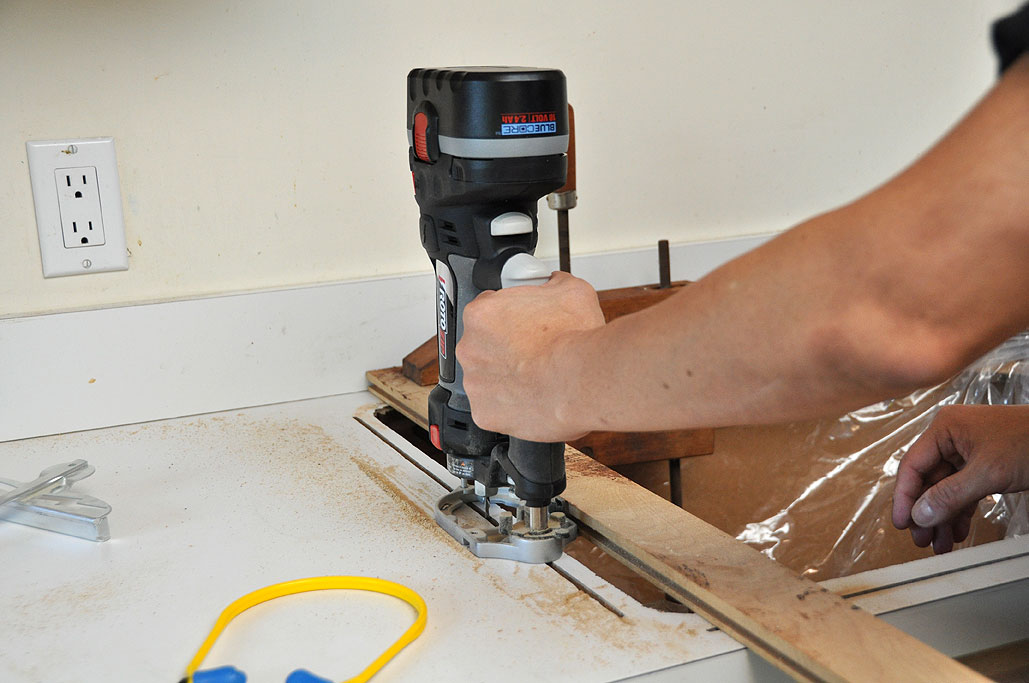
"Let the tool do the work." This is the typical advice from anyone who has used power tools. If you overwork the tool, something is going to give. It will either be the motor or the cutter. In our case, it was the cutting bit. We realized that trying to make a 1" deep cut in high-density particle board with one pass was not the right approach. Making multiple cuts at increasing depths using the RotoZip plunging-router attachment was the better way to go. It took longer, but it did not stress the tool nor create any burning odor from the particle board. "Slow is smooth, smooth is fast"...at least that is what they teach at sniper school. Apparently, it is true for a lot of other things as well :-)
The RotoZip tool gets more of our respect every time we use it. Its way of cutting (using a cutting bit instead of a spinning blade) is so much more precise and maneuverable that once you have used it, you may not want to use anything else.
Now that we got the sink to fit, we can finally move on to the plumbing portion of our sink upgrade project. Tomorrow, we will wrap up this DIY project with a discussion on our experience in securing the sink, reworking the drainage pipes, and hooking everything back up. Something ALWAYS manages to pop up just when you think you are home free. Check back tomorrow to see what we ran into that had us scratching our heads, and how we eventually got around it. [Permalink] -Sink Upgrade: cutting and fitting
|


