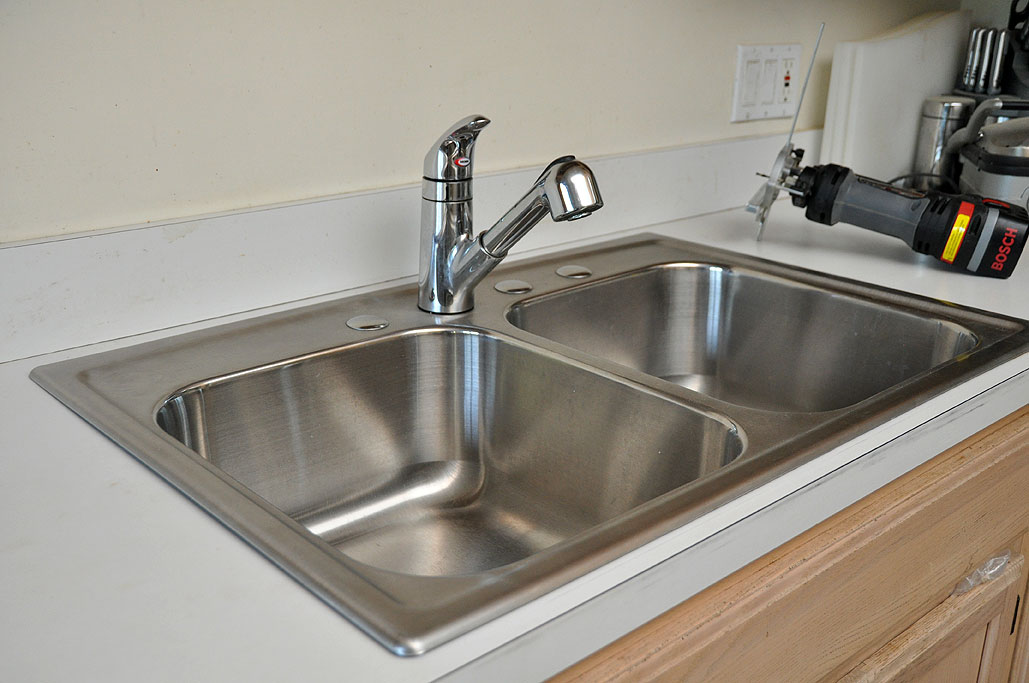
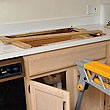
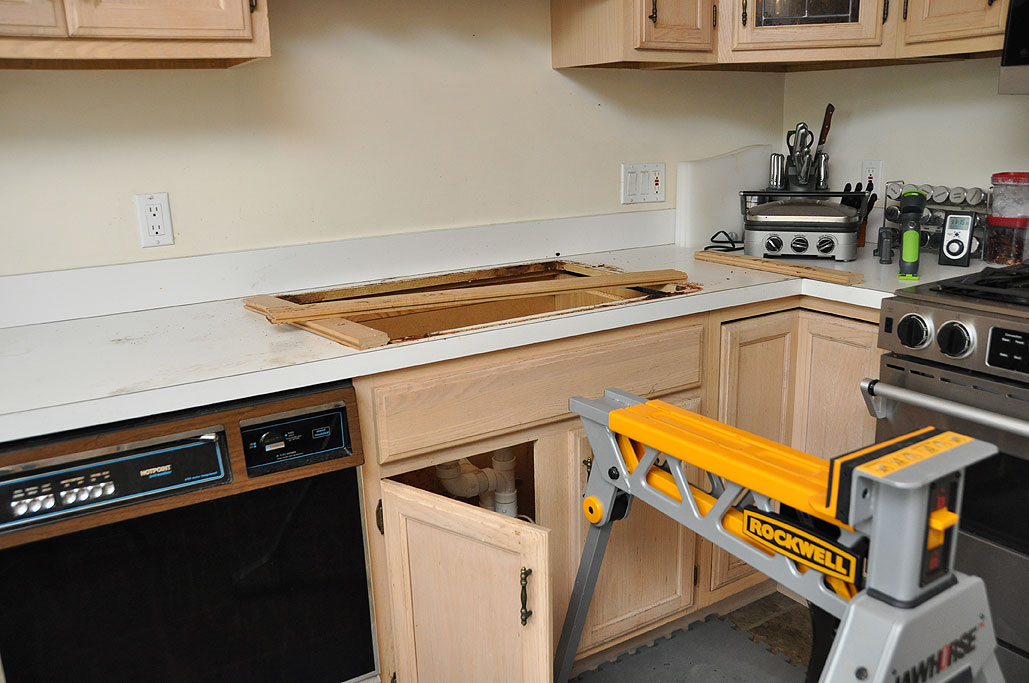
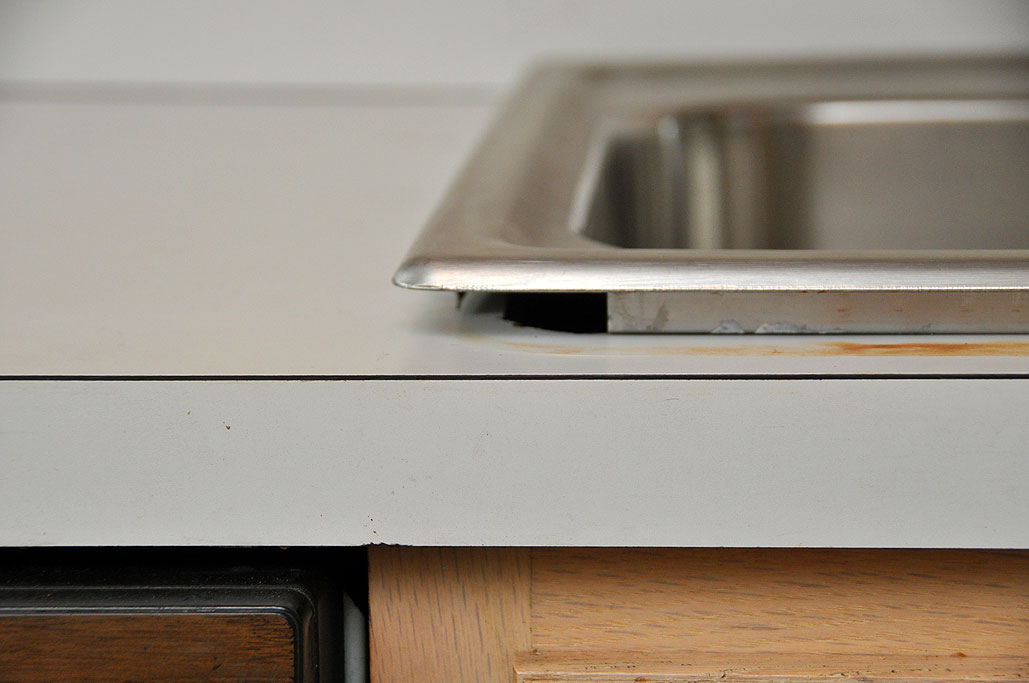
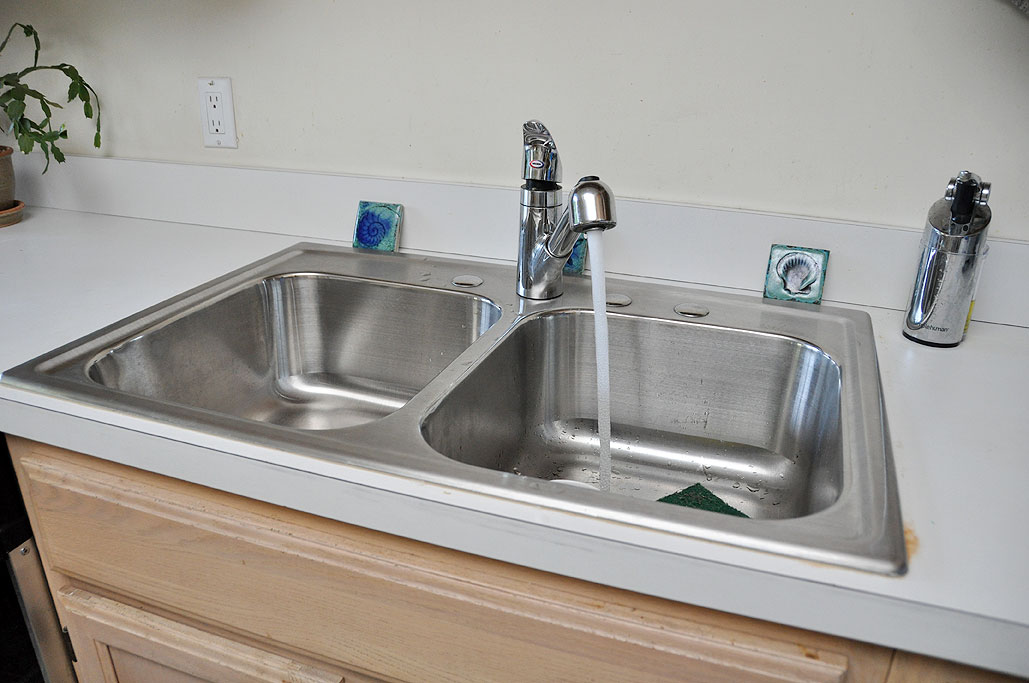
The stainless steel sink we got weighs around ten pounds, much lighter than the iron/porcelain sink it replaced. The edge of the sink has a bit of a bow so when it's locked down, the lip will be flat against the countertop. When we removed the old sink and fitted the new one, we figured it would be a simple matter of installing the clips to lock down the sink.

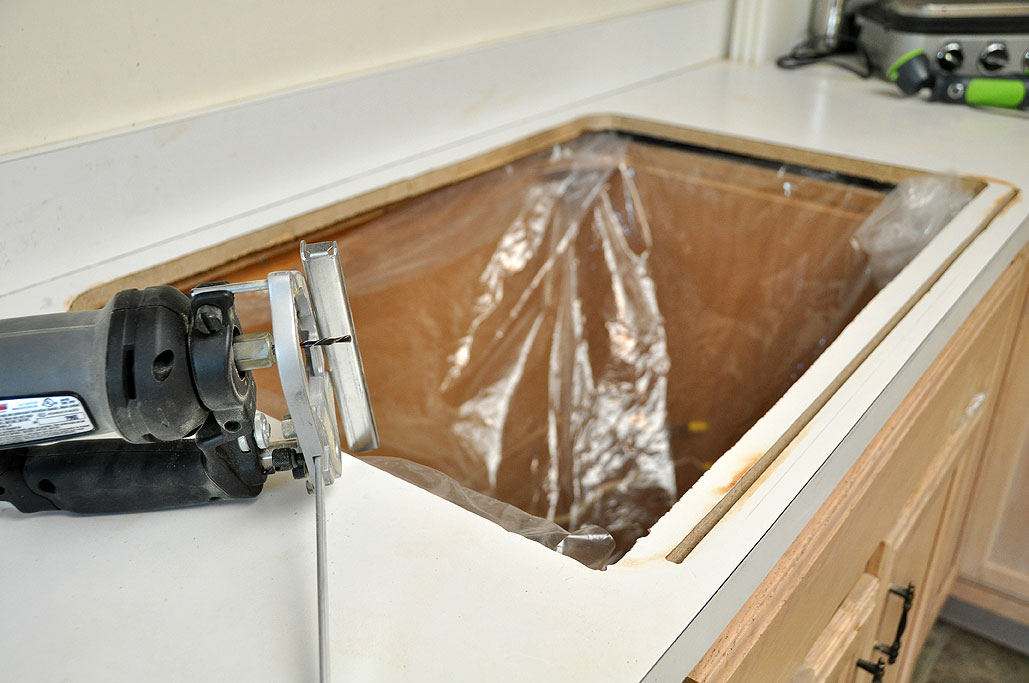
We, of course, had not thought at all about how the clips work. We knew they must clip onto the edges of the countertop, but did not appreciate (until we actually tried to install the clips) that if the anchor rail of the sink is inserted into a groove in the countertop, the clips would not be able to grab onto it. Doh!!! This realization meant we had to remove the offending particle board instead of just cutting a groove into it. The RotoZip made short work of the task, but our clip-installation problems were just beginning to surface.
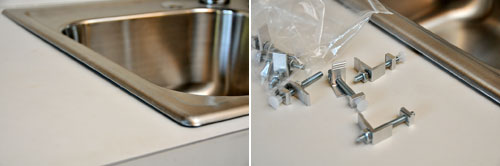
There is only about an inch of space between the edge of the lip and the bowl of the sink. This would not be a problem if this was a new kitchen installation, as one would install the sink before installing a dishwasher or cabinets on the sides. With things already in place, there was NO room to work! After much head scratching and body contortions, we finally managed to get the clips onto three of the four sides. The side next to the dishwasher was just too narrow. We will do that side when we get around to installing the new (to us) dishwasher sitting in the basement. For now, having three of the four sides clipped down will have to suffice. One thing is certain, this sink is never coming back out unless we rip out the countertops, as it will be next to impossible to get at the screws to loosen the clips again :-)
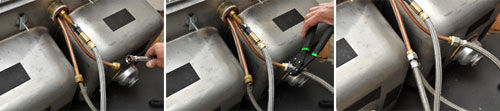
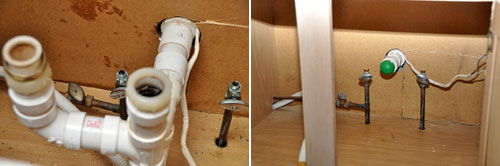
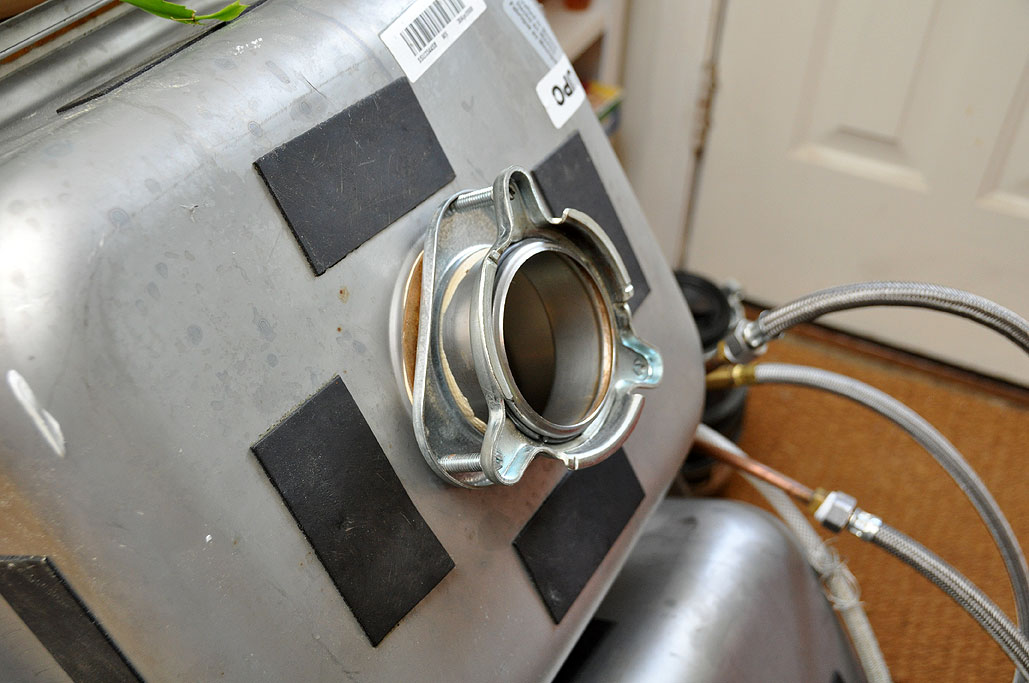
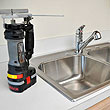
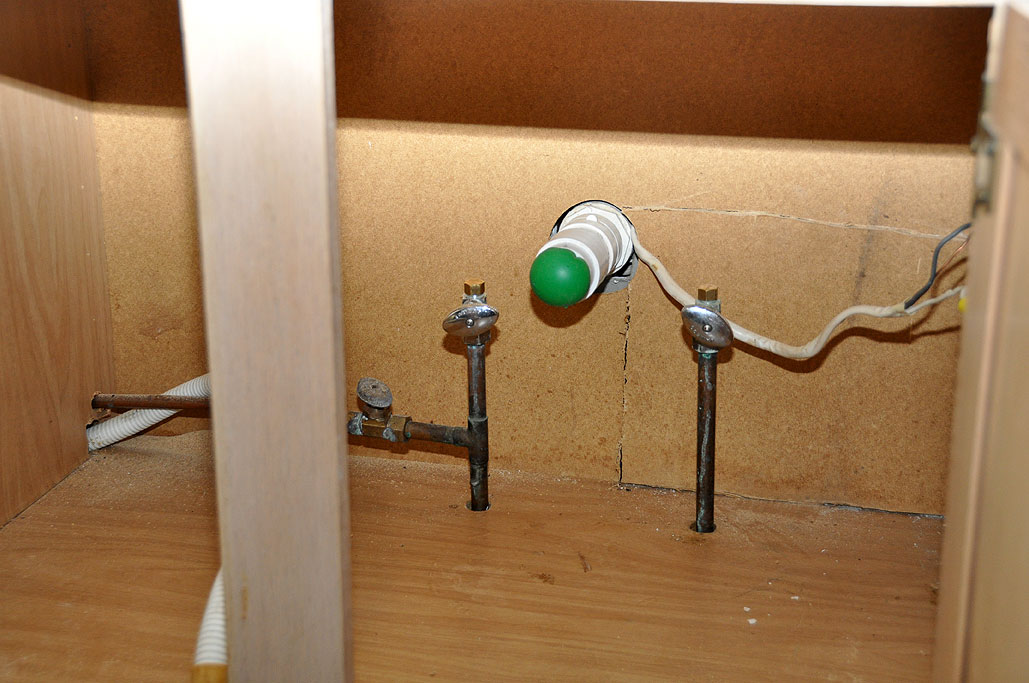
While we were scratching our collective heads regarding the clip installation, we went ahead and did some of the tasks we knew had to be done: installing the stainless steel hot/cold water flex-hose, removing the old PVC plumbing, re-attaching the disposal mount. BTW, if your dwelling is attached to another (i.e., a townhouse), you might want to plug the drain pipe with something. We shoved a squeeable stress-ball into the opening because every time our next-door neighbor used their sink, some of the water would flow into our unit.

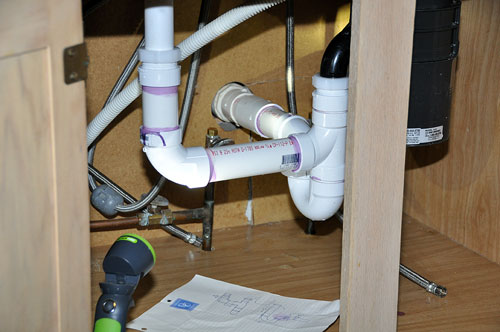
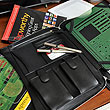
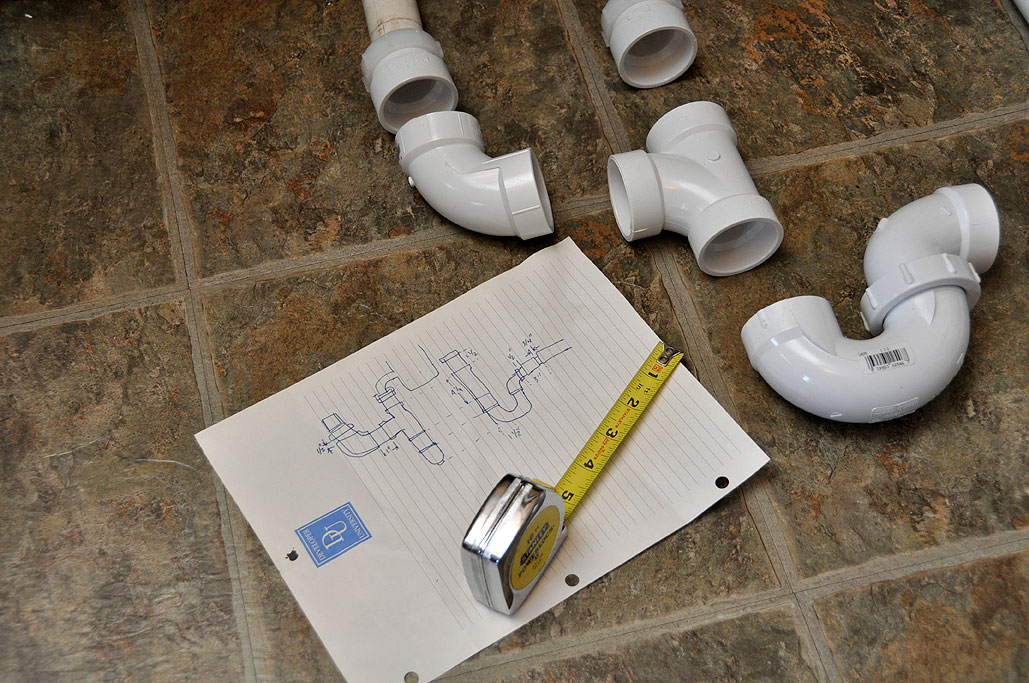
Working with PVC was a lot easier than we had anticipated. Our plumber friend John had advised us to do the following when working with PVC pipes: clean it, prime it, glue it. Clean it using PVC cleaning fluid. Prime it with the purple PVC primer stuff. Glue it using PVC specific glue. Furthermore, whatever we do, we should not try to "test fit" after cleaning the PVC because the cleaning fluid will soften the PVC just enough that when inserted into another piece, they may not come apart! It was fine if we wanted to sand the joints and do a dry-fit, but better to just measure accurately as we install each section.
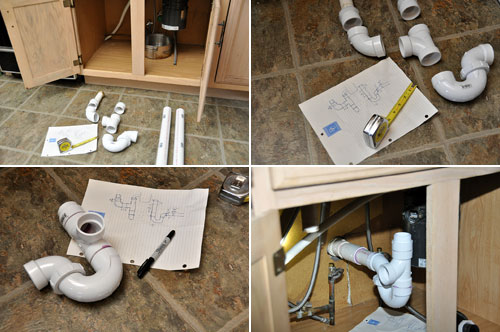
The last bit of advice John gave us was to clean and glue the pieces outside. The chemicals used are very volatile!!! Definitely would not want to breathe any of it if at all avoidable. We followed John's suggestions (laid out all the pieces, measured as we went, cut to fit) and had no problems (well, almost none) with the installation of the new plumbing.
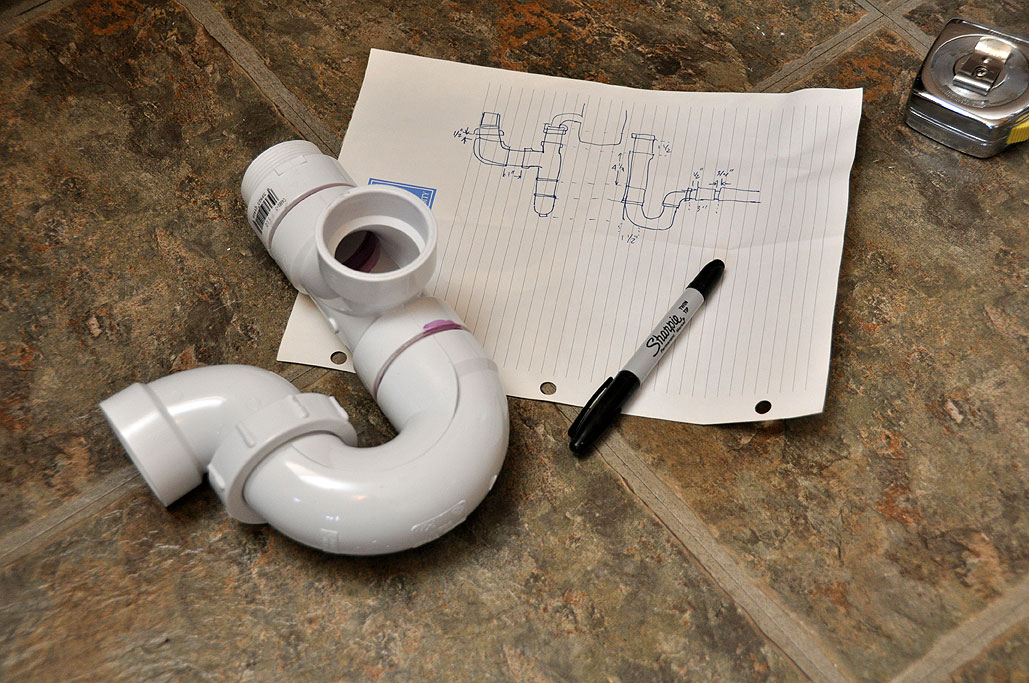
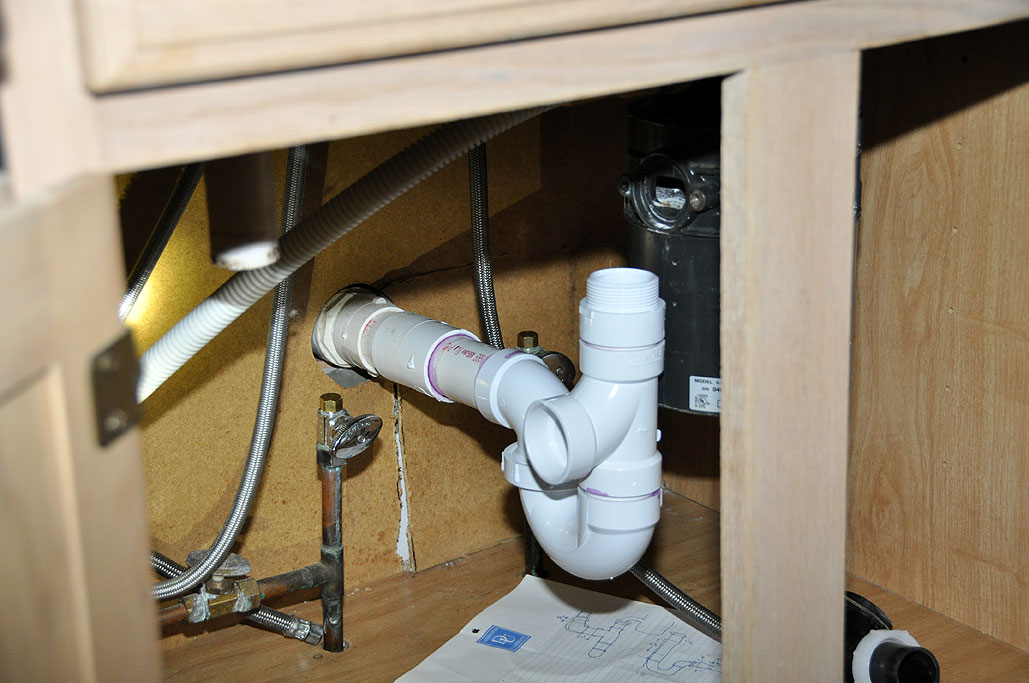
Can you spot the mistake? We didn't notice it until we had everything installed. We had the trap assembly oriented properly in the layout, but when we glued the pieces together, we inadvertently inverted the T-junction. The direction of the curve should be pointing DOWN into the trap! The current orientation will work, but gunk can get trapped at the sharper corner. We'll just have to be mindful of flushing the left side of the sink after running the disposal on the right.
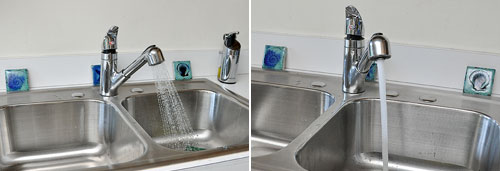
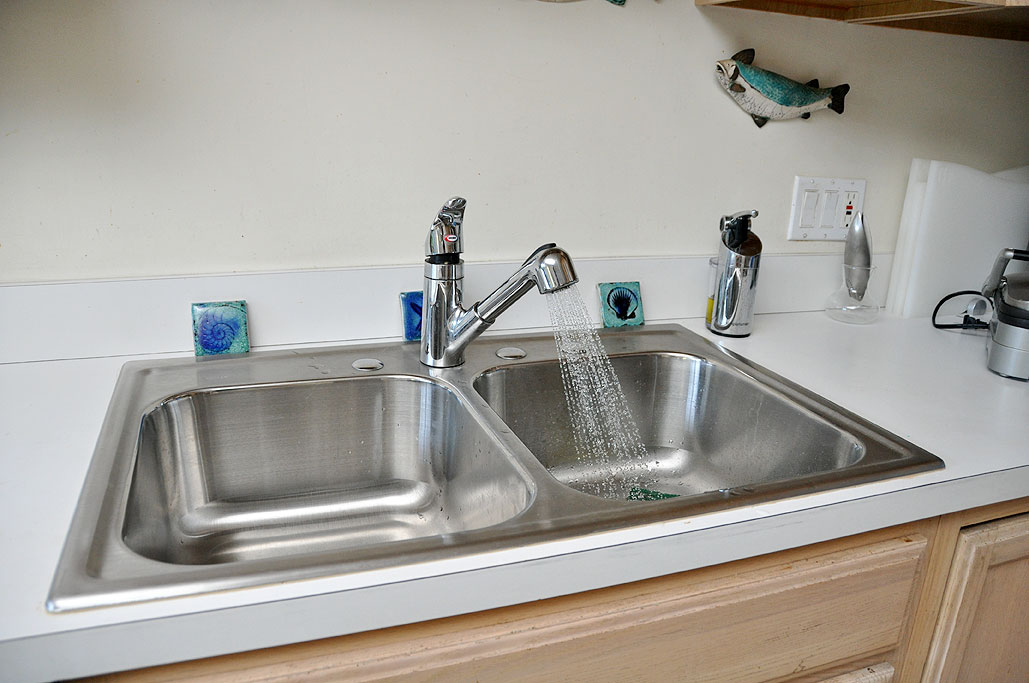
With the new pipes installed, we hooked up the hot and cold water, turned the water on, and checked for leaks. Everything worked just as we had hoped and nothing leaked. After so many years of not having a working sprayer, it was great to finally have one. The deeper sink on the disposal side is also a welcome addition to the RainyDayKitchen. Our next upgrade may be to install a under-sink water filtration/purification system. Let us know if there are any in particular which may be of interest. We'll check them out and pick one for the project.
This project took a LOT more time (three days instead of the allotted six hours) than we had estimated because of the unanticipated need to cut the countertop and the difficulty in installing the pull-down clips for the sink. If you are planning to do a similar upgrade project, definitely take these two potential "gotchas" into consideration. Now that this project is out of the way, we are looking forward to our next one! It will be an exterior painting project. We are sure it will be most educational...for us anyway :-) [Permalink] -Sink Upgrade: installation and plumbing
|


