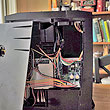
Yesterday we posted the first part of the teardown of our Jura Z7 coffee machine. Today, we will show how to take apart the grinder, clean it, and put it back together. The steps were pretty simple, but we have a few observations and tips which may make it easier for those interested in putting thier own things back together.

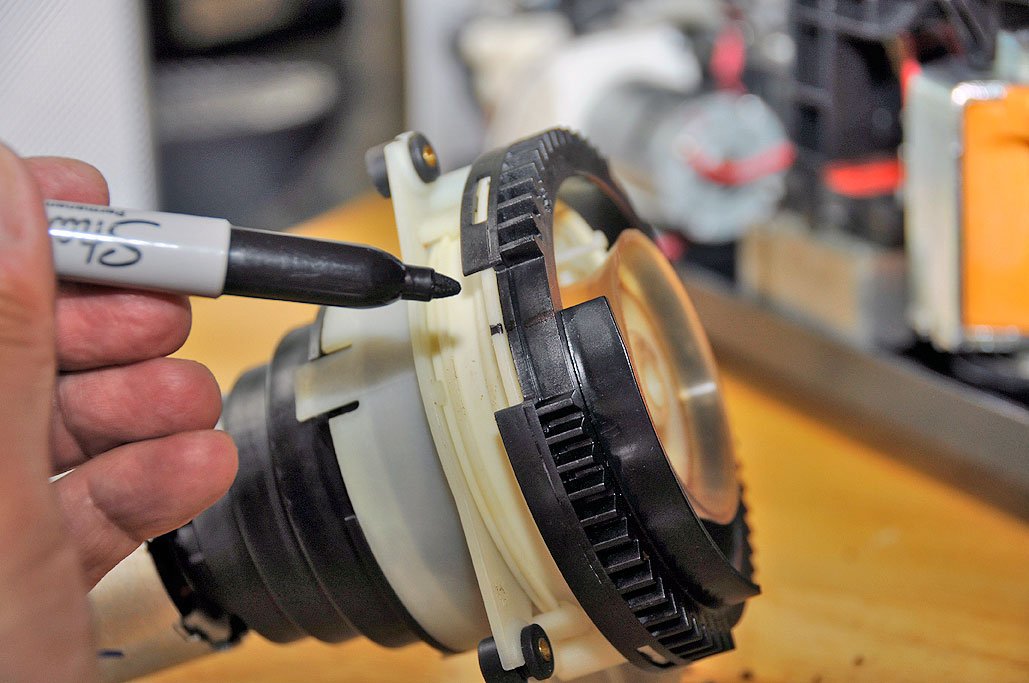
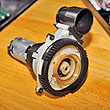
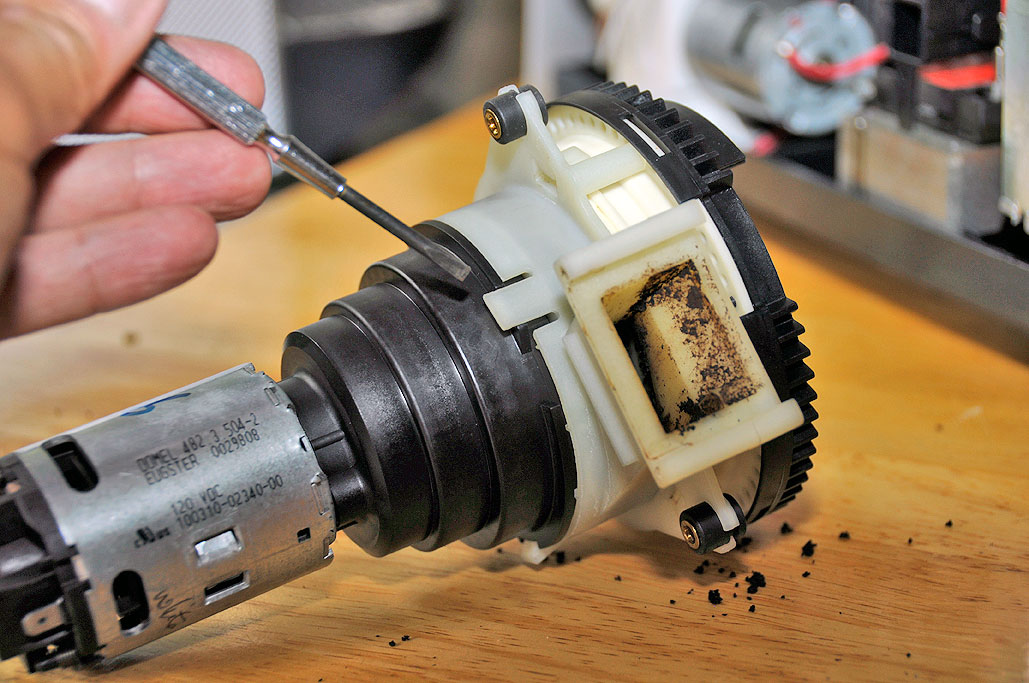
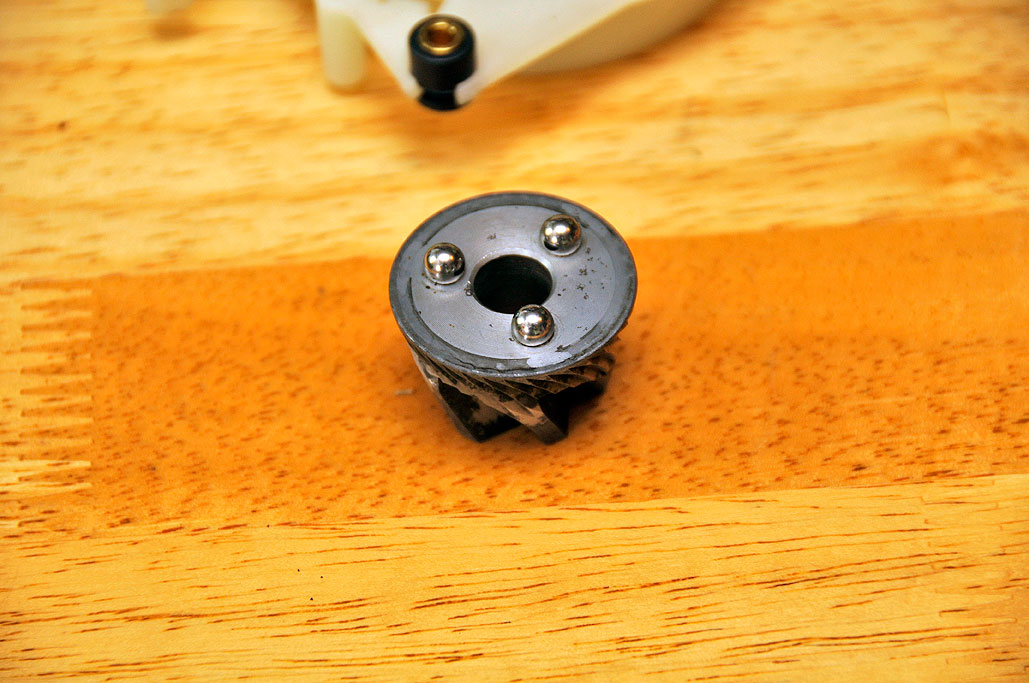
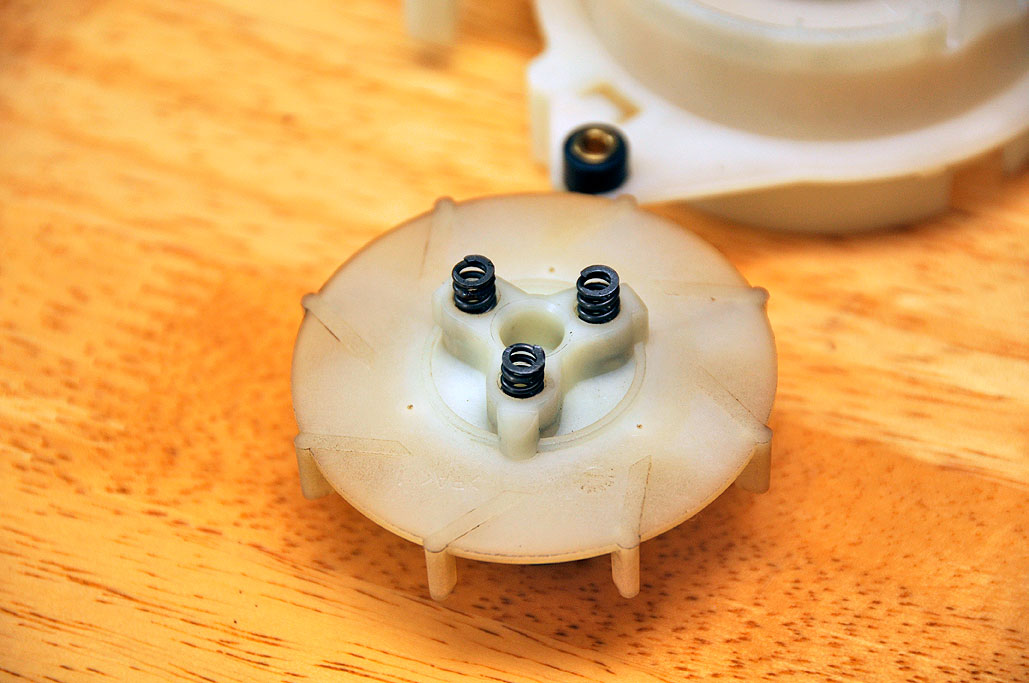
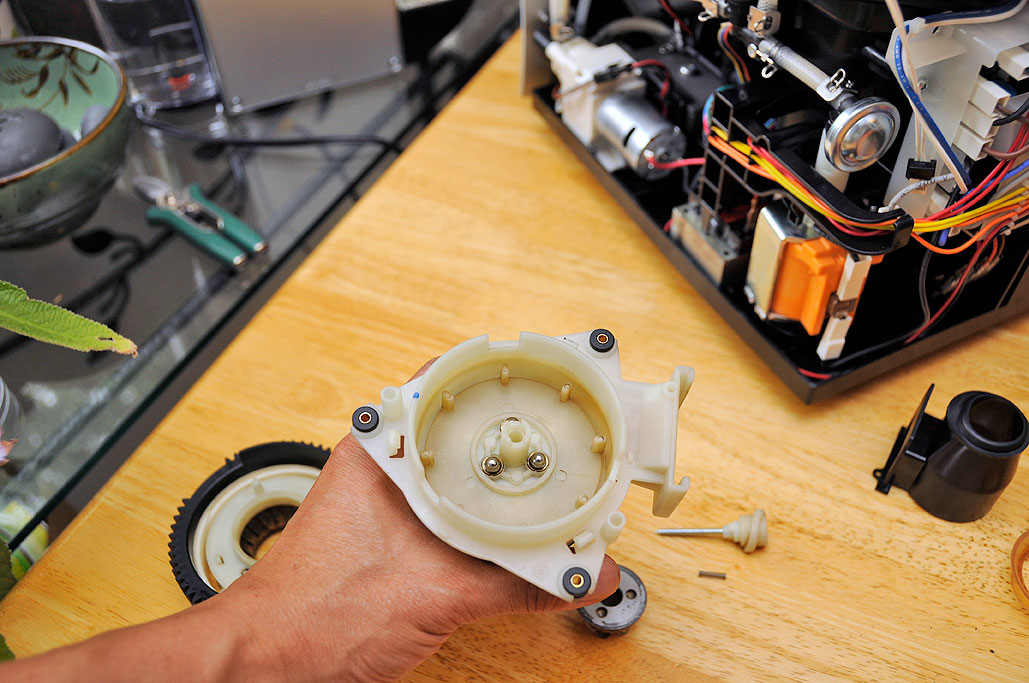
The grinder is calibrated by technicians at the factory. Since we have no idea of how to do that, the first tip is to MARK the alignment of the grinder pieces before taking anything apart. Once you are certain that you can realign the pieces to their former positions, then have at it. The top of the grinder is held in place by three tabs. Lifting the tabs will free the plastic chute from the grinder motor assembly. When separating the motor assembly from the chute, take care not to lose the three steel bearings and springs.
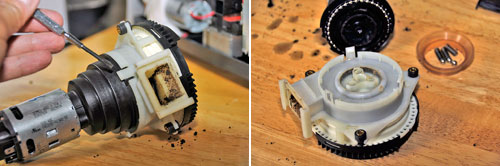
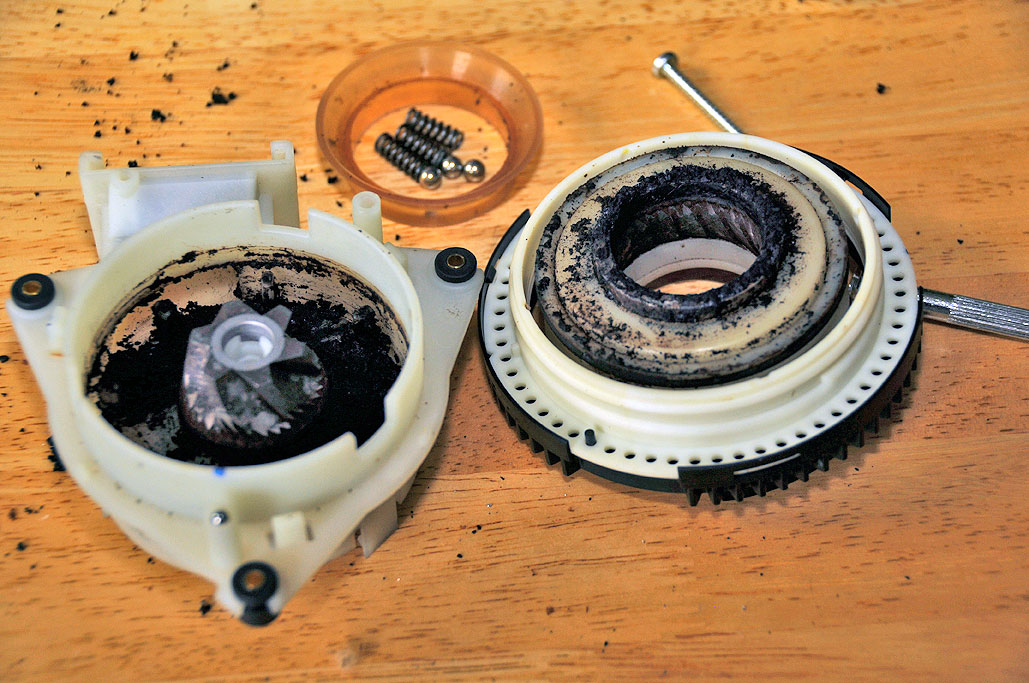
With the motor separated, the top of the grinder chute will unscrew from the chute's housing, revealing the root of our grinder problem. The mess of wet coffee grounds trapped inside were preventing the grinder blades from working properly. The wet grounds were also blocking the coffee from exiting the chute. If we had left this glob inside the machine unattended, mold would have eventually grown and things would have gotten really nasty.

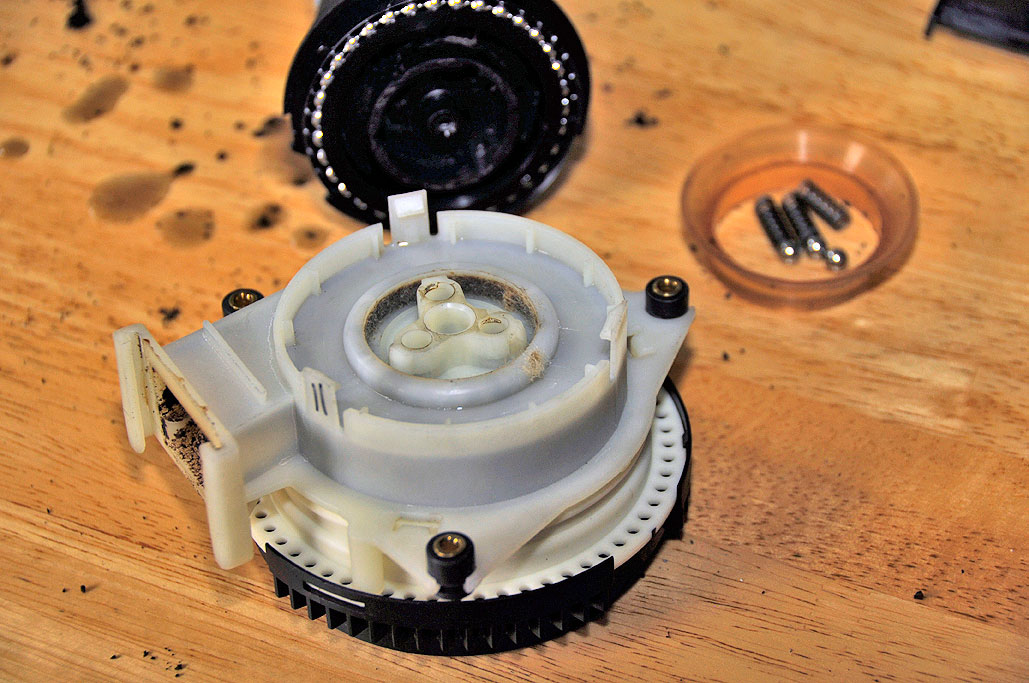
Cleaning the chute at this stage was pretty simple. A toothbrush made short work of getting all the gunk out of the inside. After everything had dried, it was just a matter of putting it all back together. While what we needed to do was clear, the step that stumped us a little bit was how to get the bearings and spring to go back onto the chute.
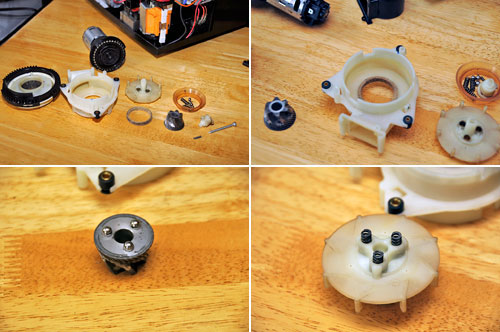
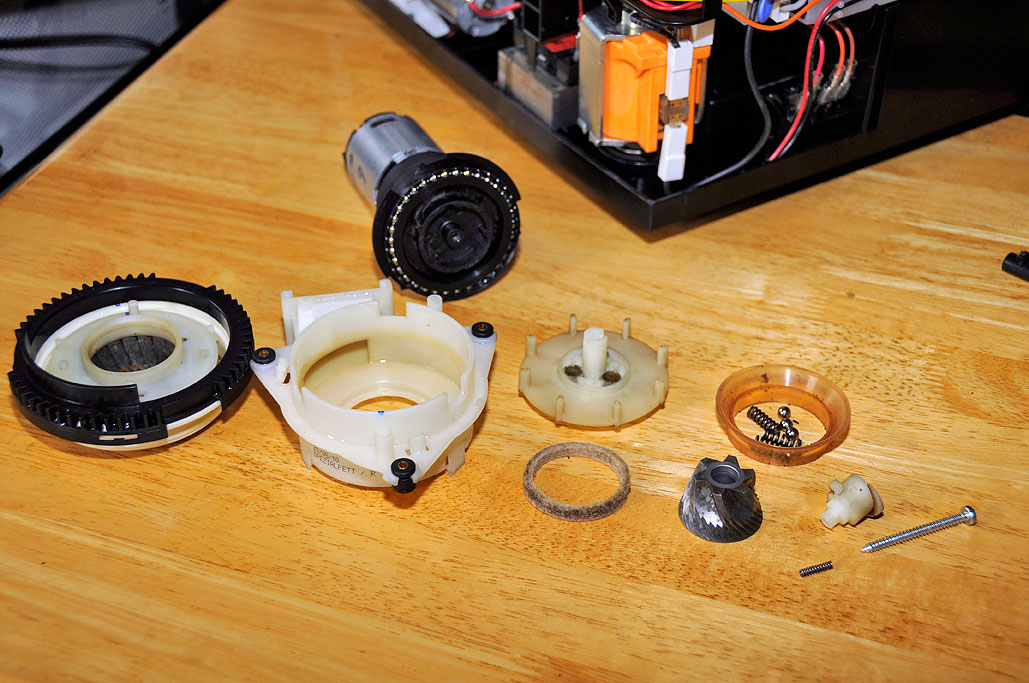
After a few tries, we realized that we had to first put the bearings on the grinder blade, place the sweeper on top, add the springs, THEN put the chute over everything. With those pieces in position, the grinder motor may then be pushed into place.
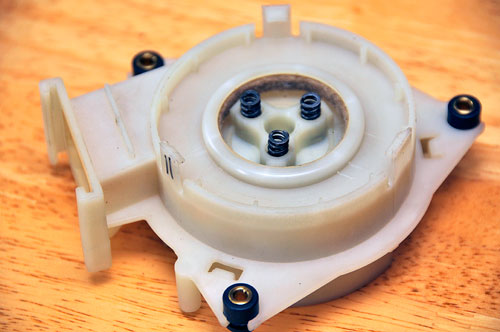
Once the grinder motor has been reattached, the assembly may be inverted to put on the top cover to the chute. The top is screwed on until the alignment marks match up.
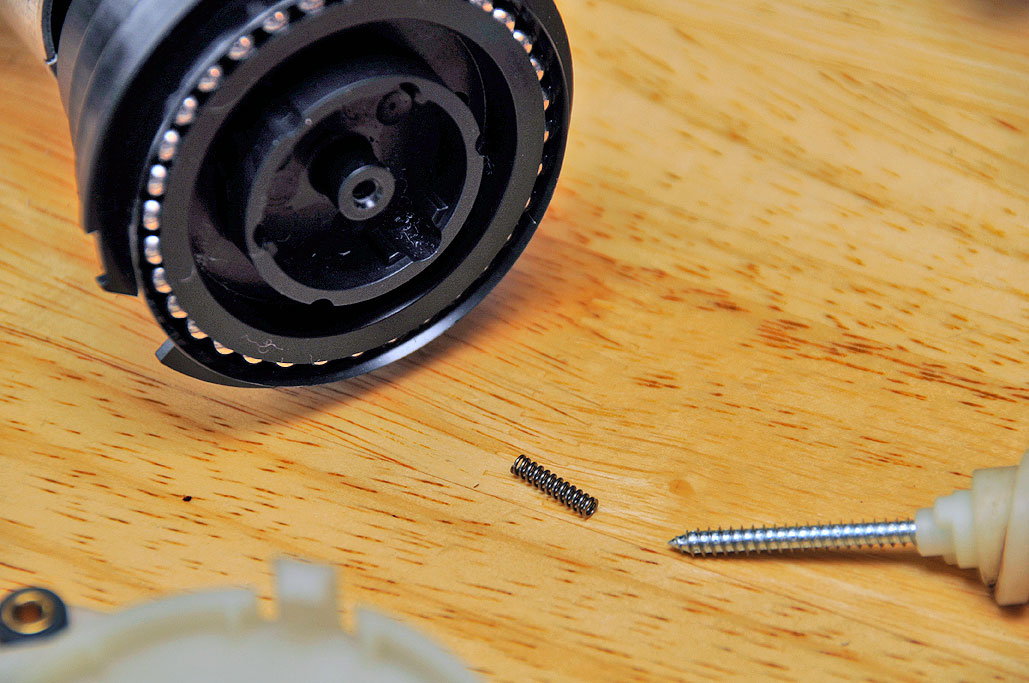
NOTE: Don't forget to insert the little spring which goes inside the central tube. Not sure if it would be all that critical if it was left out, but who wants to find out.
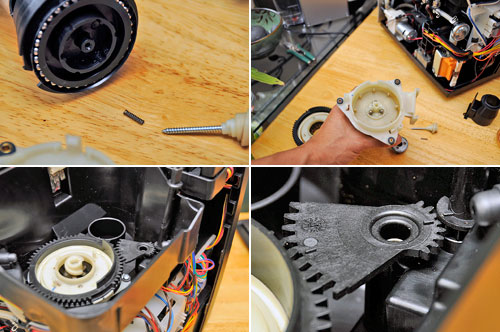
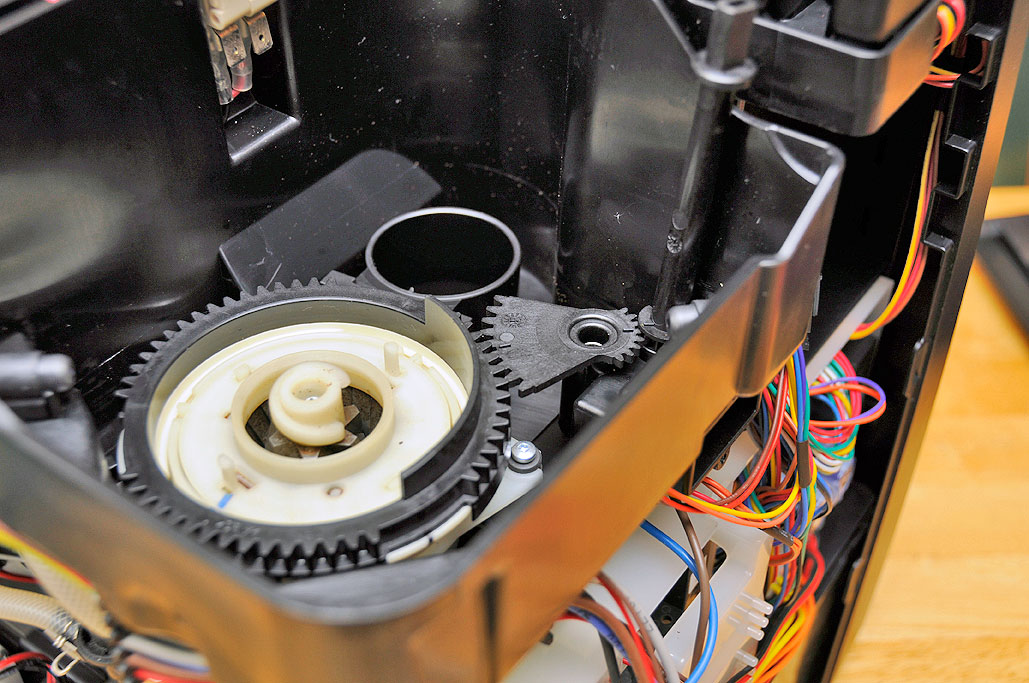
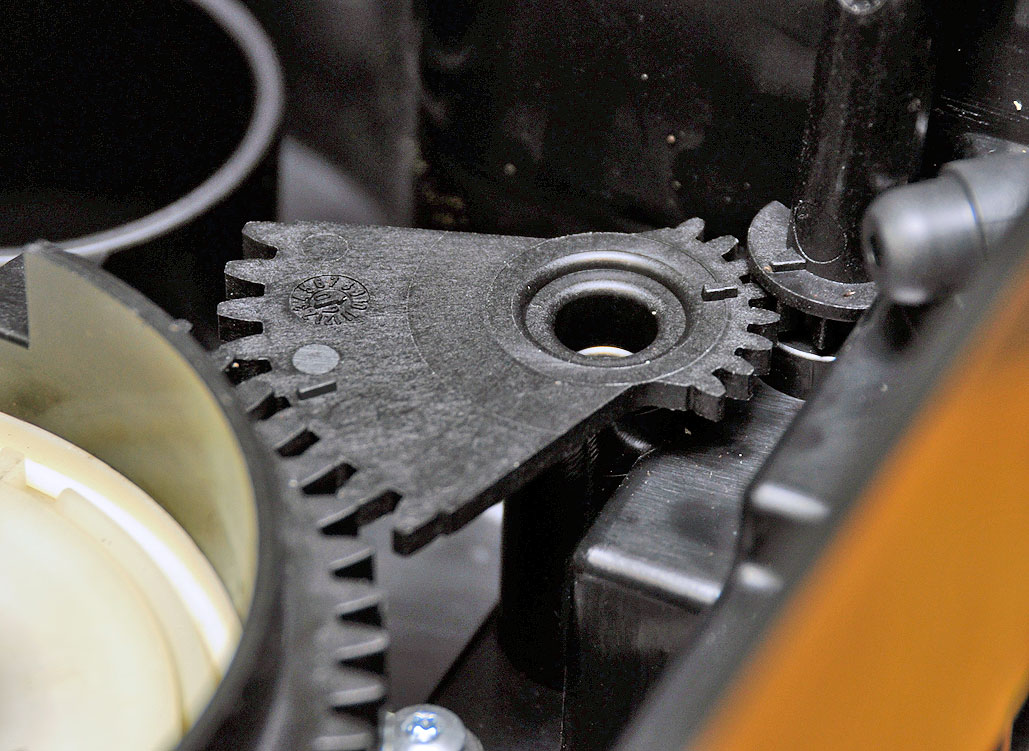
With the grinder unit reassembled, the rest of the steps are pretty straightforward. The only other tip we have is to make sure to properly realign the grinder adjustment gear. We matched ours up exactly to how it was when we first opened the unit. Yours may be different, so check and be sure. Having to take things apart just to realign this piece would be annoying :-)

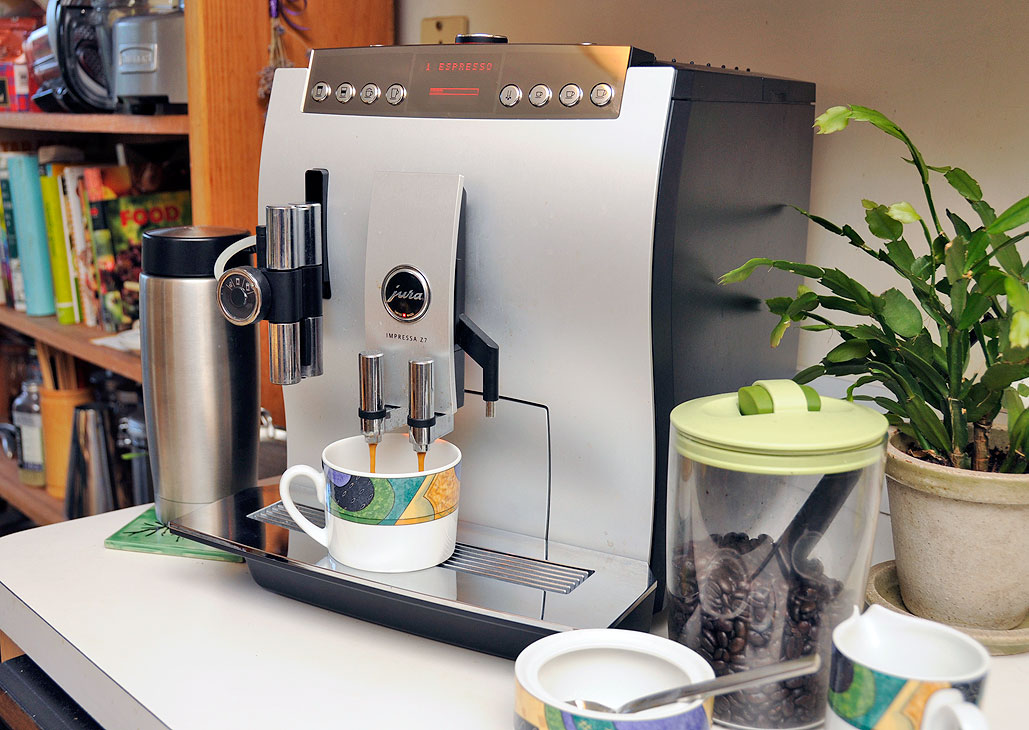
While some of us were pretty certain that the Jura was fixed and the grinder would now function flawlessly, others were not so sure. This, of course, meant a wager. Once the betting had finished, we powered it up, and pushed the Espresso button. The whirl of the grinder confirmed our success. We collected our winnings and enjoyed our freshly brewed cup of espresso. Sweet! [Permalink] - Jura Z7 Grinder Cleaning
|


