Many of you purchased an LCD TV when the US switched over to digital broadcast. You may have purchased a large-screen unit thinking that it was something you would own for some time. It was a reasonable decision. LCD panels are large, unwieldy, and expensive. It is something that you set up once and not think about after that. Unfortunately, reports of LCD panel failing after just a year or two of use are starting to accumulate. Fixing the problem is not a simple task. Getting the screens to a repair shop for a diagnosis is a logistical nightmare. The older screens are heavy so you need another person to help carry it. Anything bigger than 40" will likely not fit into the back seat of a car. The problem is compounded by the fact that replacing the panel is often more expensive than just buying a new TV. It is not surprising that many people are reluctant to engage with the circularity of a manufacturer's customer service and the often fruitless task of taking the TV to a repair shop.
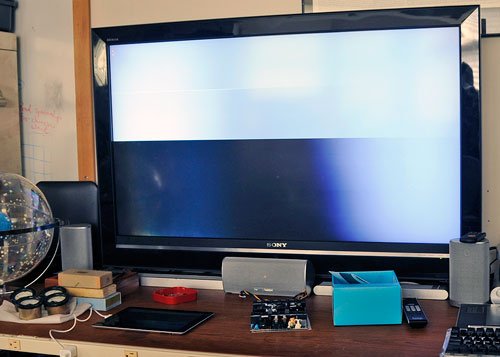
One of the most often reported failures, at least with Sony's Bravia line, is the series of lines reaching from left to right that develop across the screen. There may also be ghosting, flickering, and other artifacts which make the picture unwatchable. The problem will sometimes disappear after the TV has warmed up, but most reports indicate that it takes progressively longer to self-correct over time. Some have noted that tapping or flexing the left corner will sometimes make the problem disappear. Both of those "fixes" worked for us for a few months...until about a week ago. One day, the picture refused to "settle down" no matter how long we let it warm up or how much we tapped or flexed the screen.
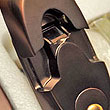
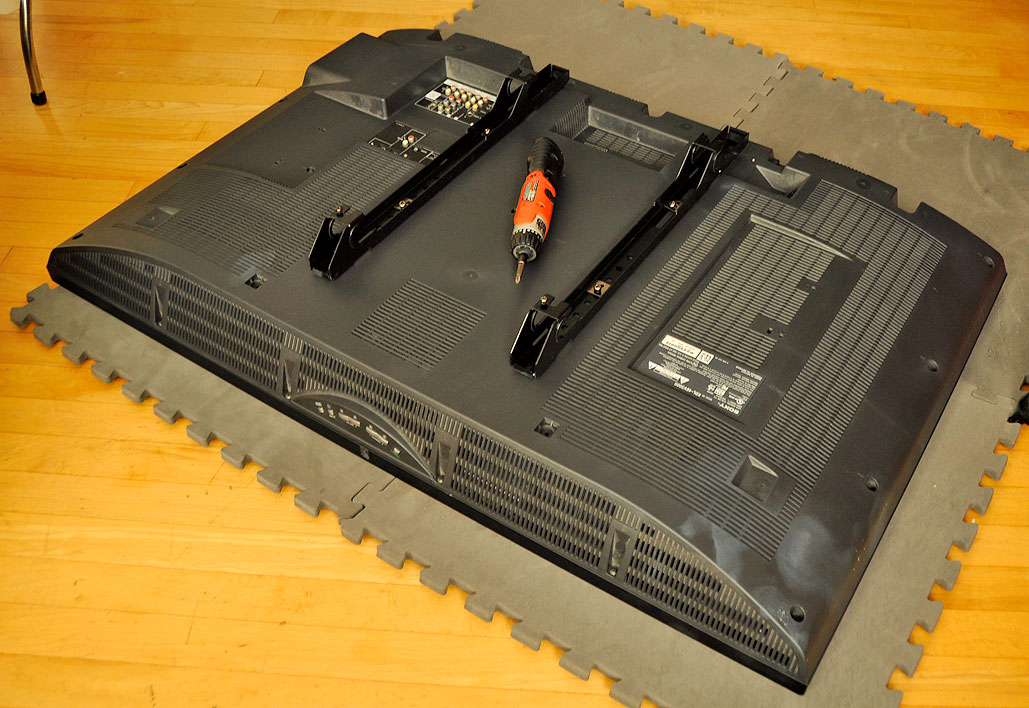
We had already gone the rounds with Sony's customer support (called SonyListens). They will listen, as their name implies, but they can't really help. We spent most of our time either on hold or being transferred from one department to another. As it was clear that we had nothing to lose, we decided it was time to take apart the panel to see if we could find the cause of the problem. The old tube-based TVs had a lot of high-voltage components, and the same is true of these new LCD TVs. The good thing about these newer TVs is that they are flat. We can put it face down on the floor and work on them. We laid down a layer of foam padding to protect the screen, but that would have been unnecessary if we had carpeting. A flashlight was helpful in seeing the screws as many of them were recessed. The BlackFire ClampLight is our go-to flashlight for tasks like this. The BlackFire's head swivels, can stand on its own, or can clamp onto a convenient post to direct the light where needed...very handy when working solo.
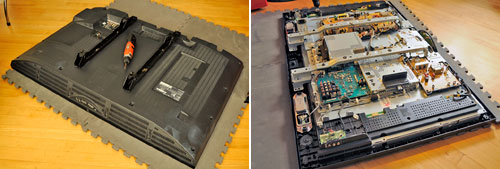
Taking the Bravia apart was a lot easier than we would have guessed. An electric screwdriver and a flat work surface was all we needed. There were about a dozen screws around the periphery and a few in the middle holding the rear panel in place. At first, we had a little trouble getting the back off as we kept finding screws which we had missed. Once we found them all, the panel lifted off very easily.
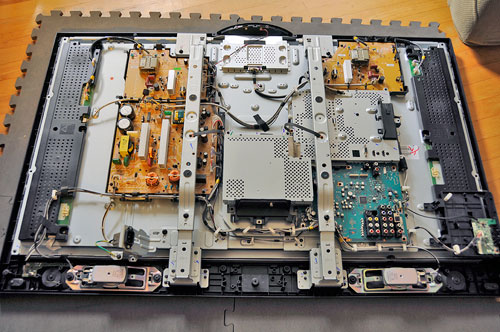
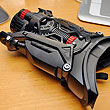
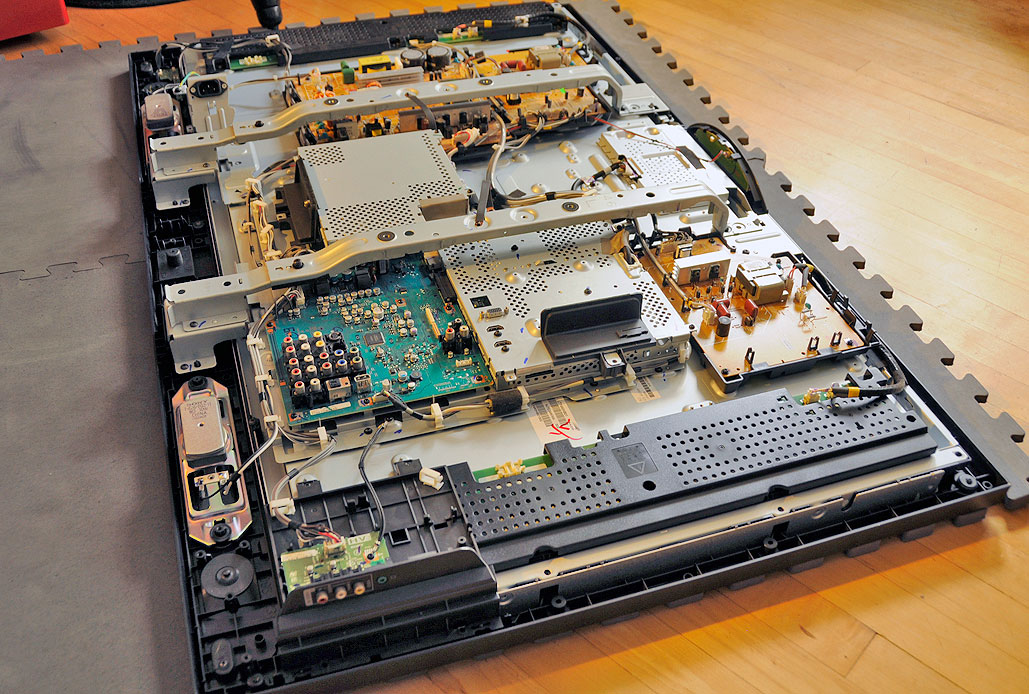
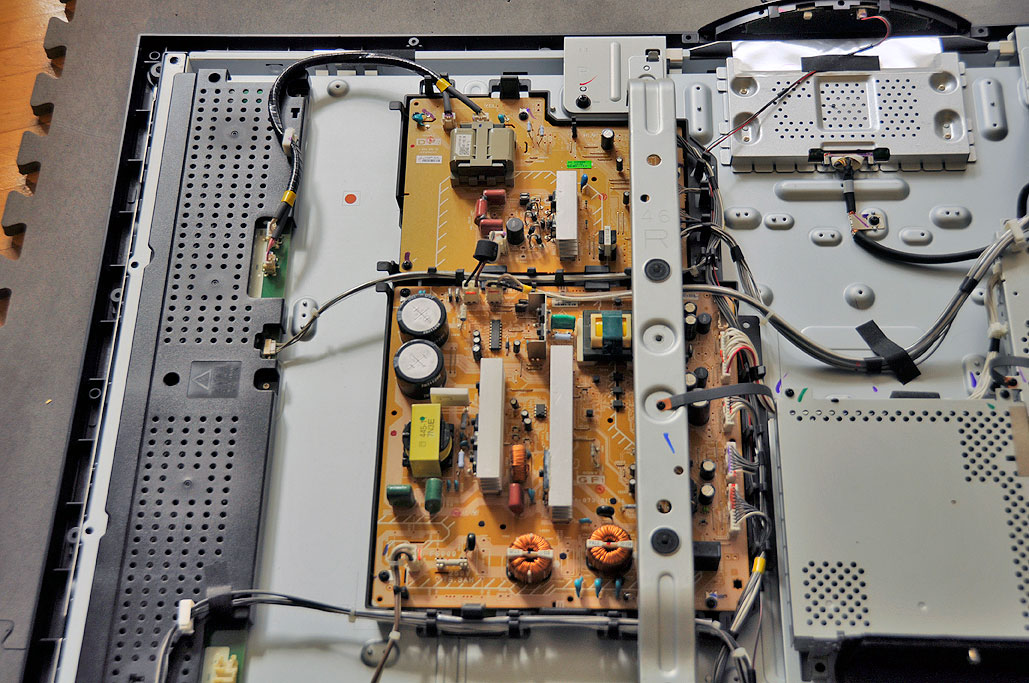
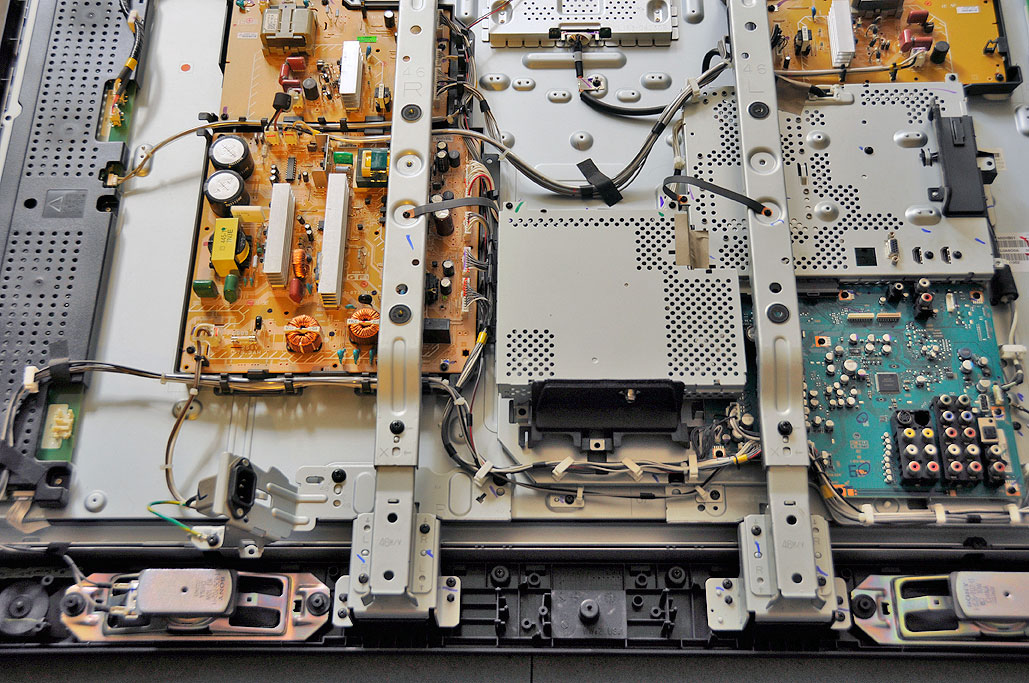
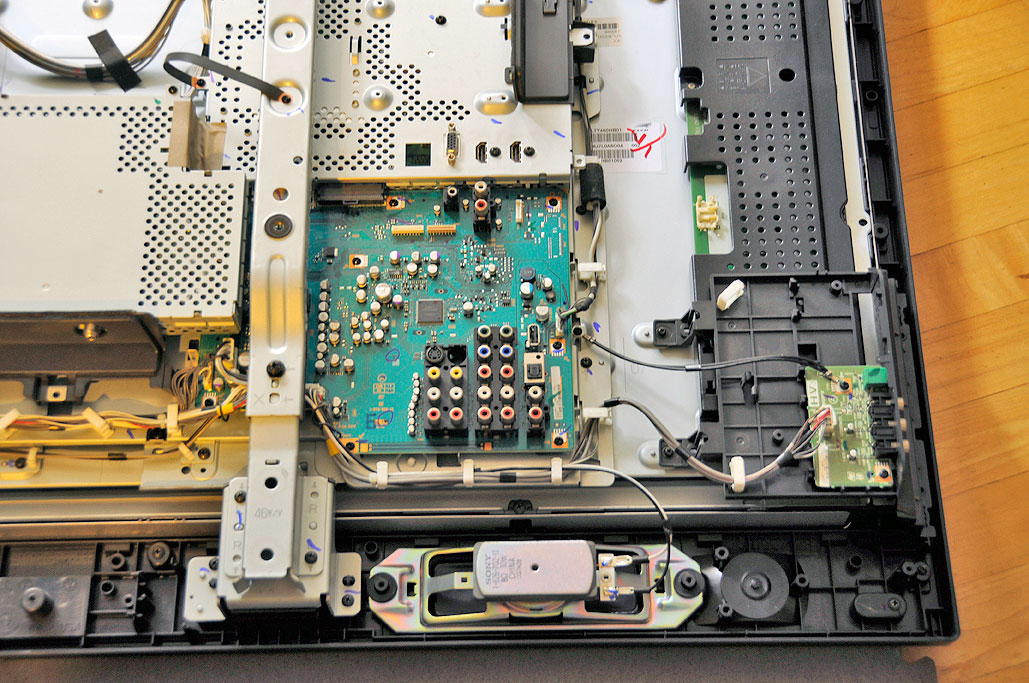
With the back removed, the layout of the various modules were easy to see. The large flat surface of the LCD panel made it logical to spread things out instead of stacking thing up. It also meant that all the components were mounted onto the frame that housed the panel. The power supply module was on the left, tuner module in the middle, and the input/output boards on the right.
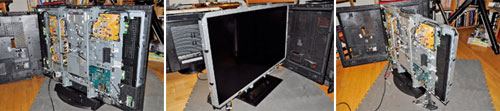
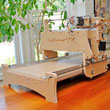
We wanted to turn on the TV to see if we could get it to work by pressing on the frame. In order to do that, we had to put the TV back on the stand so it could be positioned upright. We could have placed in on its back, but with all of the electrical components exposed, we felt that was a little too risky.

Sure enough, when we plugged in the AC cord the TV powered up, the picture was shifted and showing a double image. What happened next we did not expect. Just by lightly pressing on the top of the frame, the picture cleared up. No warm-up, flexing, or any of the usual "magic" was required. We may have a shot at get this fixed after all!
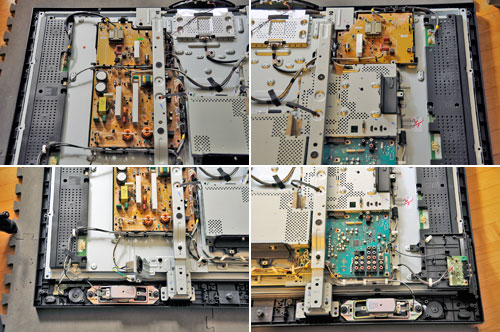
Our next step will be to remove the metal frame, expose the LCD edge connectors, and see if we can find something which may not be making good contact. The ease with which the picture "fixed" itself gave us hope that the problem is just a loose connection. Come back tomorrow to see how we made out. [Permalink] - Sony Bravia Teardown
|


