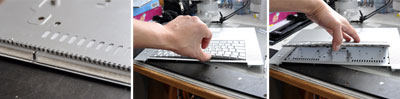
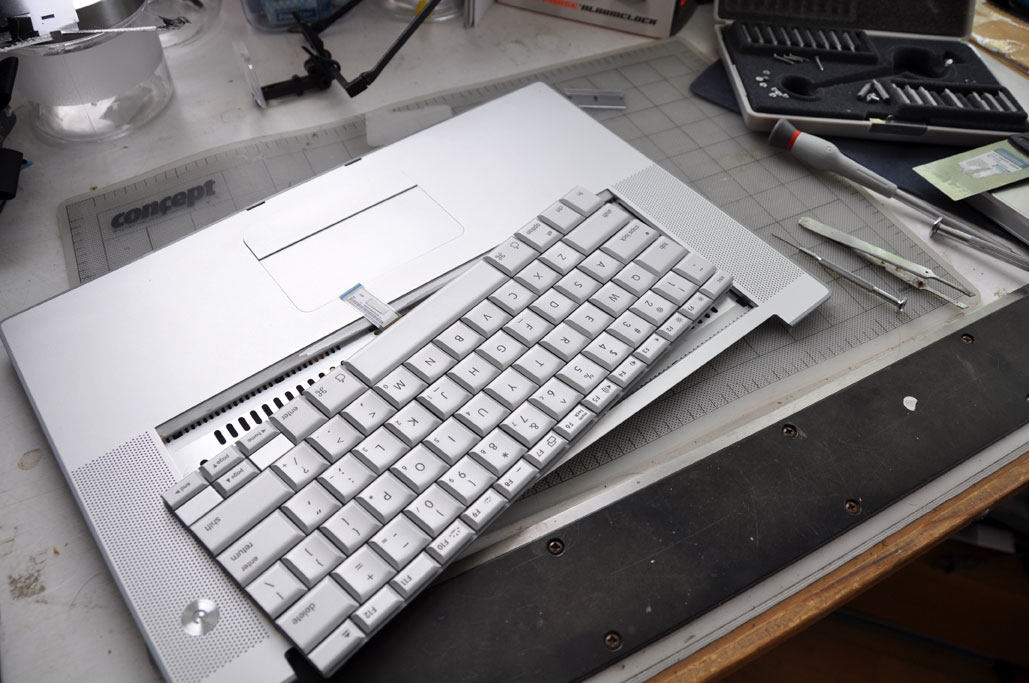
Yesterday we showed how to remove the top cover to gain access to the keyboard. Again, instructions from the folks at PowerbookMedic are excellent. We encourage readers to check them out first. We took photos of things which we thought warrant a closer look. Click on any of the photos for a larger version.
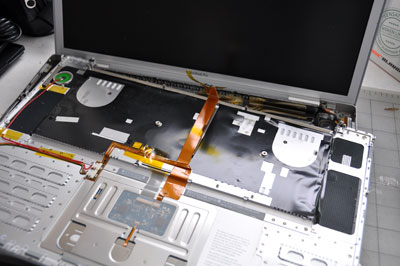
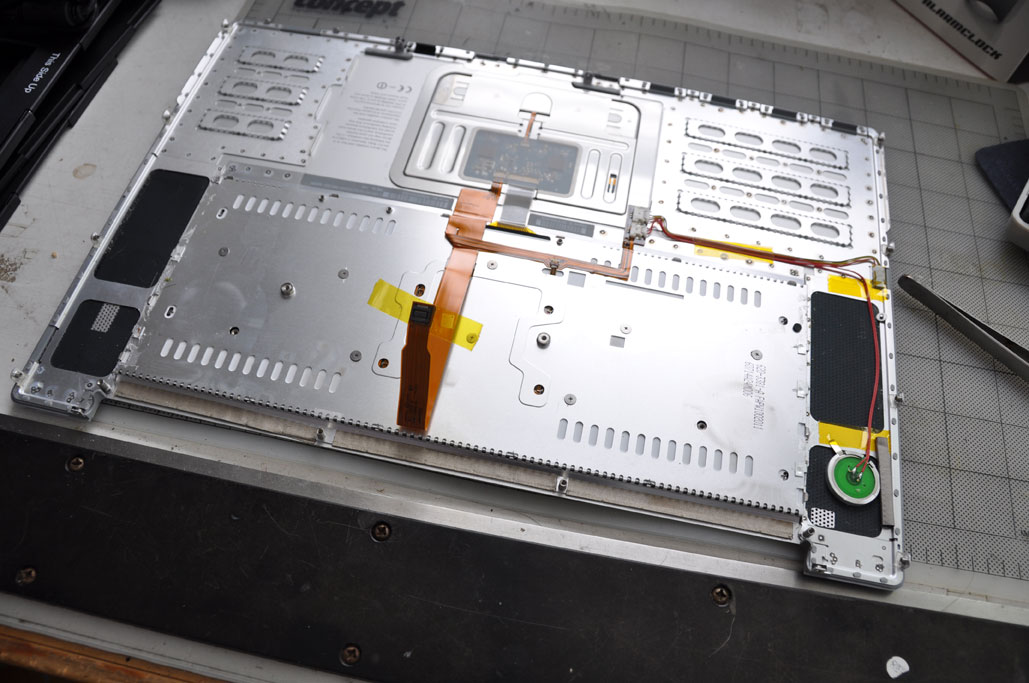
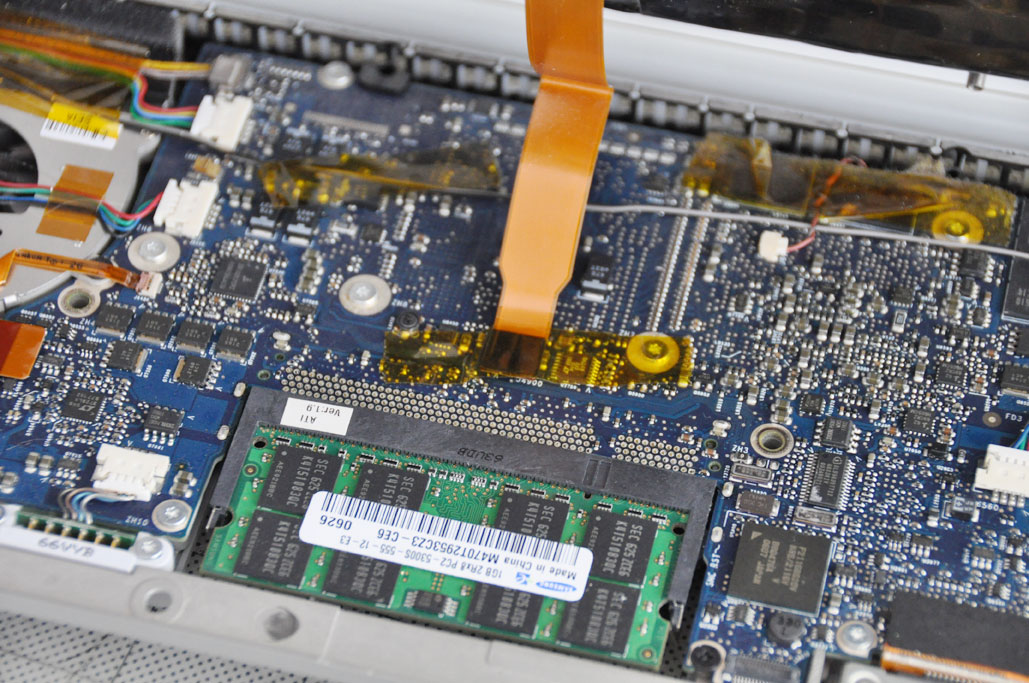
Today we will walk you through the steps for replacing the keyboard. When we examined the top, we noticed a layer of black tape sitting between the keyboard tray and the main circuit board. As readers may be aware, this MBP keyboard has backlighting. We are guessing the tape was there to minimize the light-leak around the edges and to protect the circuits on the main board from coming in direct contact with the metal tray.
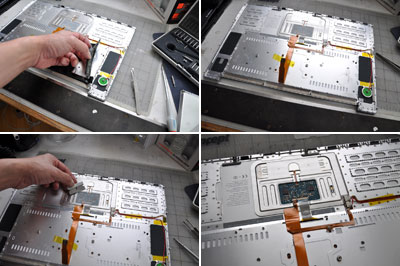
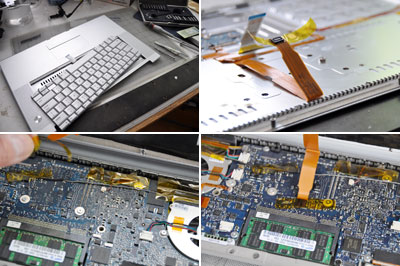
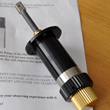
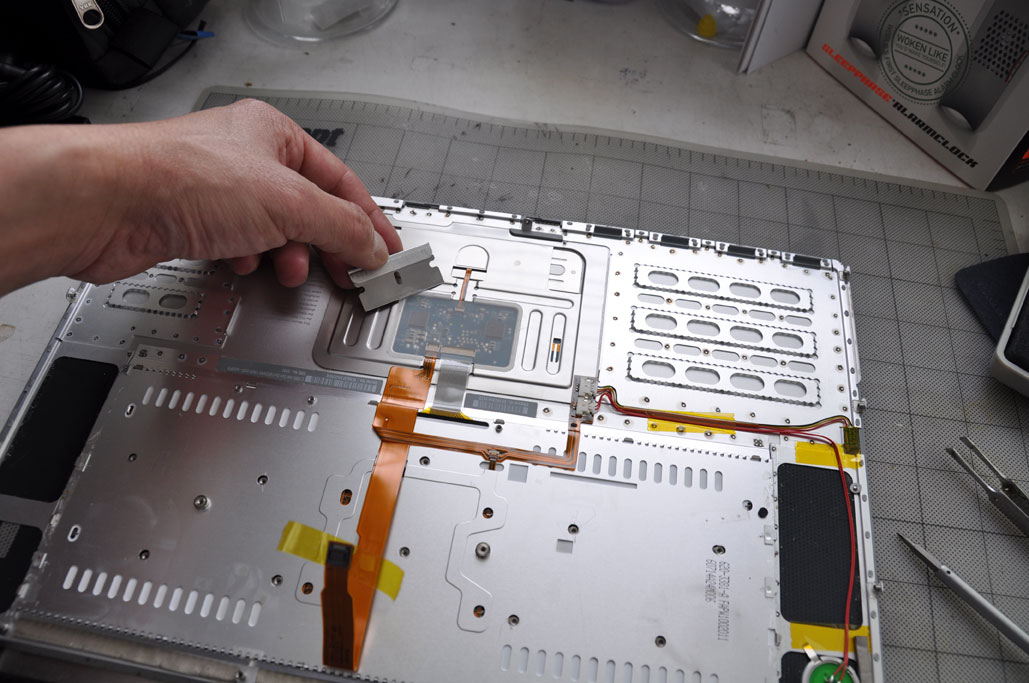
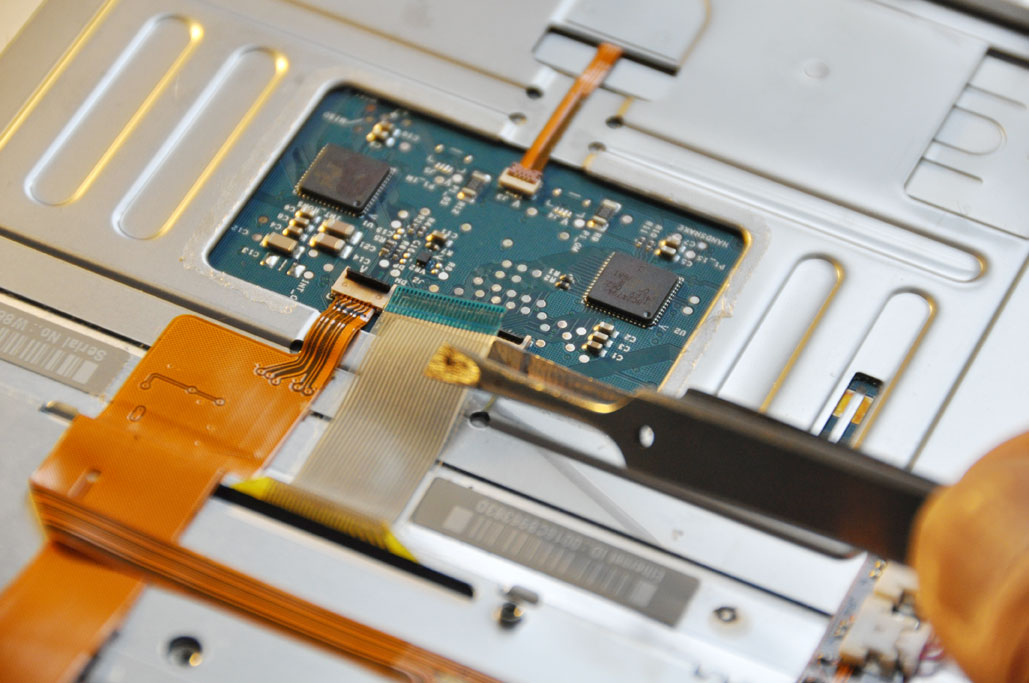
To get at the screws anchoring the keyboard to the tray, the black tape must be peeled away. We did this carefully so we could reuse the tape. You may not care if you have a replacement set. Besides the tape, there is also a clear film which covered the ribbon cable sockets. We used a razor blade to lift the edge of the cover and did this carefully for all of the obvious reasons.
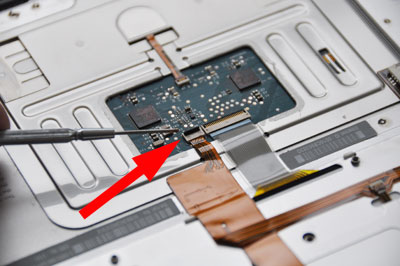
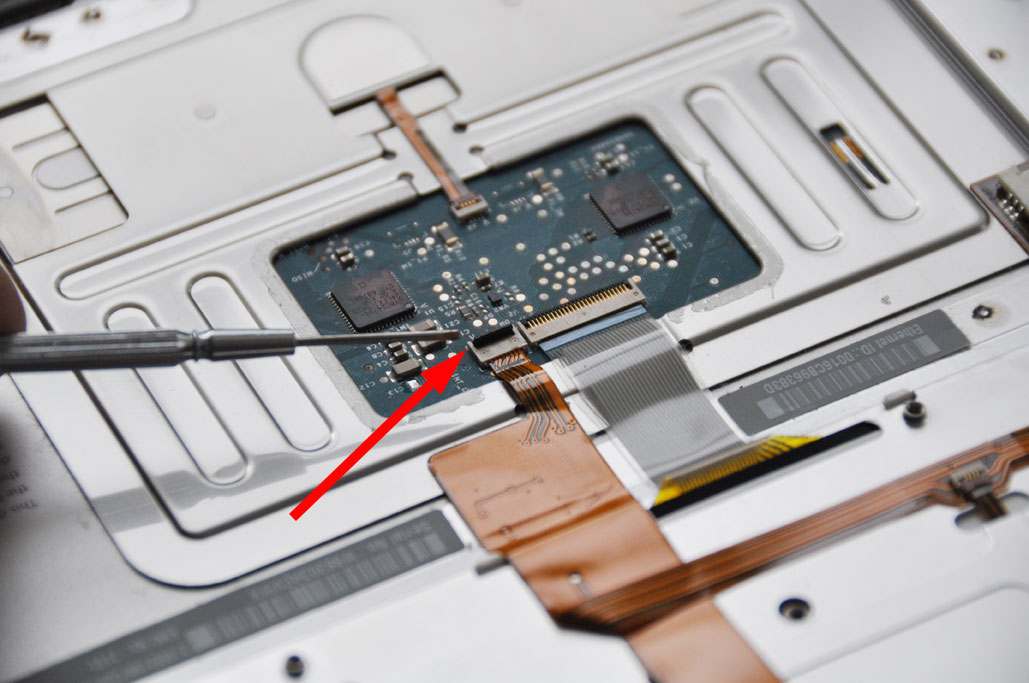
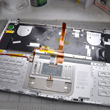
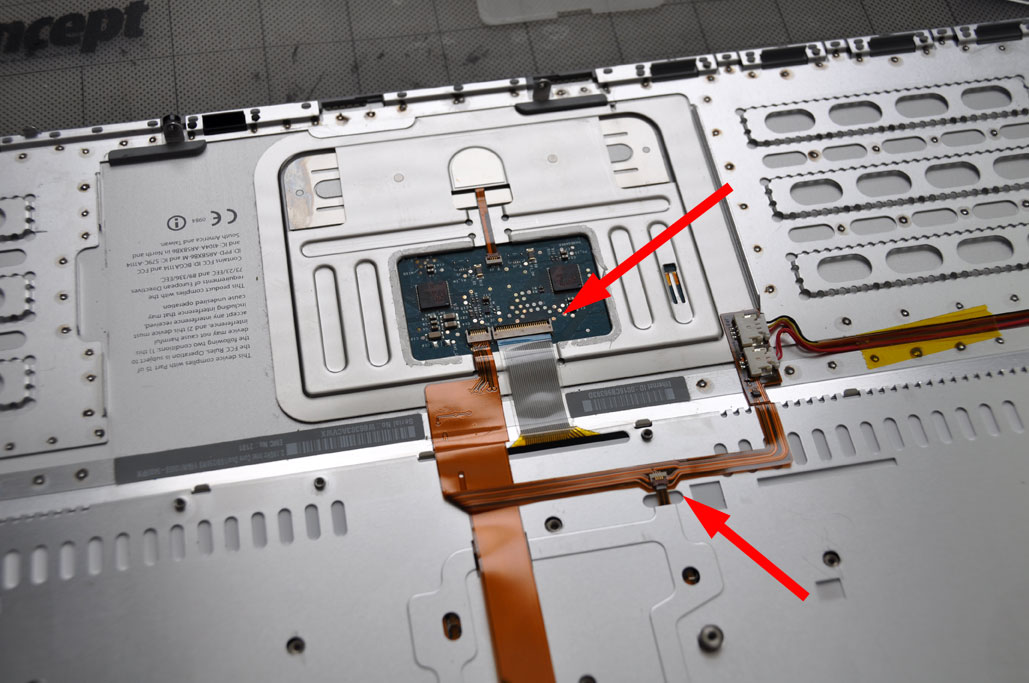
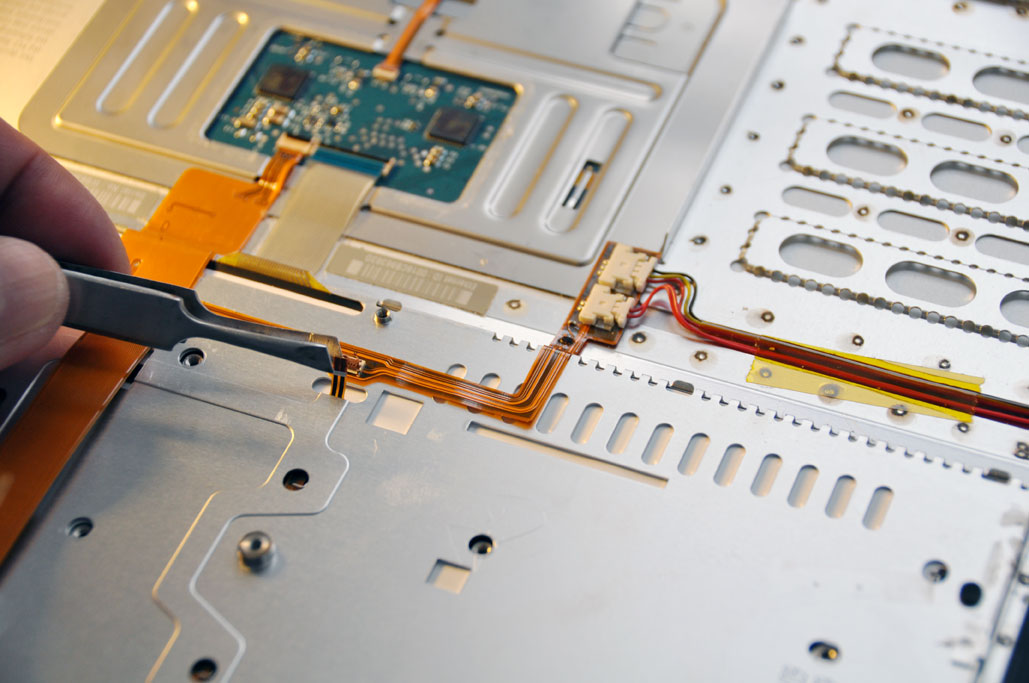
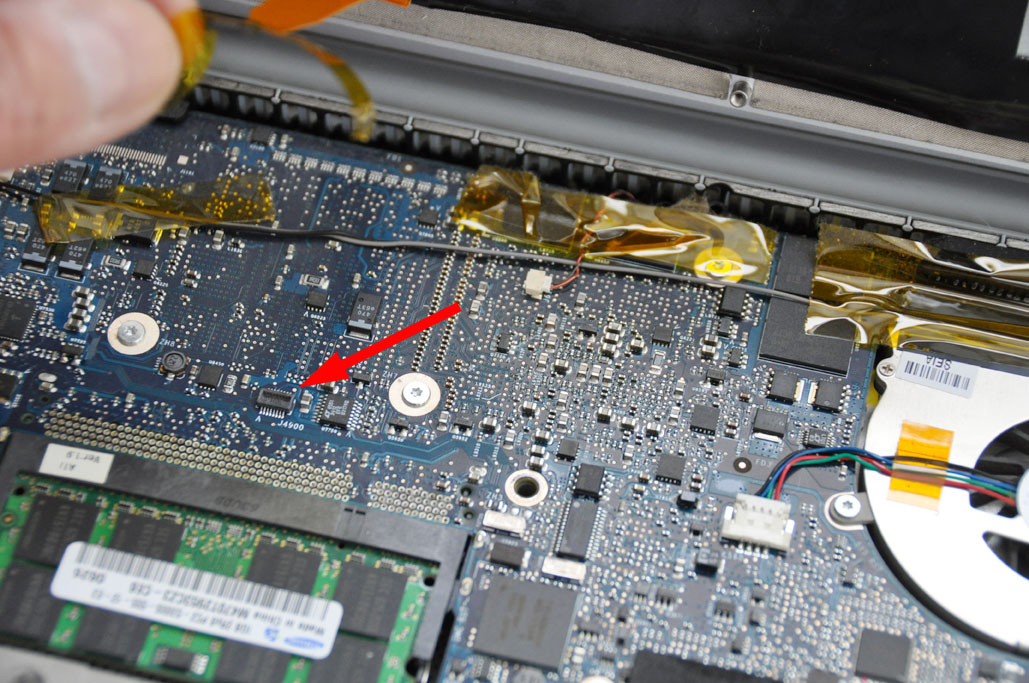
The black locking tabs (RED ARROW) must be flipped up in order to free the ribbon cables. This is a VERY delicate step. If you break the tab, you will need to replace the entire top as the tabs cannot be fixed.
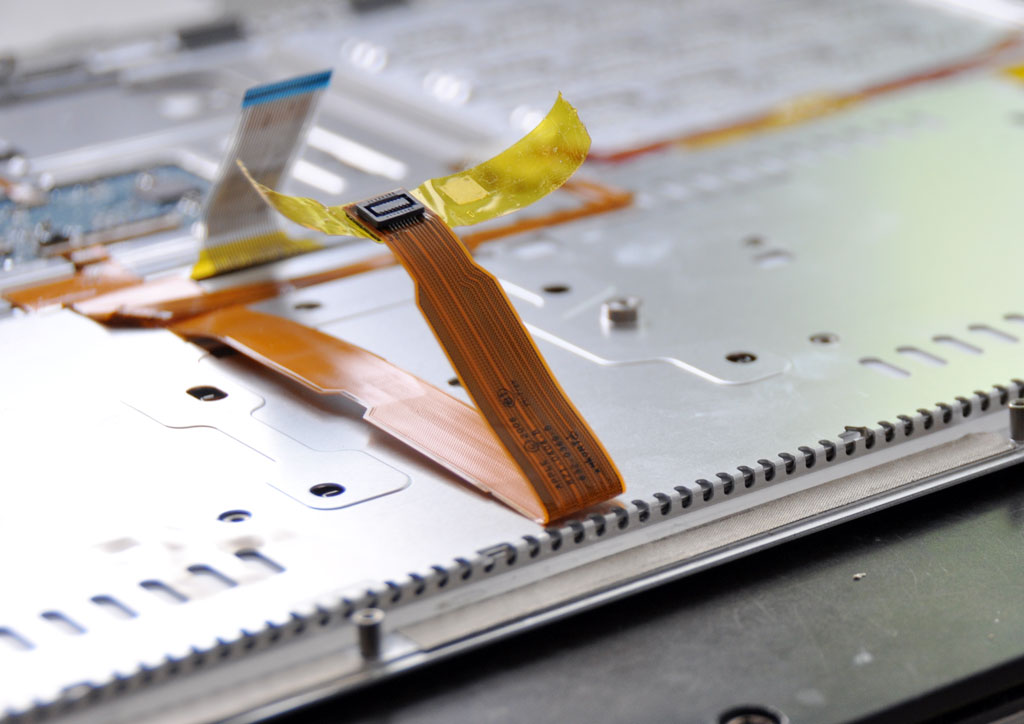
We realized that we DID NOT need to free the small cable, just the larger one next to it. The small cable that must be freed is the one protruding out from a little opening. This is the power leads for the backlighting.
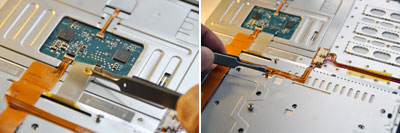
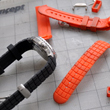
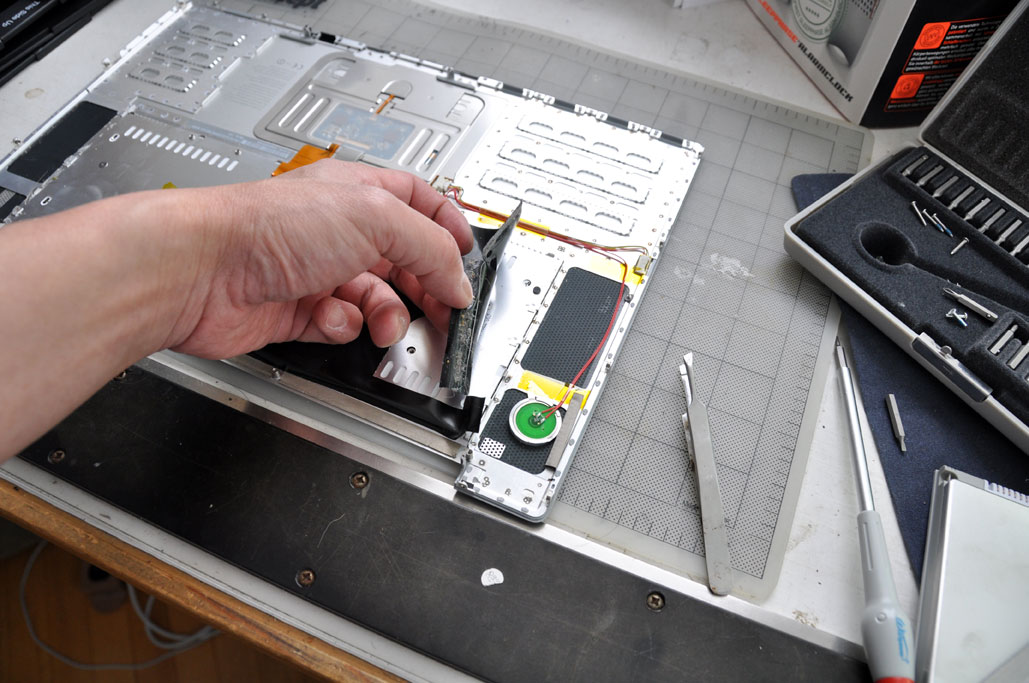
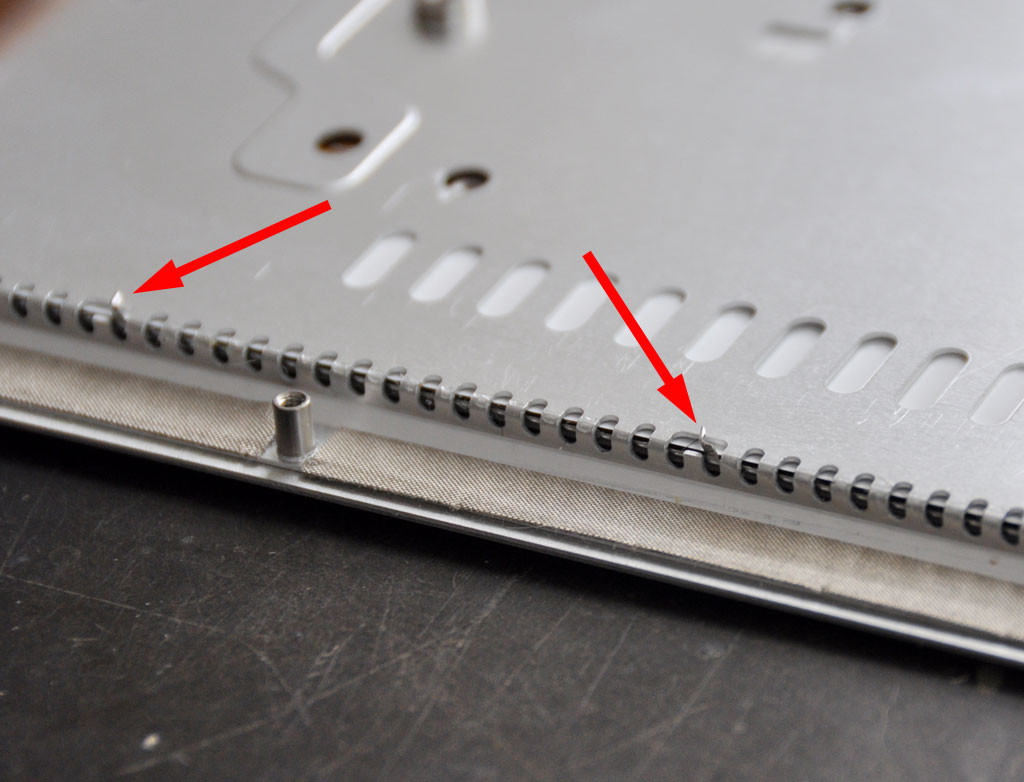
At the edge are four little locking tabs which have been twisted to anchor the edge of the keyboard against the tray. They must be straightened so the keyboard can be lifted out.
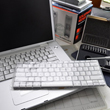
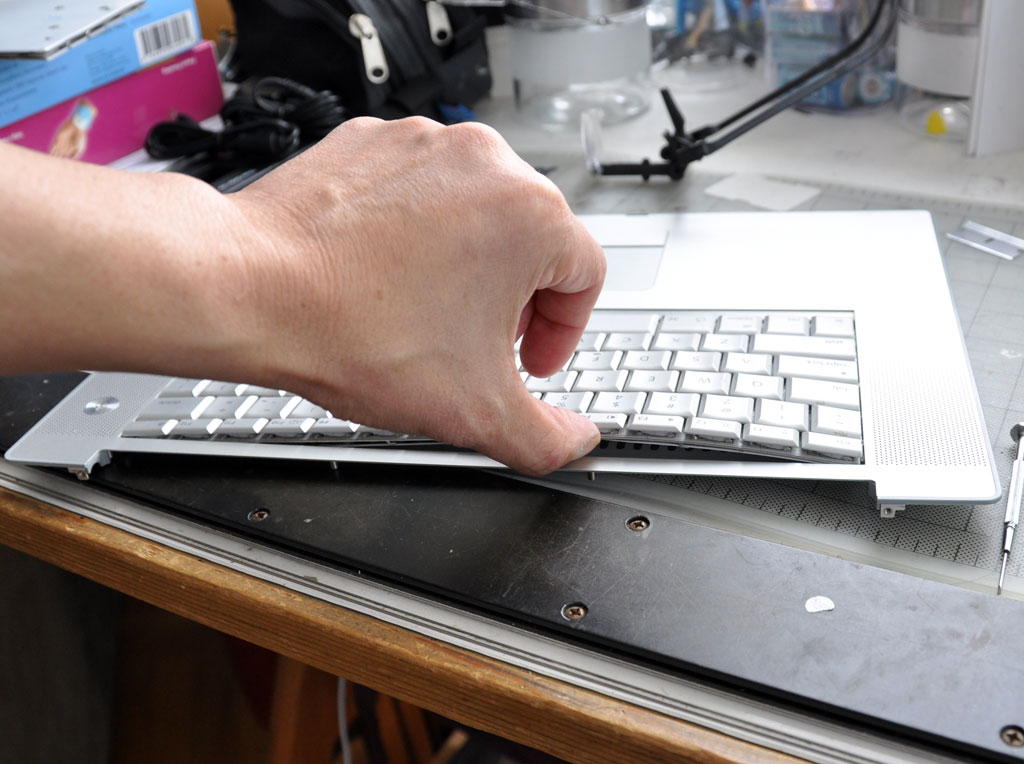
Once the keyboard has been freed, the hard part was over. Replacing it with a new one was just the reverse of the steps (insert, twist the locking tabs, reconnect the 2 cables, re-attach all the screws, reconnect the top cable to the main circuit board).
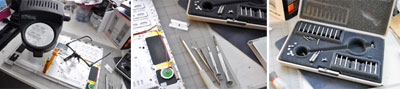
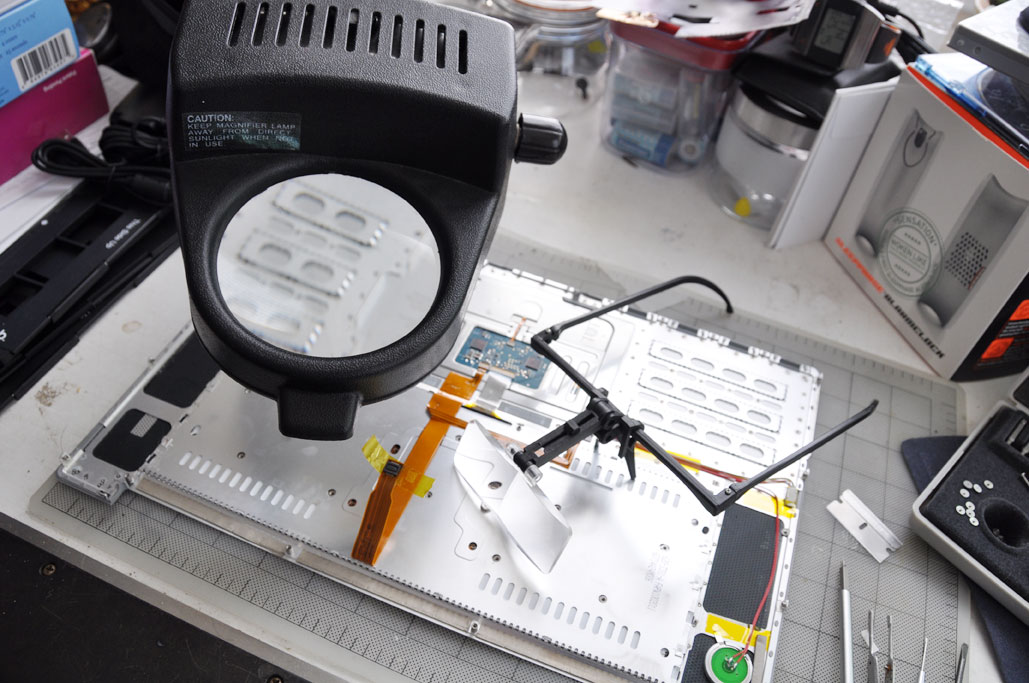
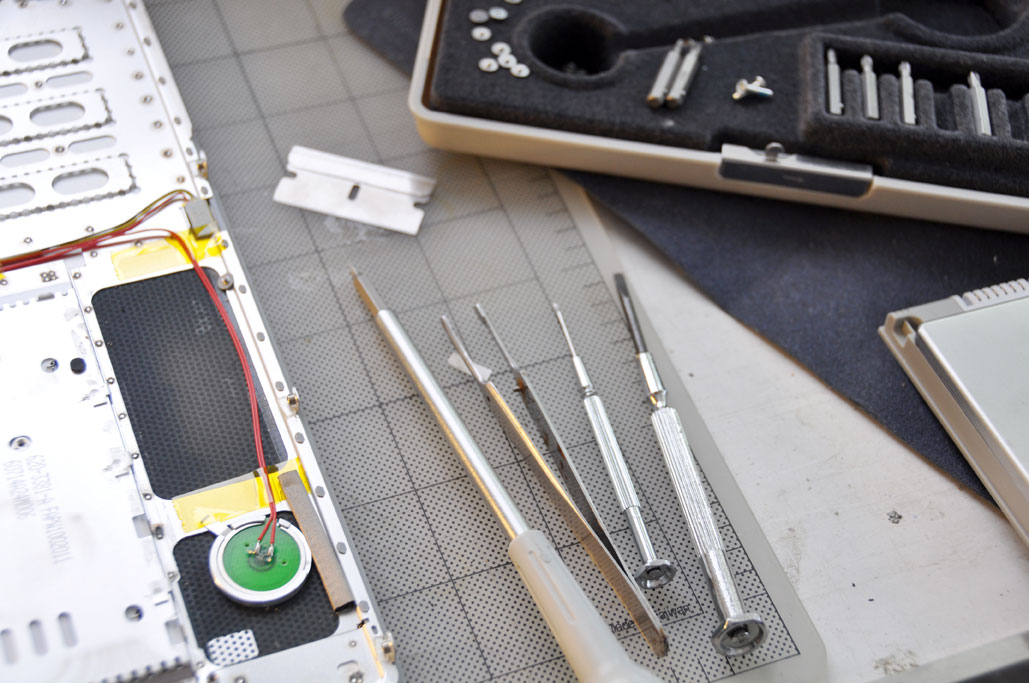
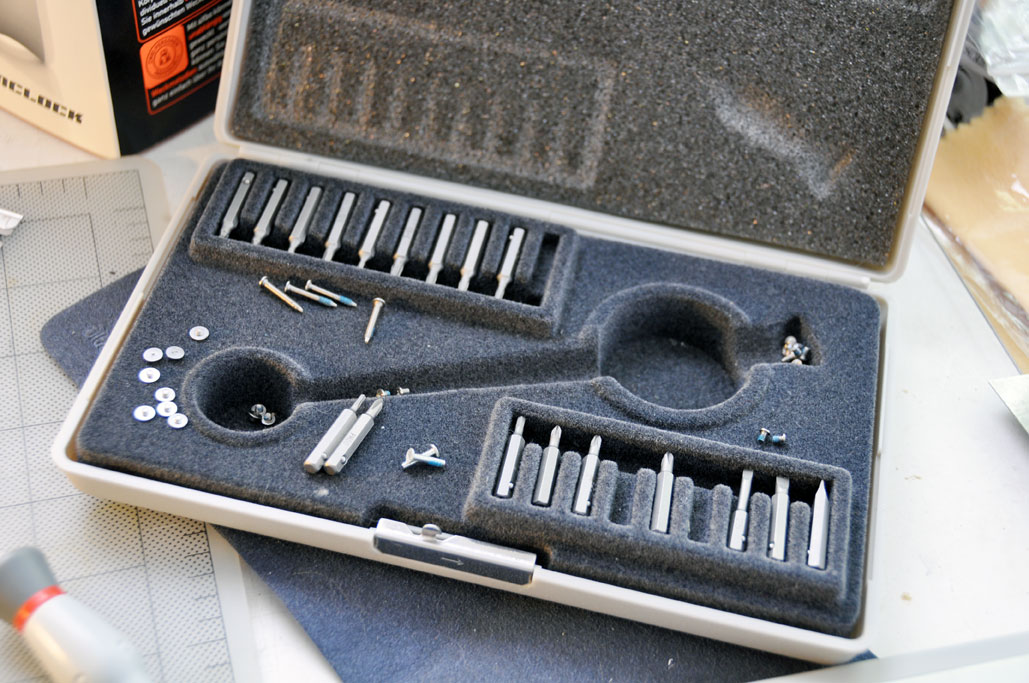
Perhaps we should have put this last bit at the beginning, but having good tools really made this project a lot easier. Some of the key tools were magnifying lamp and glasses, good jeweler screwdrivers / bit set, and a place to put all the screws without mixing them all into a single pile. The screws were not all the same, so keeping them grouped separately made it much easier come reassembly time...just saying.

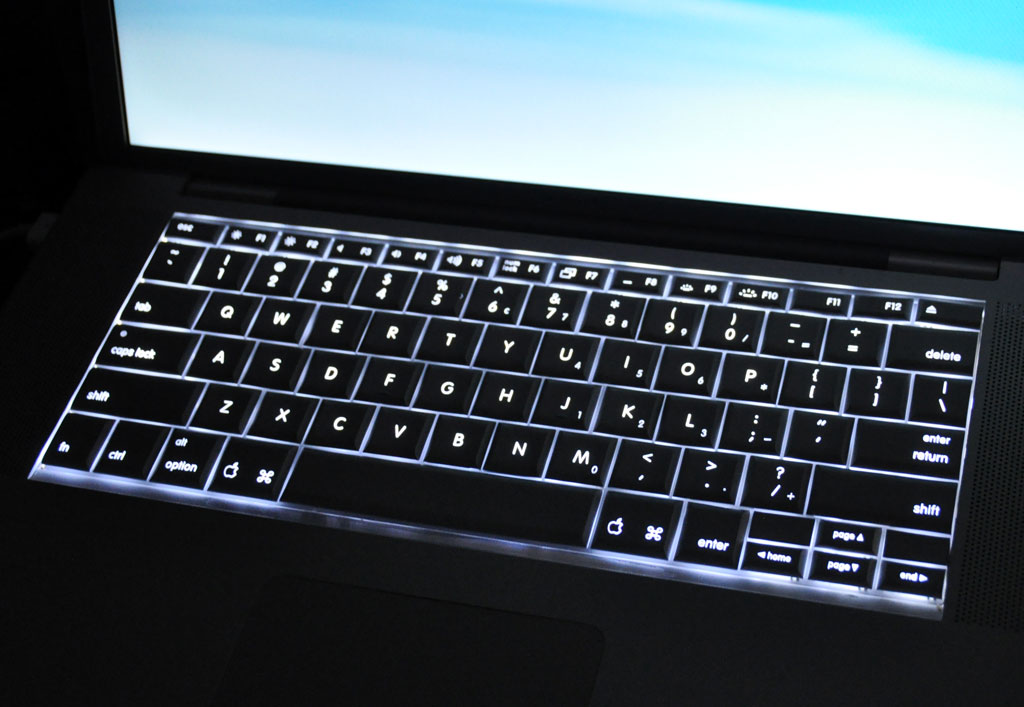
Of course, the true measure of the success of any RainyDayProject is whether we were successful in getting everything working again. In this case, we could provide visual proof that the machine successfully booted and the backlighting is now functional. You will just have to take our word for it that all the keys are working as expected...well, with the exception of the Caps Lock key. We are not sure why it is not working, but it is a good thing we don't really ue that key that often as we are not keen on doing this again :-) [Permalink] -Replacing the Macbook Pro keyboard
|


